


3D Print Files Design Tips for FDM Printers 2

Continued to 3D Print Files Design Tips for FDM Printers 1. Let's talk about 3D modular design, the most efficient design and the choice of proper filaments.
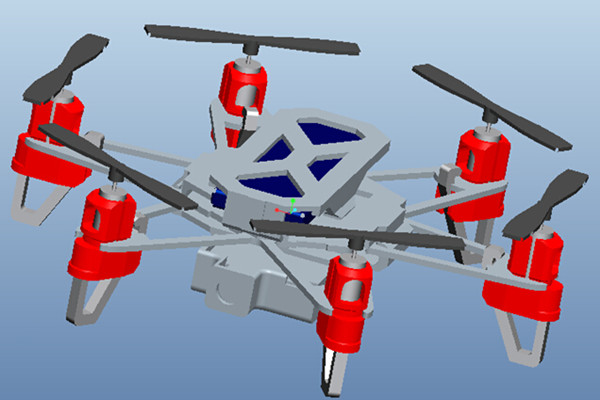
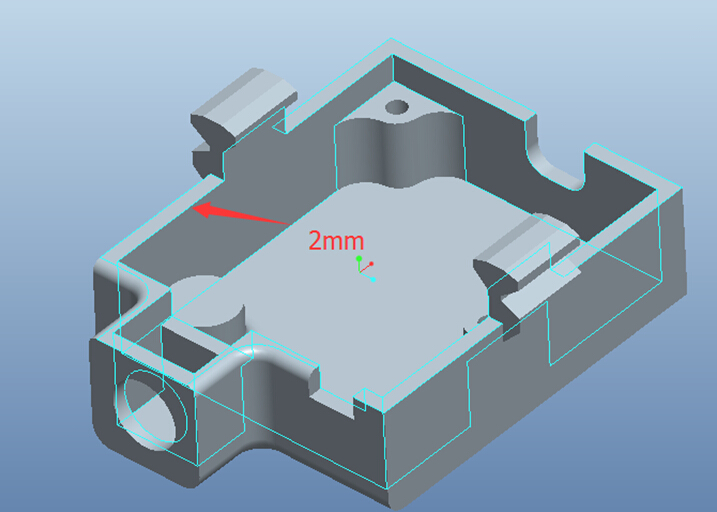
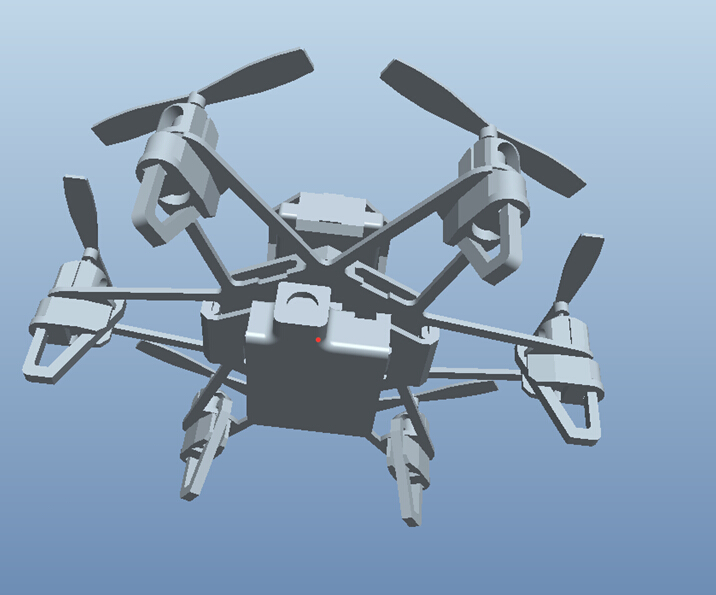
Take this model (the motor mount of the ELF hexacopter) as an example, if it is printed out of the current design, the connection area between the layers will be very small, in other words, the construction will be very fragile. However, if we shift to another print mode, we’ll get the maximum contact area and strength.
Let’s make a contrast between the former and the latter version.

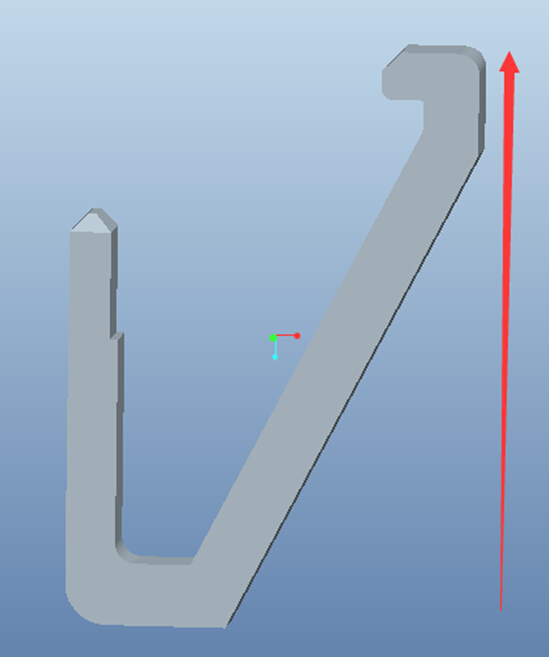
The Latter Version
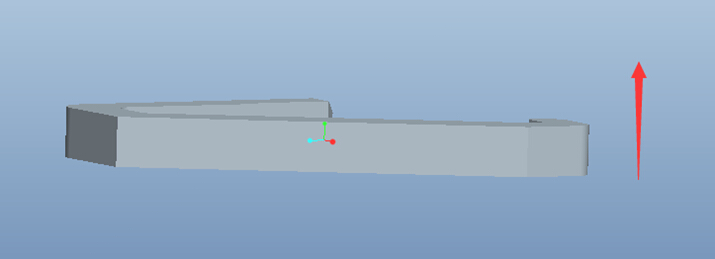
An overall comparison of the two models of the same height, but different strength, printing efficiency and considerably different weight. The former version is solid with very narrow contact area, while the latter, if the white part support is printed in full-flat method, we’ll get very large contact area, lighter weight, and less printing time. As for the crash-resistant performance, the latter version triples. Here a tip for you: a thickness of 2.2 mm for robot shell is strong enough. The image below is the IPCAM housing.
5. Modular design: split complex parts into a few simple parts, assemble them after printing.
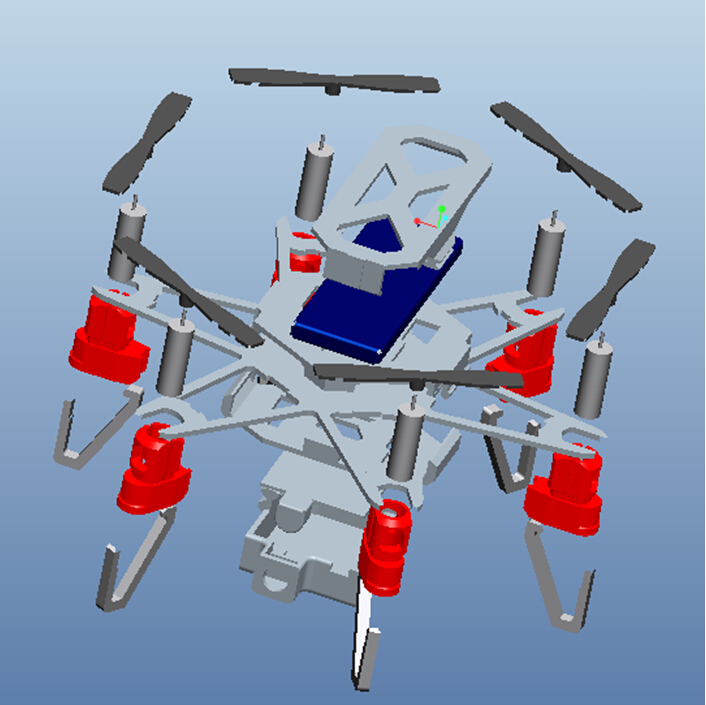
If we noticed, we’ll find that by splitting the motor housing into 2 parts, the structure of “large upper part, small lower part” we mentioned at the beginning will not appear, and the success rate is greatly enhanced. Thus, for more complex designs, and those “large upper part, small lower part” unavoidable, consider about dismantling the model into several parts.
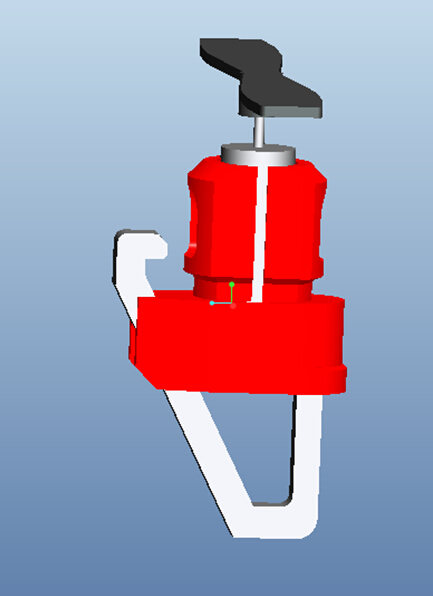
Take the ELF WIFICAM housing as an example, before we secure it to the drone, we part it into 2 parts: the shell and the hook. With the WIFICAM firstly mounted into the shell, we can then fix it on the drone using the hook.
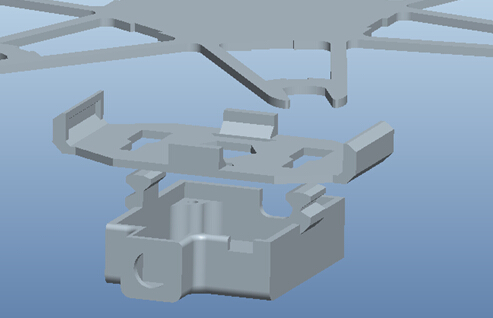
As you can see from the above design, every part can be guaranteed without any support or post-processing. We apply the same trick on the ELF battery case design.

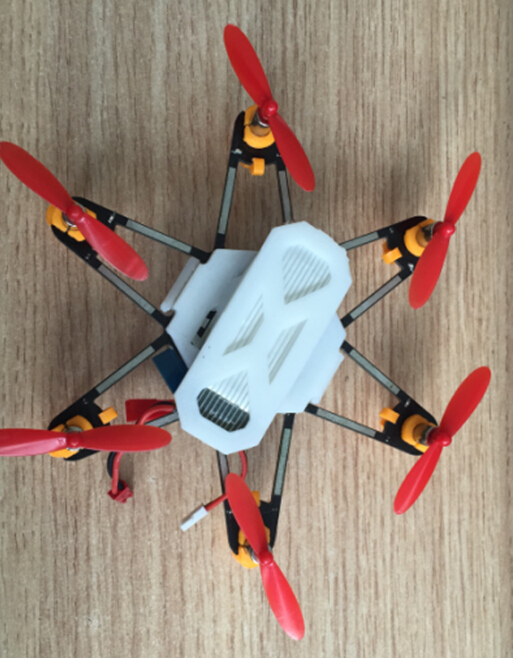
Last comes the ELF overall body. The “dismantling rule” also works. In a word, for a larger overall framework, you need to work extremely intensively on every little bit to avoid collapse and pay extra efforts on the support as well as post-processing only to get a fairly humble print. The utilization of “modular design” is really important.
After printing all the parts, people will probably think about how to assemble them into an integrated robot. In the following parts, we are going to talk about some points important to pay attention.
6. Important points of modular design
Traditional assembly design requires up to 0.1 mm difference in size between the parts. However, due to the nozzle head diameter of FDM, the final prints have some discrepancy compared to the 3D models. Take the nozzle of 0.4 mm diameter as an instance, to print a 10x10x10 (mm), but it will result in 10x10.4x10.4 (mm) cube. Why is that?
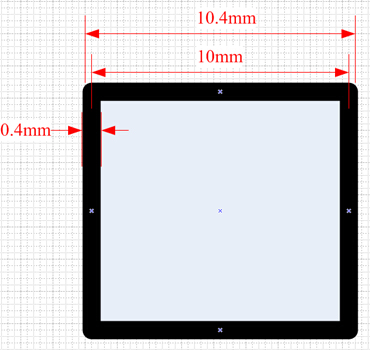
The above picture shows that it is because the nozzle head diameter is 0.4 mm, the print length and width are both 10.4 mm, while the height remains 10 mm. If it is a single object, such errors can be ignored; but if it is several parts which will be assembled into something new, then still using the “0.1 mm difference” like we normally do will be a problem. Taking into account the mutual engagement of the two parts will eventually be more than 0.4 mm error as the design size, we come to the conclusion that the two parts must have 0.9 mm difference in size. If you need to fit them tight, narrow that difference to 0.8 mm.
7. Design the most efficient print how-tos.
Try to leave out support, which consumes much time outside of the useful print part and requires removal.
Use hollowed design if necessary since this saves time and filaments.
8. Choose the proper filaments.
FMD mainly uses two filaments: ABS and PLA, each with its own characteristics. We need to choose the proper type under different circumstances.
PLA with lower melting point, has better adhesive properties, emits no odor during the printing process-which is the biggest advantage.
ABS is better known for its low density, light weight, good toughness and certain flexibility.
If you need to print a craft, having nothing strict requirement on the weight and the toughness, then PLA is the best choice. But if you want the model lighter with some hooks or buckles, and toughness, ABS must be better. The ELF is printed by using ABS.
All the 3D print models mentioned above can be found on Makerbot Thingiverse. If you want a 3D print nano drone, welcome to check out on our Indiegogo campaign page.
About the Author


How to Send Micro:bit Data to ThingSpeak IoT Platform
January 11, 2018

VC0706 Camera Module DIY Guide
December 18, 2014

nRF24L01 Module Demo for Arduino
May 6, 2011


Children’s Programming Education is the Future Trend
March 20, 2024
ELECFREAKS AI Smart Lens Now Compatible with Gigo Building Blocks!
February 21, 2024


Comments