Case 16: Memory Test
Contents
20. Case 16: Memory Test#
20.1. Introduction#
This is a memory testing device. The red and green lights on the device will light up randomly. After all the light instructions are displayed, you need to press the corresponding buttons according to the order of the lights, (A stands for red, B stands for green) , If in the correct order, the micro:bit displays “√”, otherwise the micro:bit displays a sad face.
20.2. Quick to Start#
Materials#
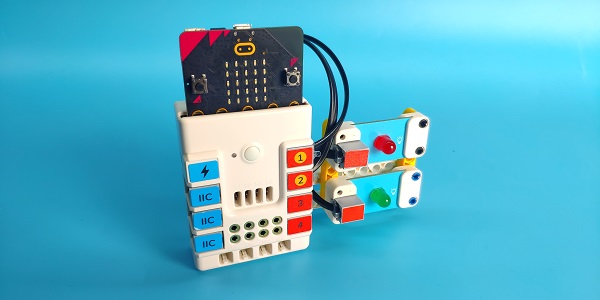
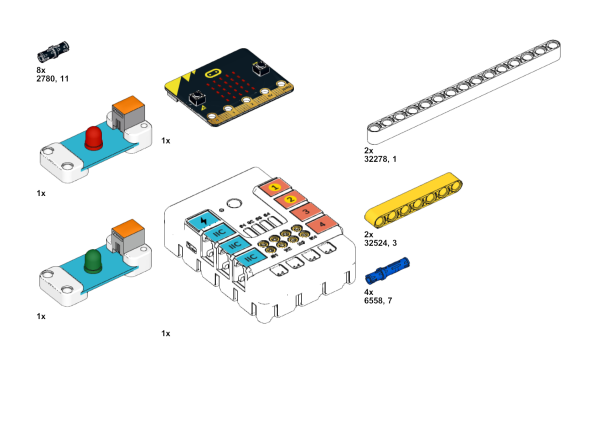
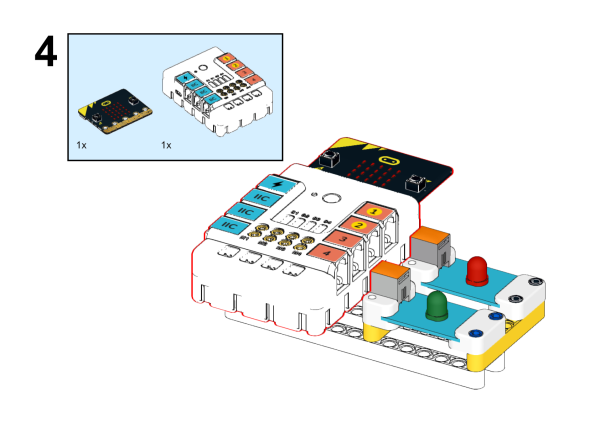
Nezha expansion board × 1
micro:bit × 1
LED-red × 1
LED-green × 1
RJ11 wires × 2
Bricks × n
Tips: You may need to purchase Nezha Inventor’s Kit if you want all the above compoents.
Connection Diagram#
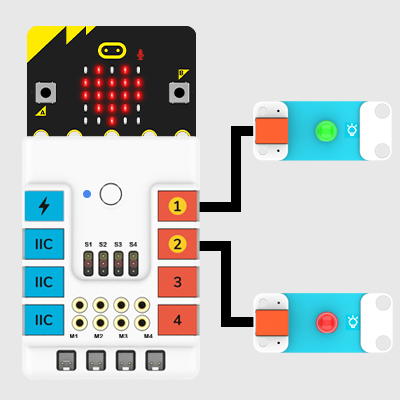
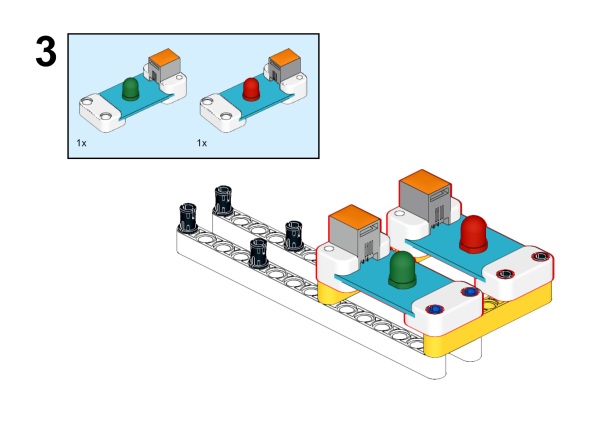
Connect the green LED to J1 port and red LED to J2 port on the Nezha expansion board as the picture shows.
Assembly Video#
Video link:https://youtu.be/ie4sO5qNvfM
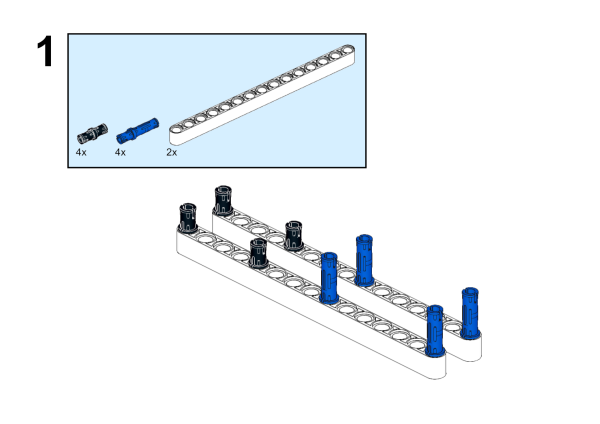
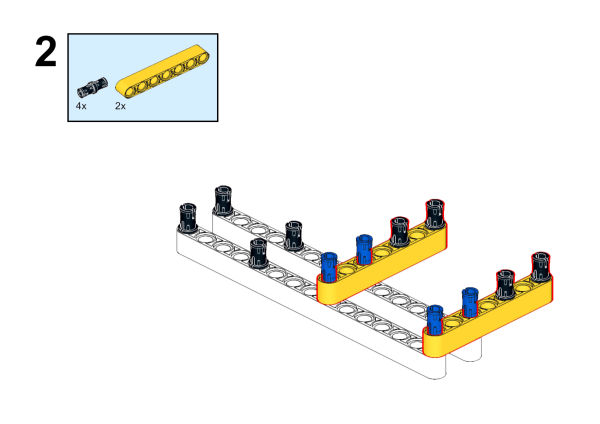
Assembly Steps#
20.3. MakeCode Programming#
Step 1#
Click “Advanced” in the MakeCode drawer to see more choices.
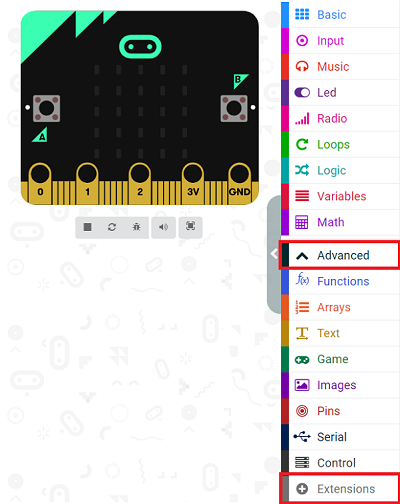
We need to add a package for programming. Click “Extensions” in the bottom of the drawer and search with “PlanetX” in the dialogue box to download it.
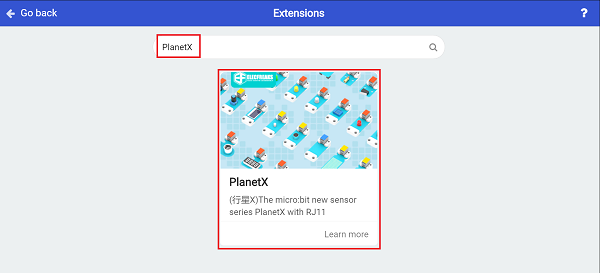
Note: If you met a tip indicating that the codebase will be deleted due to incompatibility, you may continue as the tips say or build a new project in the menu.
Step 2#
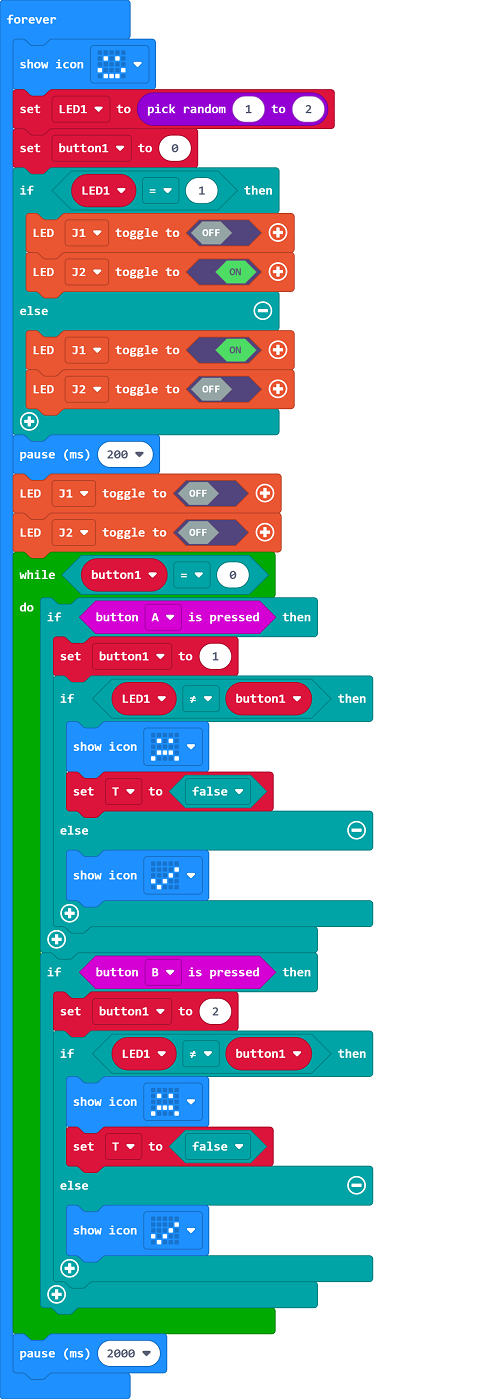
Programme as the picture shows:#
Link#
Link: https://makecode.microbit.org/_RXyWcdDkYWm3
You may also downoad it directly below:
Result#
The red and green LEDs light on at random, press button A while the red lights on; press button B while the green lights on, if you press them at the right sequence(A for red and B for green ), the micro:bit display a “√” or it displays a sad face.