

Introduction
To make a color recognition car.
Quick to Start
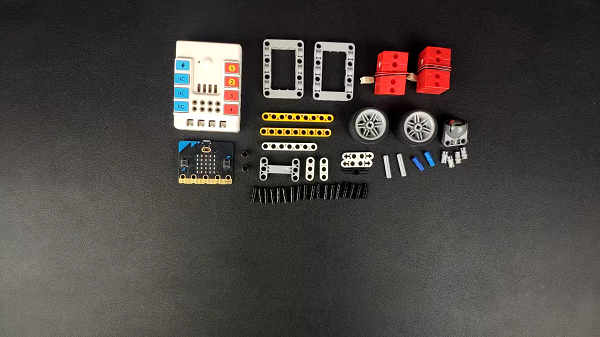
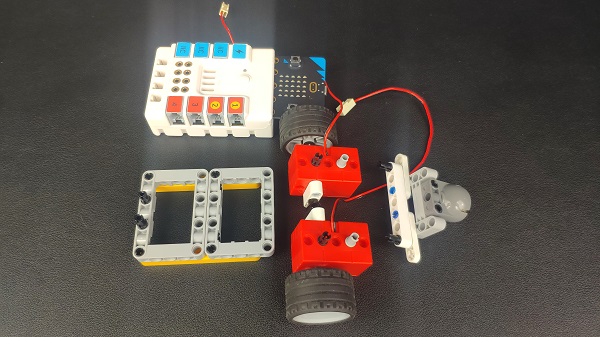
Materails
micro:bit V2 x 1
360°servo x 2
Color sensor x 1
Rainbow LED ring x 1
Bricks x n
Bricks details
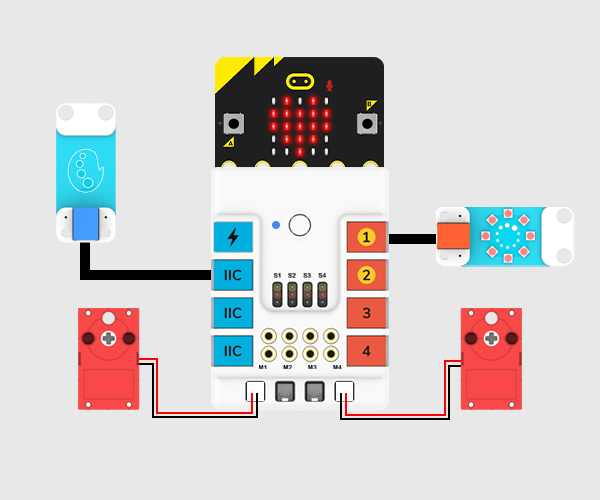
Connections Diagram
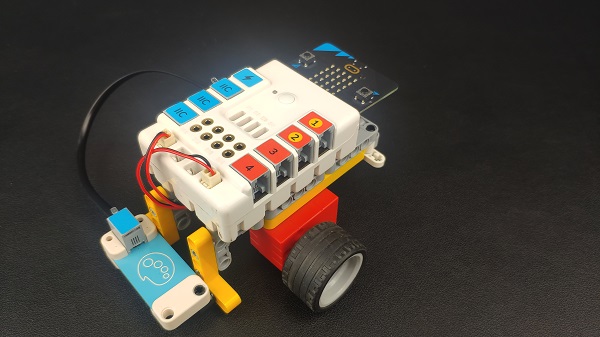
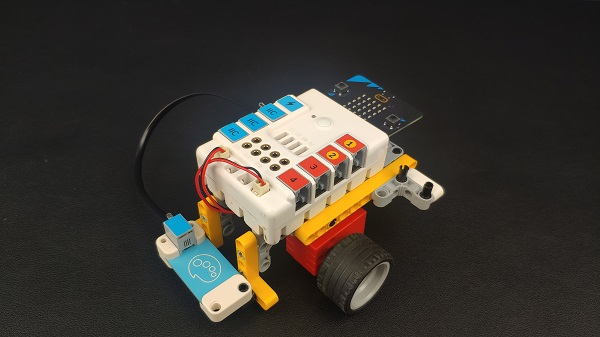
Insert the micro:bit, connect the motors to M1and M4 , the color sensor to IIC port and the rainbow led ring to J1 on the Nezha expansion board as the picture shows.
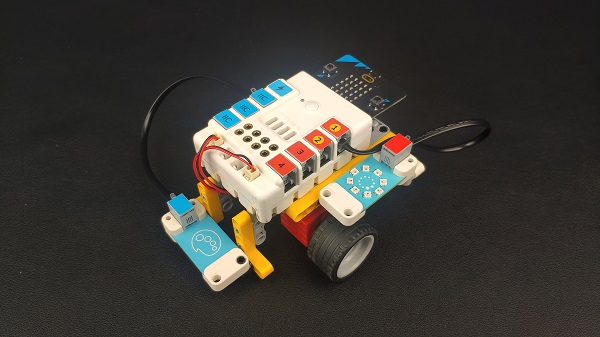
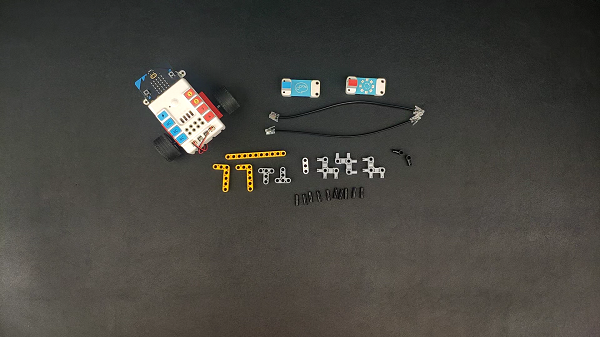
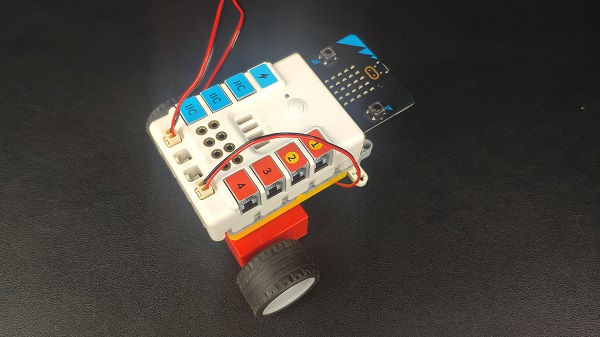
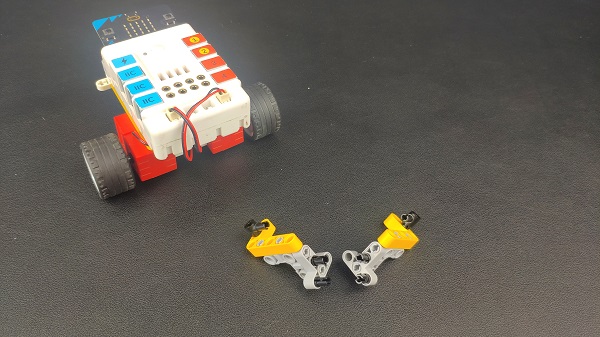
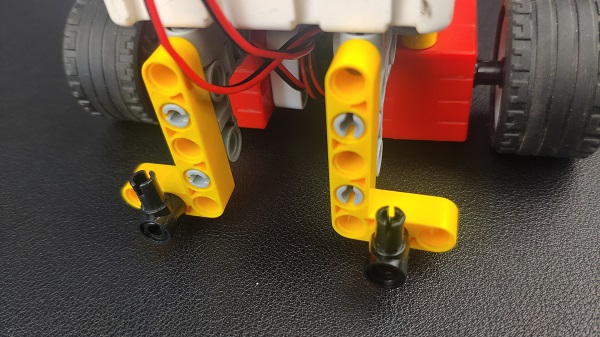
Assembly
Build a device as the picture shows:
Video reference:
MakeCode Programming
Step 1
Click “Advanced” in the MakeCode to see more choices.

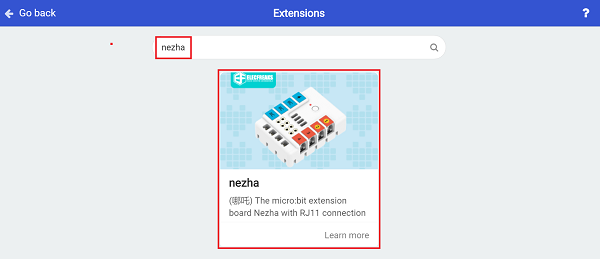
For programming, we need to add a package: click “Extensions” at the bottom of the MakeCode drawer and search with “nezha” in the dialogue box to download it.
Notice: If you met a tip indicating that some codebases would be deleted due to incompatibility, you may continue as the tips say or create a new project in the menu.
Step 2
Code as below:
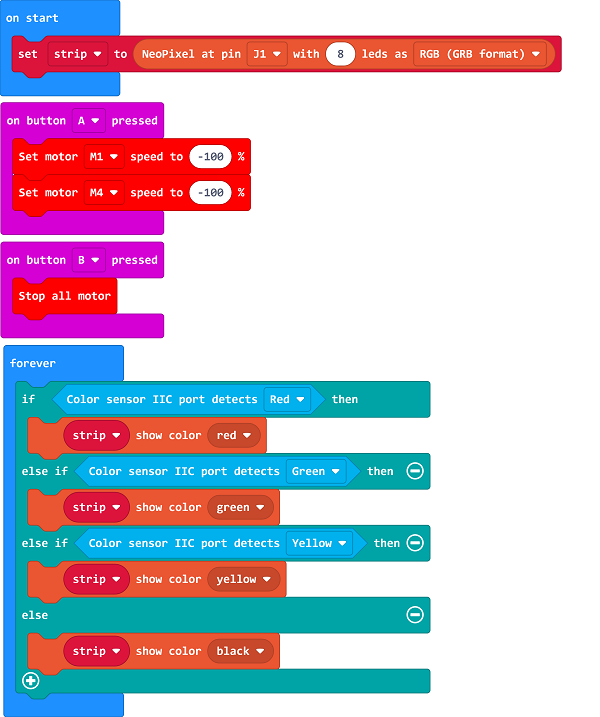
Link: https://makecode.microbit.org/_fzaisgJfKKKj
Result
After powering on, the lights on the car turn on with the color detected from the color sensor.


