

You may be reading this article and you have a need: you just bought a new device online, a color sensor, a programmable book bag or a 24-way servo control board or something like that. You can’t find the driver library for this new device in MicroBlocks’ built-in library of building blocks, but you want to use MicroBlocks to program the new device, what should you do?
Don’t worry, this article is just for you.
Writing driver libraries for new devices sounds like an intimidating thing to do. In most hardware programming platforms, you need to get to the “ground floor” to work, and these platforms will dress up the user interface, but once you get to the “ground floor”, you will find it’s as chaotic as your bedroom.
When you write drivers “on the ground”, you are no longer able to use the skills you learned before to program, because you are now working “on the ground”! This is true for most graphical programming systems today, whether it’s MakeCode, Scratch, node-red, Mind+, Wise Programming, Kittenbot…
What do users think about this? It seems that users should complain about the poor scalability of such platforms, about the inability of system designers to build more consistent systems, about the fact that they simply don’t understand what end-user programming is all about…
But users are usually taught by the “bottom” developers that that’s what real programming is all about. It’s like they’re saying that what you were using before was just something to fool kids. This is a rather sad aspect of today’s computer culture. Bret Victor, in The Future of Programming, makes a rather bitter satire of the ignorance and arrogance of so-called “real programming”.
A system that wants to help users grow over time, and grow with them, should take scalability and growability seriously, and it should support end-users to easily extend it (Hypercard is a good example of such a system). The user community should be in control of the system and not expect developers working at the “bottom” (who are like “clergy” with a monopoly on “literacy”).
MicroBlocks is just such a growable system that can be easily extended by users. It is architected with growability and scalability in mind.
MicroBlocks allows you to build driver libraries in a graphical environment! (Another graphical system with great scalability is Berkeley’s Snap!)
You don’t need to go “under the hood”, you can build new driver libraries to drive new devices directly in the normal user programming interface.
Let’s move on to the operational part.
Specifically, introducing a new device into MicroBlocks can be done in three steps:
Figure out the hardware communication protocol used by the new device.
Create a custom block in the IDE (usually a wrapper around the communication protocol).
Move the custom building block into the newly created library (distributing it as needed).
Next, let’s start discussing them one by one.
1. Figure out the hardware communication protocol used by the new device
If you purchase a new device with online documentation, you can quickly figure out the communication protocol by reviewing the documentation. Device manufacturers usually have drivers for the major platforms (such as Arduino, MicroPython, JavaScript (MakeCode)) open, so you just need to translate them into MicroBlocks. By the way, Adafruit has opened up a lot of good Arduino/MicroPython driver libraries: Adafruit Github.
Take the ELECFREAKS micro:bit Joystick:bit V2 Kit for example.
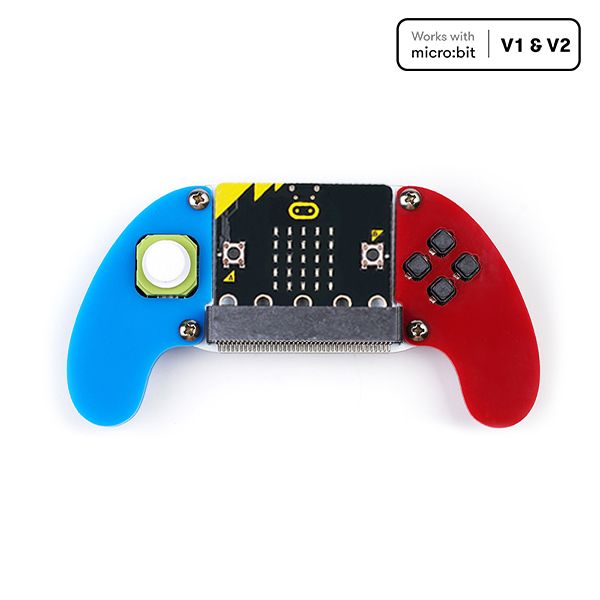
By looking at the WIKI of ELECFREAKS, you can see that it simply uses analog and digital signals. Its JavaScript (MakeCode) driver is available here.
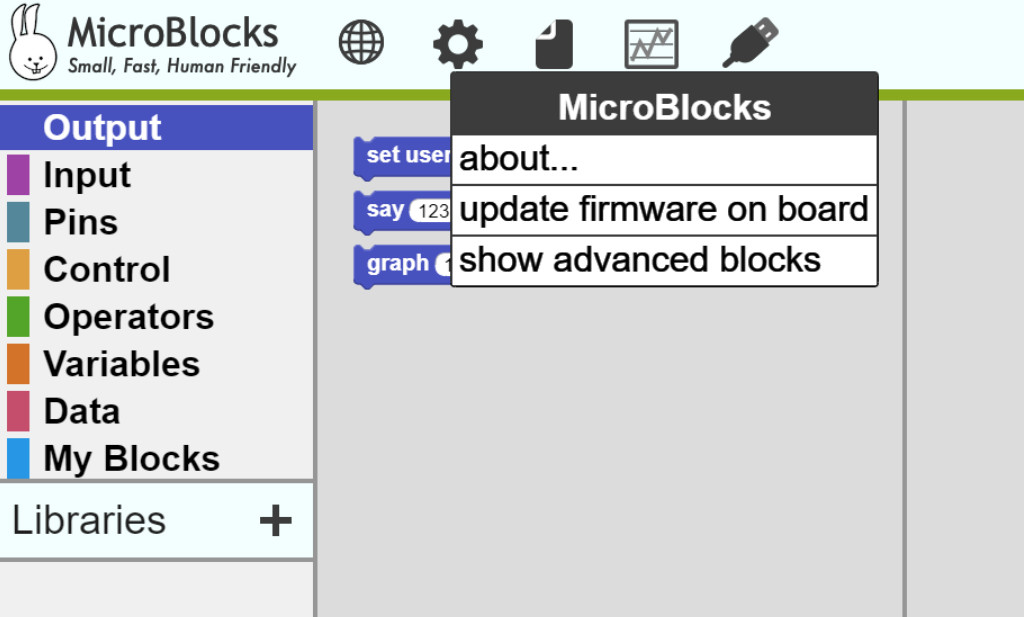
Once we understand the communication protocol, we can create custom blocks in the MicroBlocks IDE.
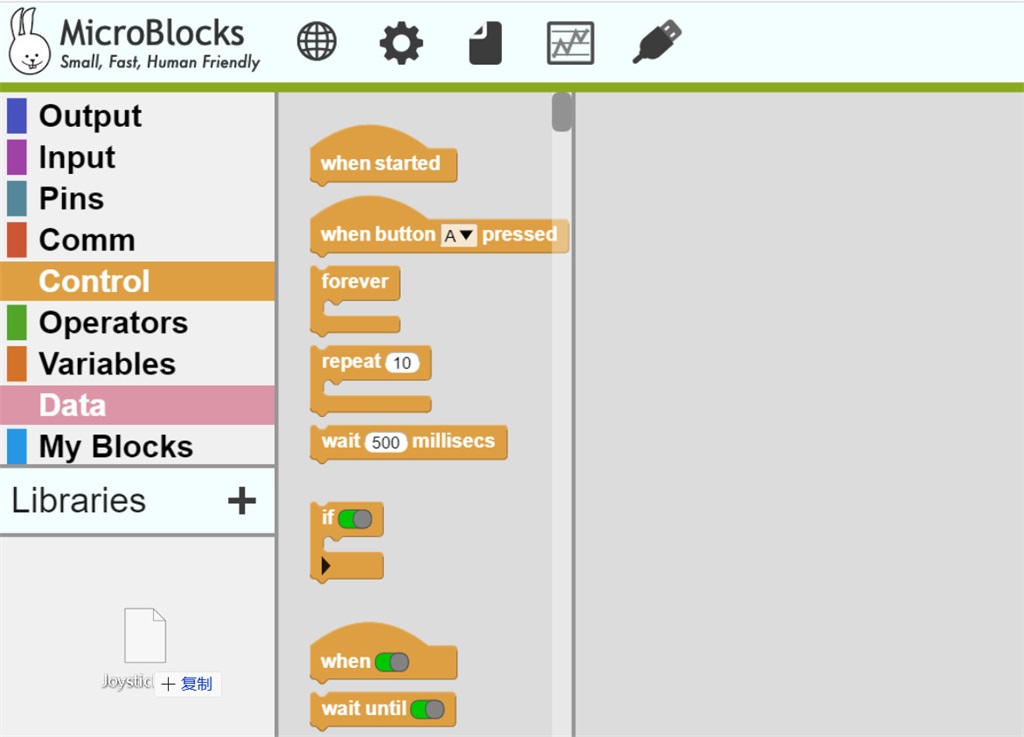
First, turn on Show Advanced Blocks in the settings:
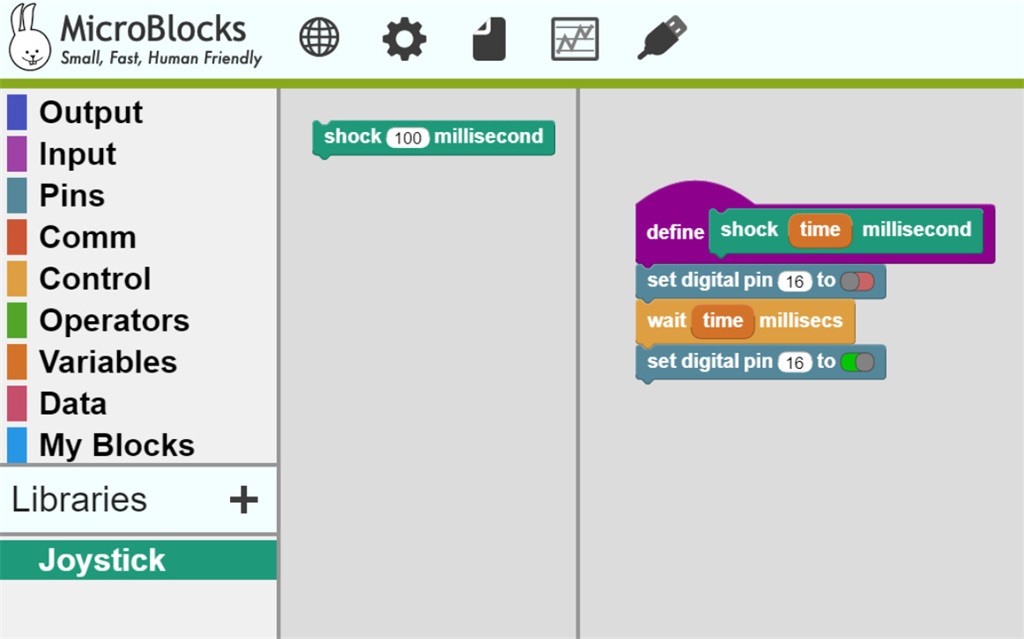
From the WIKI of ELECFREAKS and the JavaScript driver, you can see that the vibration motor is connected to the Pin 16 interface.
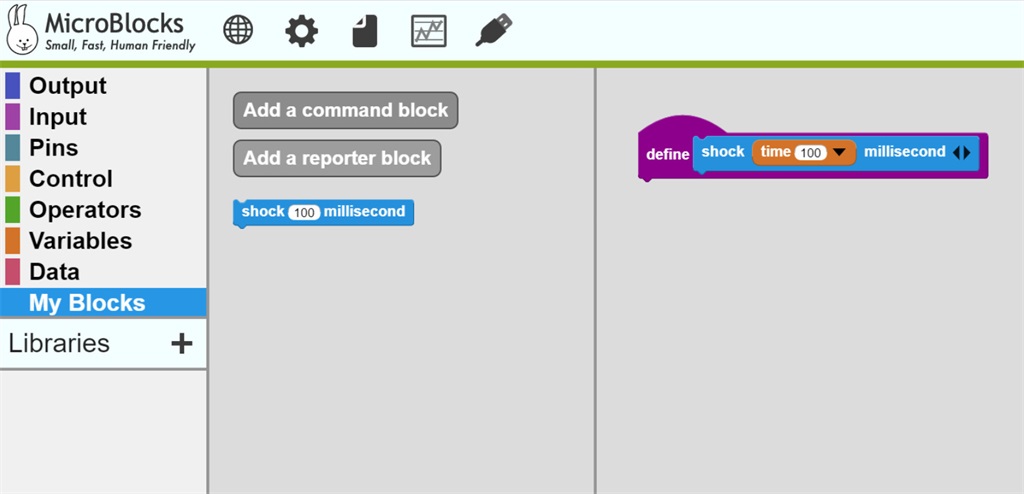
Let’s create a custom block to control the vibration motor.
First, click My Blocks on the left side of the IDE.
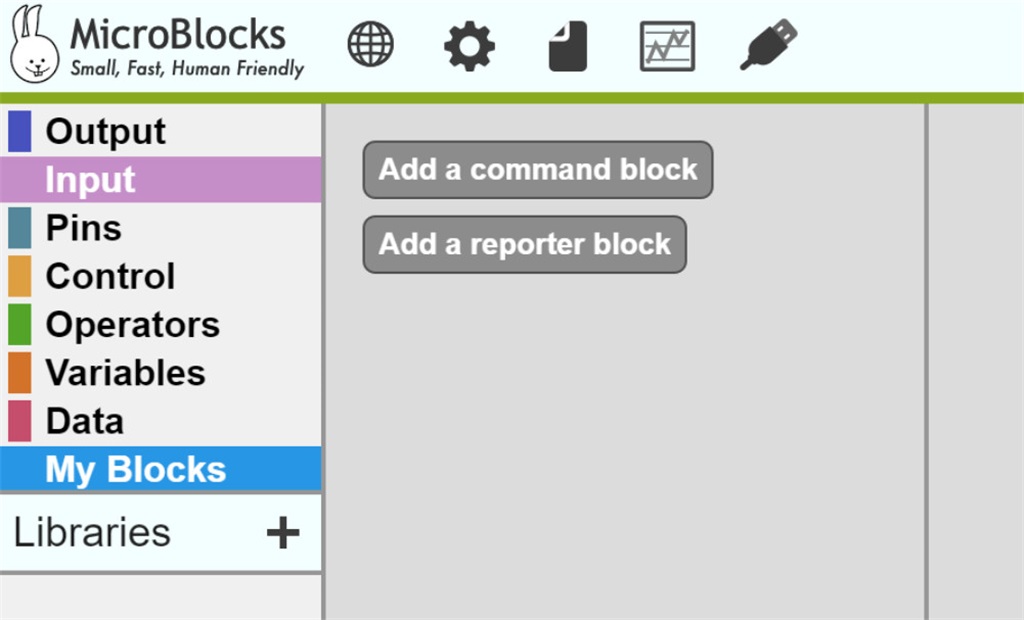
You can see that there are two options:
New command block (output, used to control the actuator)
New report building block (input, used to get data from the sensor)
Controlling the vibration motor is the first type.
Creating a command block, giving a name to the block library and specifying the parameters it receives (the default is 100) is almost the same as creating a homebrew block in Scratch.
Next, let’s refer to the device documentation and driver instructions to give the blocks real functionality:
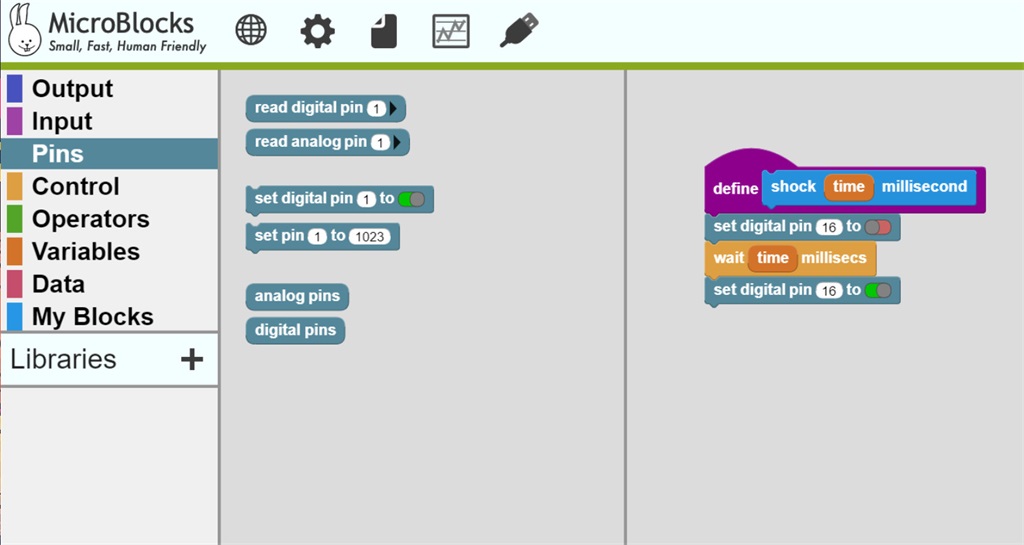
And there we have our first custom block, click on it to make your gamepad vibrate!
The advantage of creating custom blocks in MicroBlocks IDE is that you can reuse all your past experiences in MicroBlocks. You can also use MicroBlocks’ powerful real-time debugging capabilities! This brings a huge efficiency gain and, more importantly, the whole process is fun, just for fun 🙂
By the same token, you can create new custom blocks to drive other features of the gamepad.
When you are done with the custom blocks needed to drive your new device, you may wonder how to distribute those blocks to other users, like distributing a software library.
Just move the custom blocks into a new library.
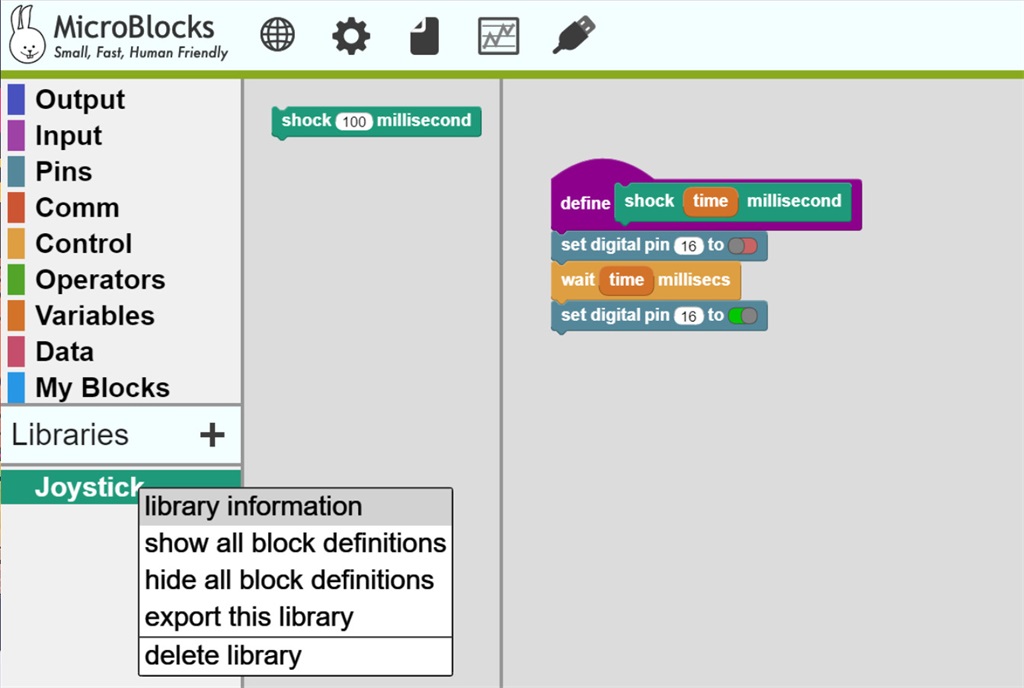
First, let’s create a new library in the IDE (make sure you have Show Advanced Blocks turned on) :
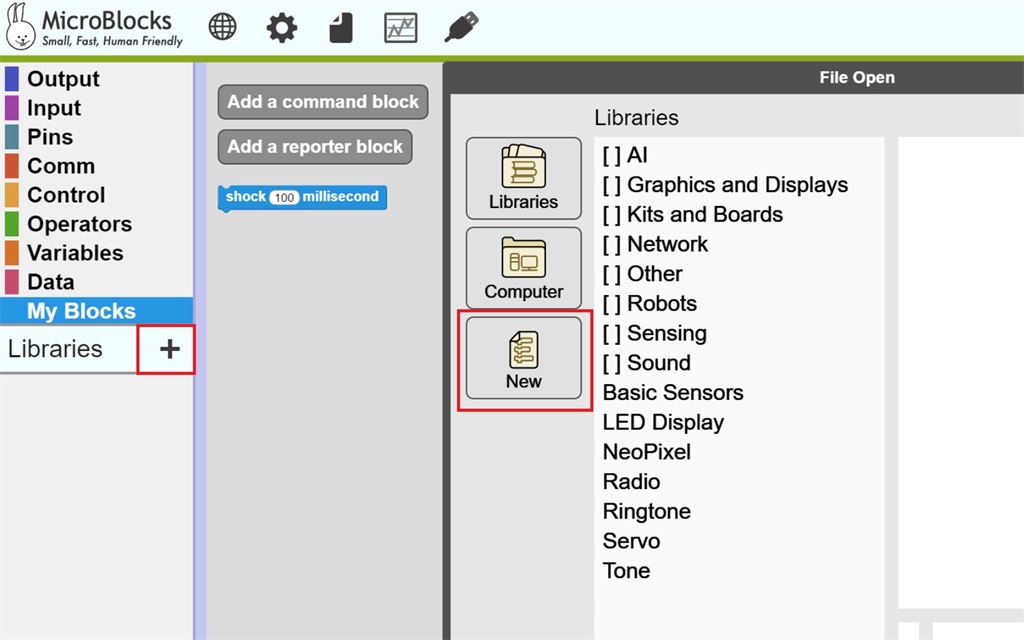
We named it “Joystick”.
We need to set up some information for this new library.
After filling out the library information, click Save.
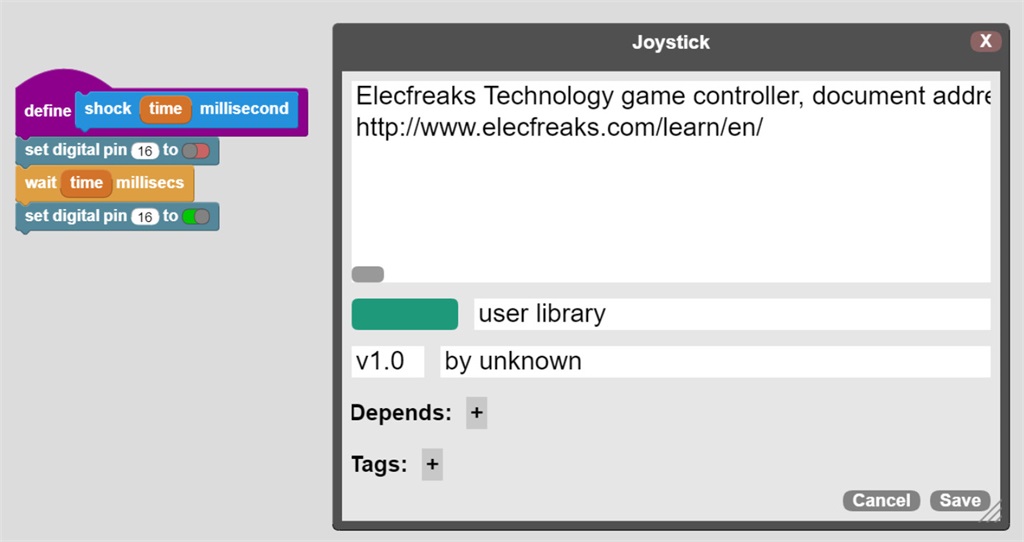
Different colors represent different types of devices, and a gamepad is usually seen as a sensor (input device) that takes input information from the user. Of course it may also have an output function (such as vibration, but this is not its main function). So let’s choose purple (input).
After creating the “Joystick” library, we can drag the custom blocks we created earlier into the library:

Once completed, your blocks will be available in the “Joystick” library:
At this point, you are done writing drivers for the new hardware.
Exporting the driver library
You can distribute the driver library to more users. Right-click on the driver library, export it as an ubl file and send this file to the people who need it.
If you get an ubl file and want to import it, just drag the file directly into the IDE.
More distribution methods
Usually, you don’t need to distribute the building block library directly. If you use a new driver library in your project, it will be included in the project file (udp) and in the project URL when you share your project.
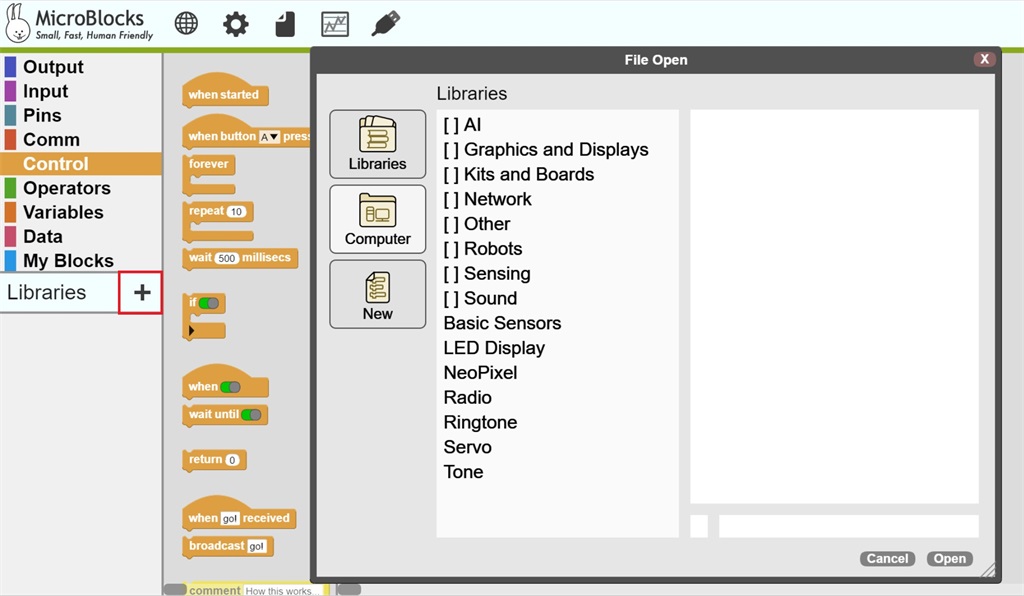
If you want the driver library to be built into the MicroBlocks platform, you can submit it to the official MicroBlocks (make sure your driver library is written in English so that it is available to users worldwide).
If your driver library, written in Chinese, is intended for the Chinese community only, you are welcome to submit it to the Chinese community repository.
If you want to learn more about writing driver libraries, it’s a good idea to check out the driver libraries built into the MicroBlocks platform. There are already many driver libraries built into MicroBlocks.
Right-click on the block of interest and click “ to learn how it is made:
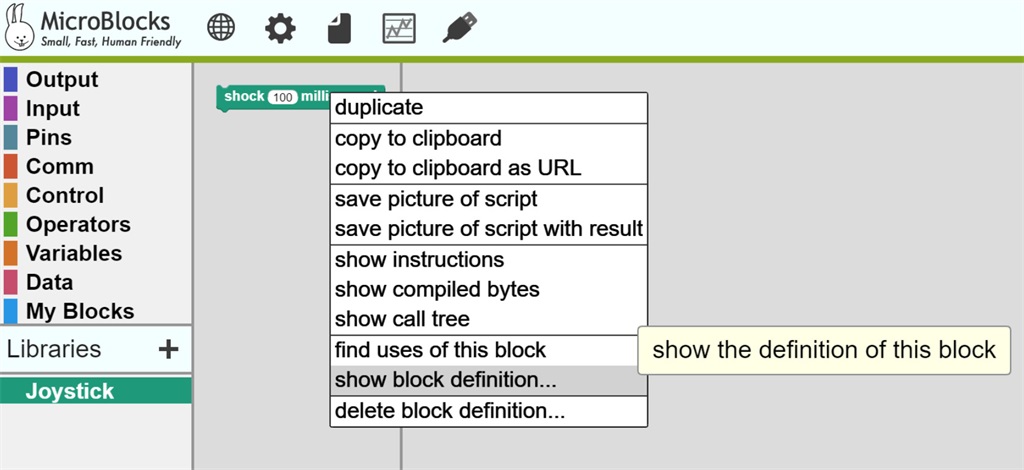
AI/Smart AI Lens(I2C)
Kits and Boards/Nezha Breakout Board(I2C)
Kits and Boards/Wukong Breakout Board(I2C)
Network/MQTT
Other/Joystick bit (full version of this article’s example)(Digital Signals/Analog Signals)
Robots/Cutebot Car(I2C)
Robots/Sphero-RVR(UART)
NOTE: I am familiar with these libraries, so if you encounter any doubts in reading these building block libraries, please feel free to discuss them with me.
I am familiar with these libraries, if you encounter any doubts in the process of reading this building blocks library, welcome to discuss them with me.
I have also documented some experience in writing driver libraries in my blog post, for your reference.
What hardware communication protocols are currently supported by the IDE?
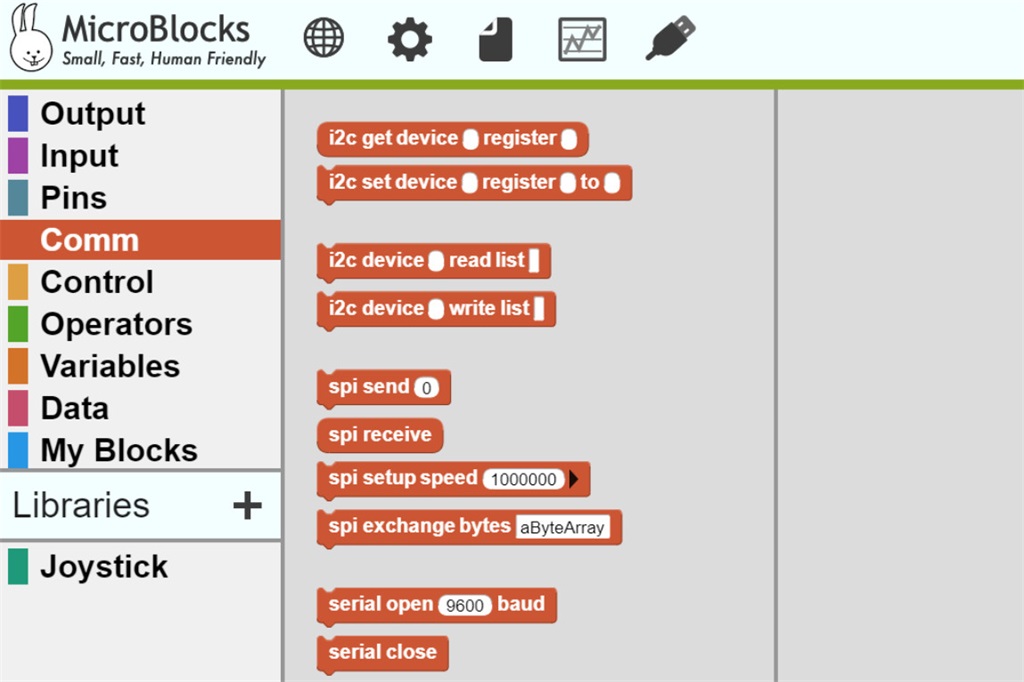
These hardware communication protocols are sufficient to cover most of the major sensors/actuators.
If you have a new device that does not use these hardware communication protocols, then you may not be able to access it in the IDE. If you do not know how to access your new device to MicroBlocks, raise an issue and the MicroBlocks team will give you the proper guidelines.
MicroBlocks currently supports these motherboards.
If you want MicroBlocks to support new programming boards or chipsets, you need to work at the virtual machine (VM) level.


