Dot Matrix Pen Write Screen
January 10, 2019
BAT – Ultrasonic Sensor Distance Measuring
January 10, 2019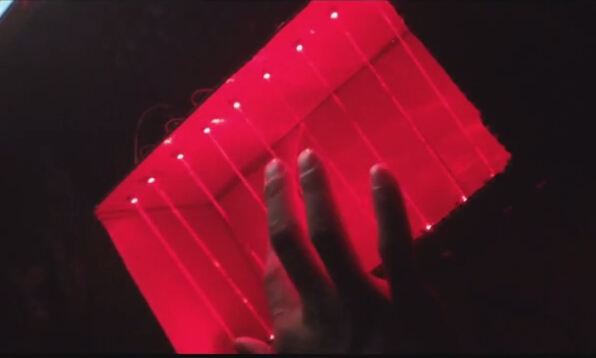
Hi Guys, today, ElecFreaks will show you a guide how to make a cardboard laser piano by yourself. By this way, I think you do not only could make piano , you can transform a table , a window or a wall to be a Laser Piano or a Laser Harp .
The Cardboard Laser Piano was based on Arduino UNO, with photosensitive modules, laser emitting diodes, JQ6500 voice module combined, the simple electronic piano detects high-low level current outputted by the adjustable photosensitive modules via laser radiation, thereby sending different orders which represent different notes to JQ6500 module. Users can replace notes and songs anytime, only they’ve downloaded the pre-recorded audio into JQ6500 module in advance.
The simple electronic piano can be easily ported to Raspberry Pi and other open source platforms. It’s easy to operate and convenient to DIY. http://youtu.be/QWdmwE-QR6s
Preparation
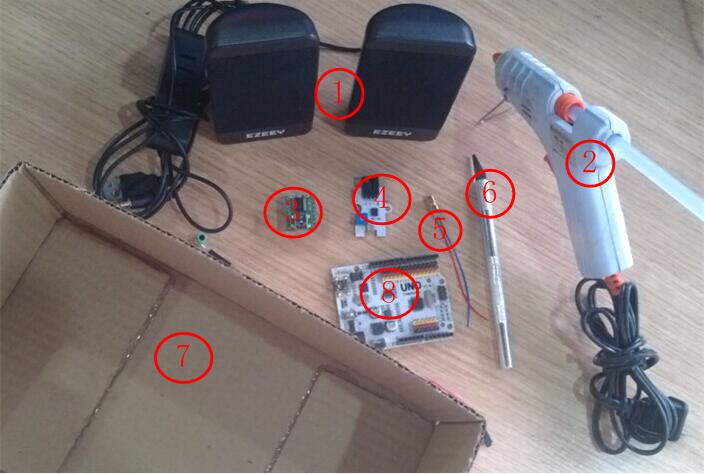
You can get some of the parts from our store.
1. USB mini audio
2. Sol gun
3. JQ6500 voice module
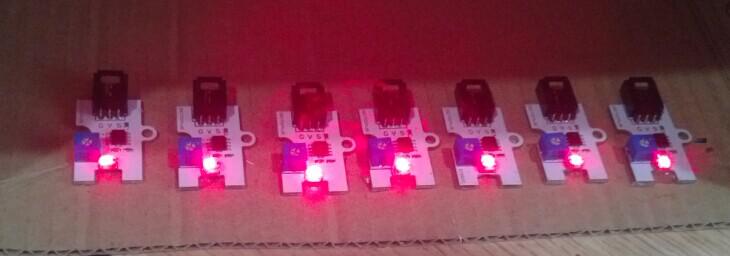
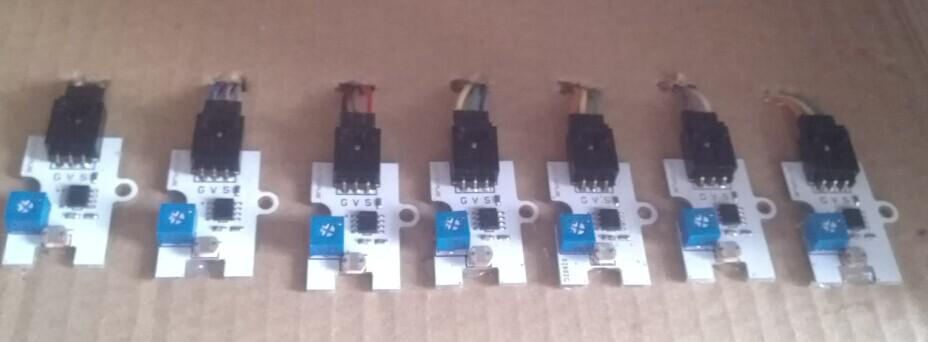
4. Adjustable photosensitive modules
5. The laser emitter
6. Knife
7. Box for installing the laser emitter and the photosensitive modules
8. Freaduino UNO
DownLoad
Building Process
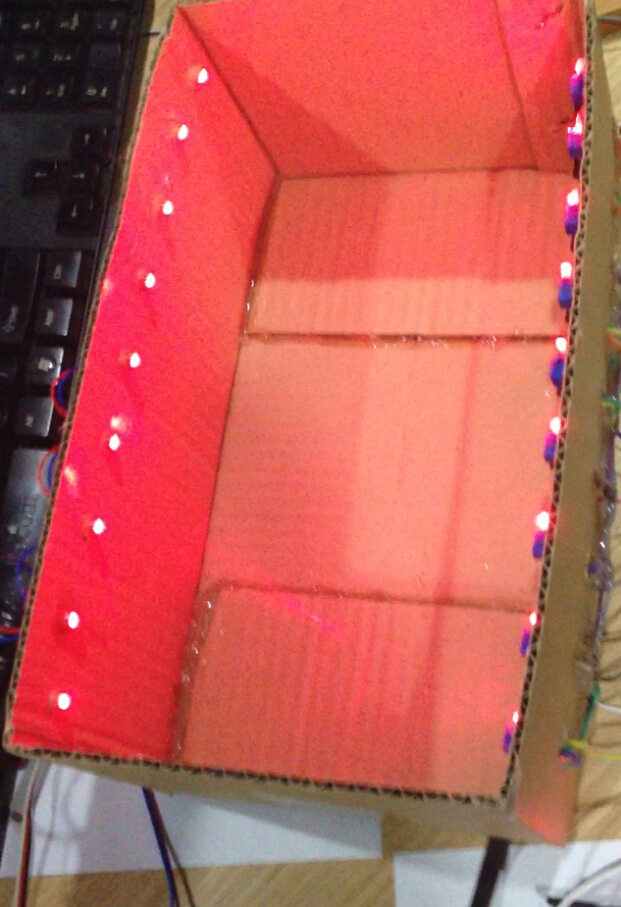
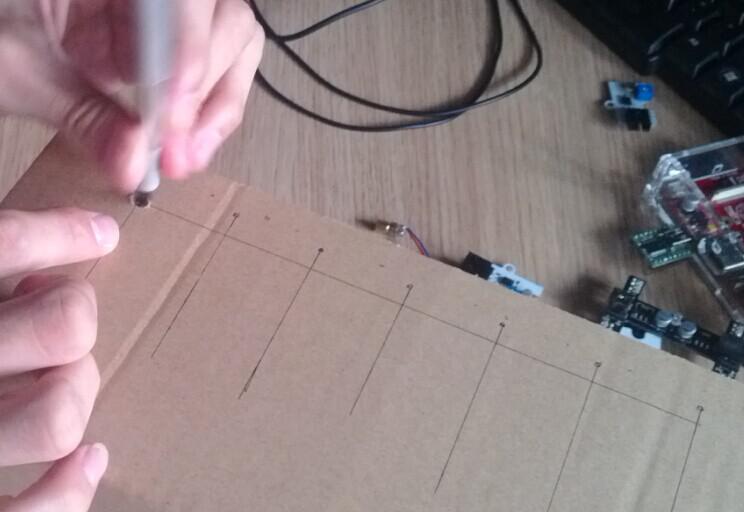
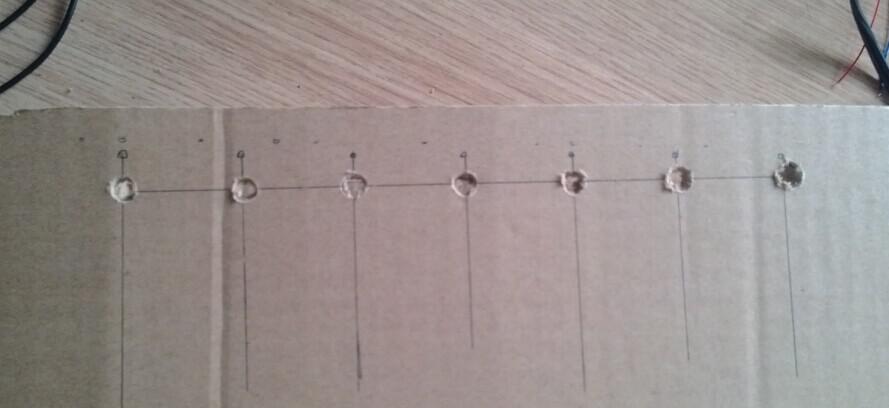
1. Poke a line of holes in the box for the laser emitter installation with the knife.
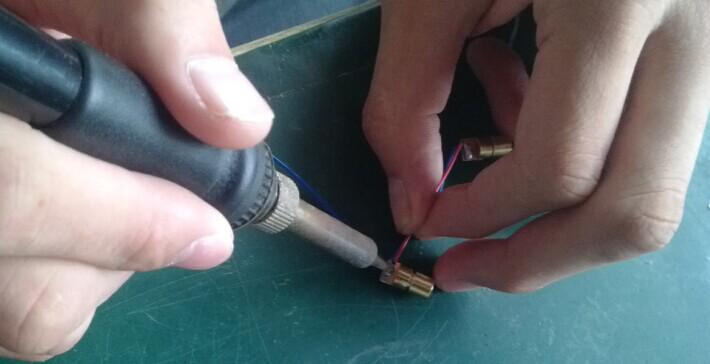
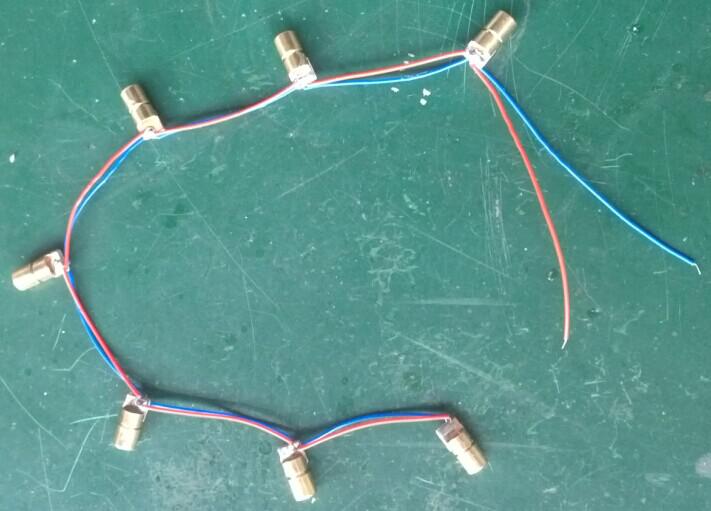
2. Weld the laser heads together in parallel with a soldering iron.
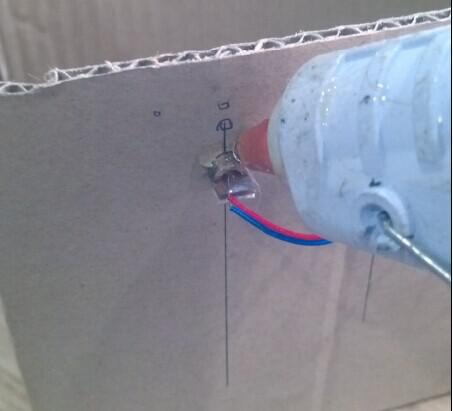
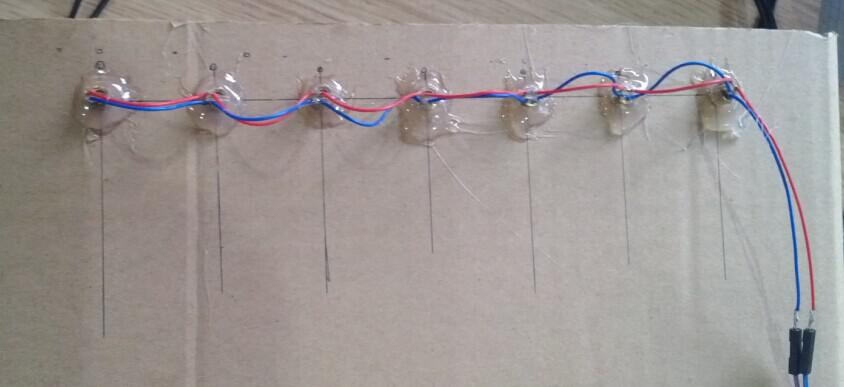
3. Mount the laser emitters to the holes and fix them by sol gun.
4. Fix the adjustable photosensitive modules on the other side of the box.
Make sure that the laser emitted from the laser head should be directed at the photoresistances on the adjustable photosensitive modules.
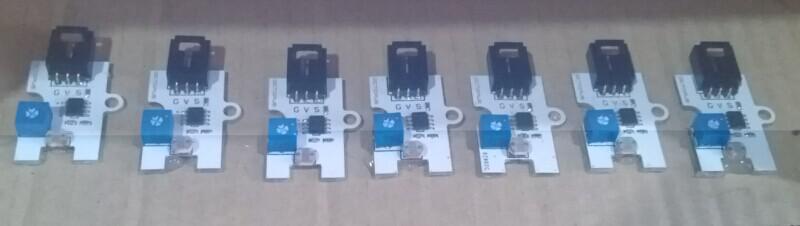
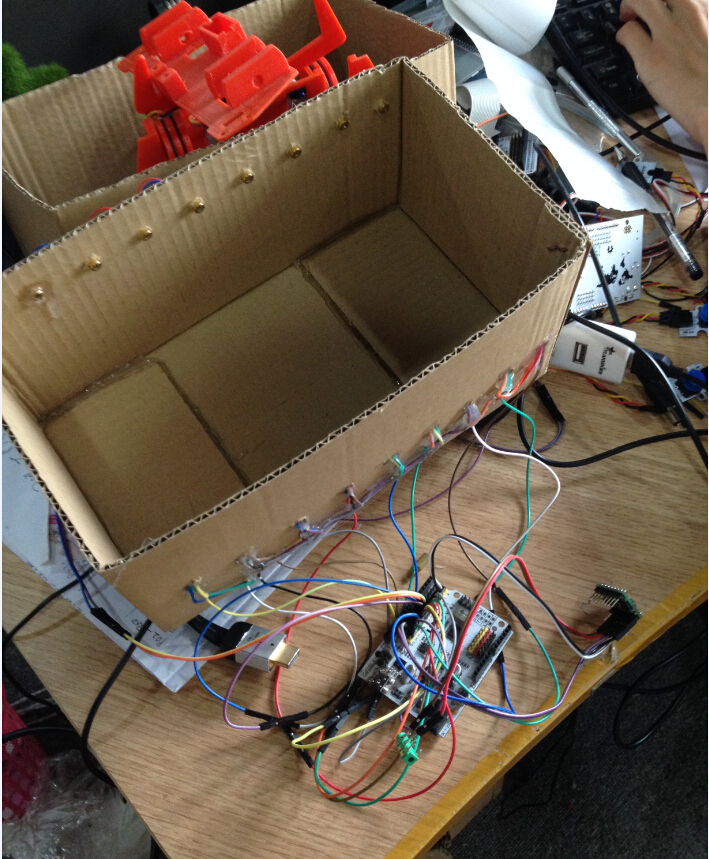
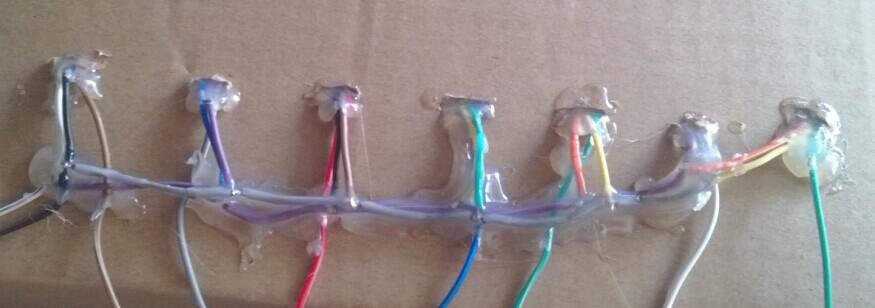
 5. Lead the photosensitive modules to the outside of the box via DuPont lines, connect them in parallel via the soldering iron and fix them via the sol gun.
6. Insert the photosensitive module into Freaduino UNO.
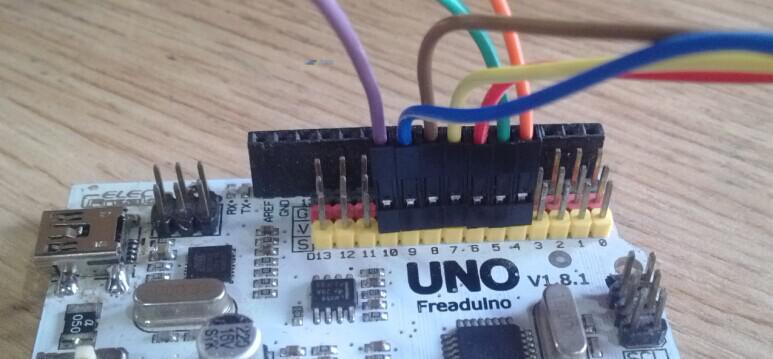
Note: The simple electronic piano gets the signal pins of the photosensitive modules access to D4, and then D10 on UNO.
Learners can choose different IO ports according to their actual situations.
7. Plug the voice module in Freaduino UNO and the USB audio in the voice module.
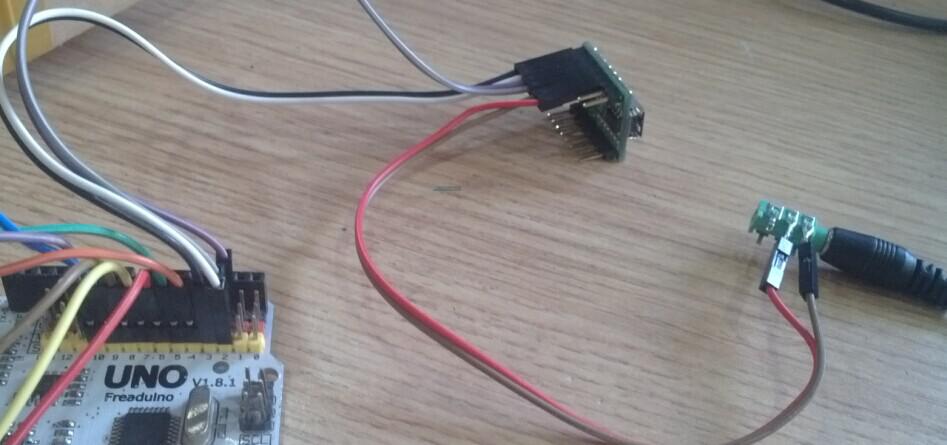
Note: Wiring the voice module with UNO as shown in the following table
| UNO | JQ6500 |
| D2 | TX |
| D3 | RX |
| VCC | DC-5V |
| GND | GND |
So far, the building of the simple electronic piano is completed. Power up and download the codes, start to enjoy the audio feast it brings.