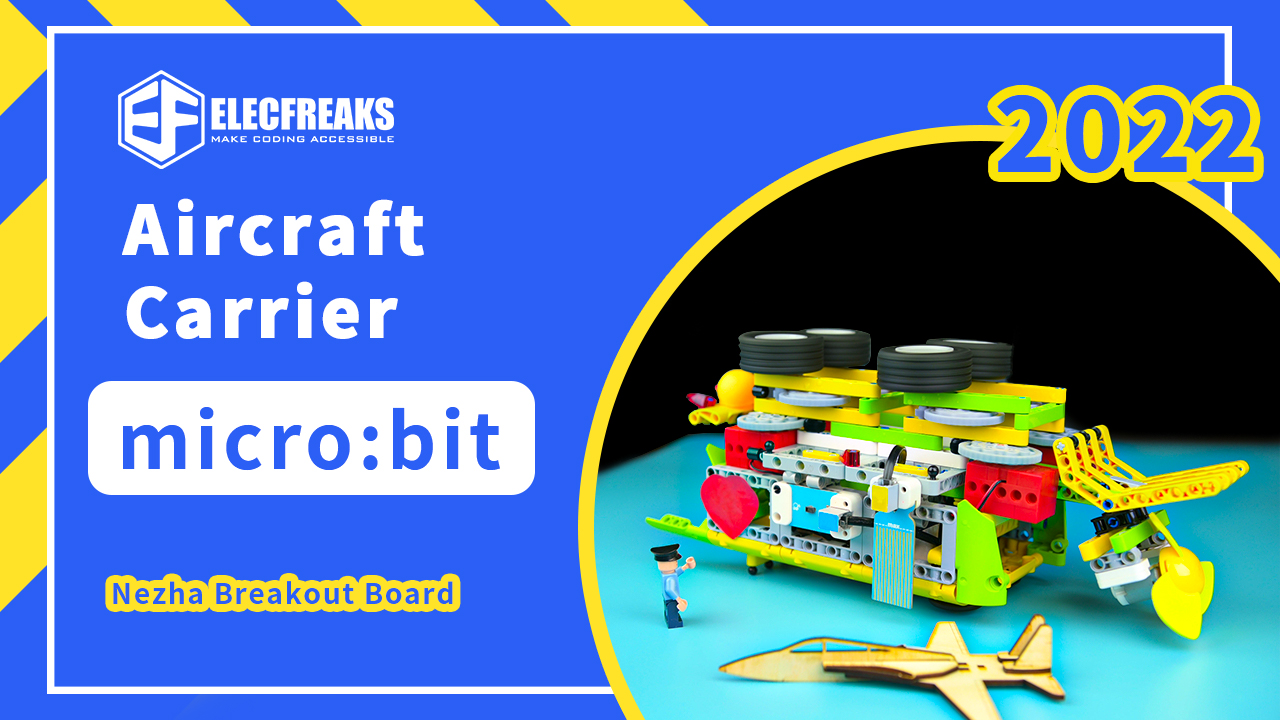
Aircraft Carriers are large surface combatants that provide a base for maritime activities with aircraft as their main combat equipment, or “carriers” for short. Aircraft carriers have become an indispensable weapon for modern navies and one of the most important ships in naval warfare. By relying on aircraft carriers, a nation can exert military pressure and conduct operations far from its territory and without relying on local airfields. Aircraft carriers have become an indispensable tool for modern navies and a symbol of a nation’s comprehensive national power. That’s right, today we’re going to do it with the “ELECFREAKS Aircraft Carrier”! Let’s see how I did it!
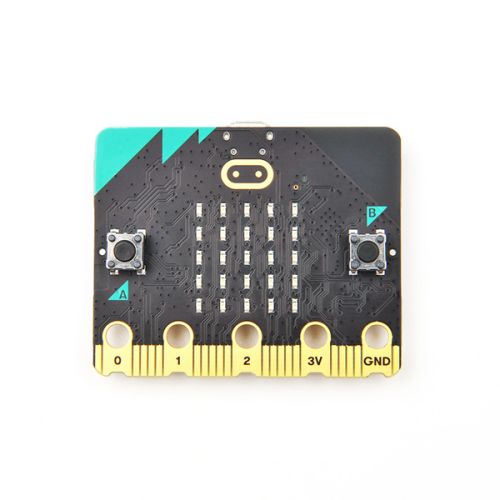
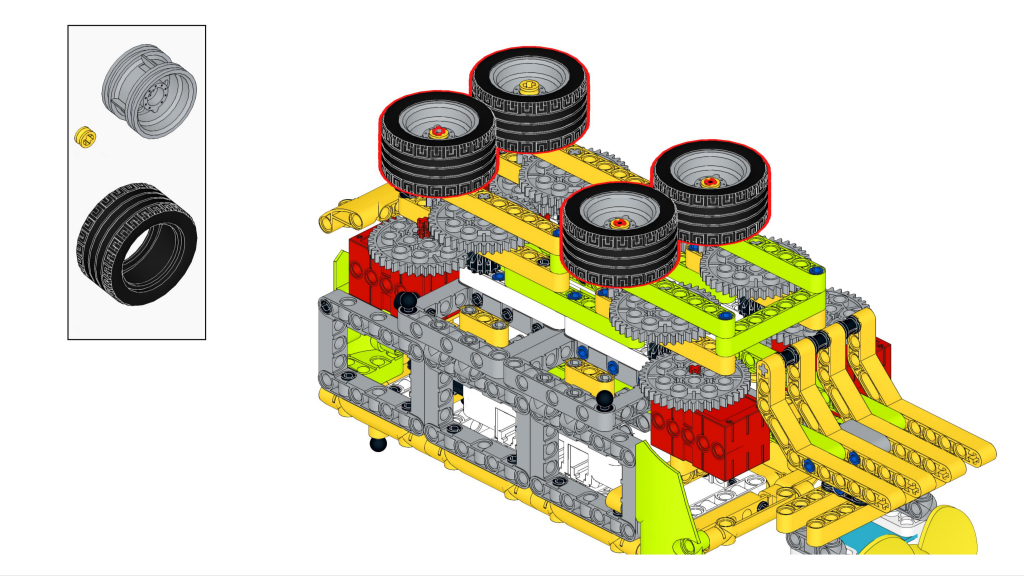
To complete this device, you first need to prepare some of the sensors and parts that I have shown above. The “Envoy Aircraft Carrier”, which we built over 3 days, has 3 main functions.
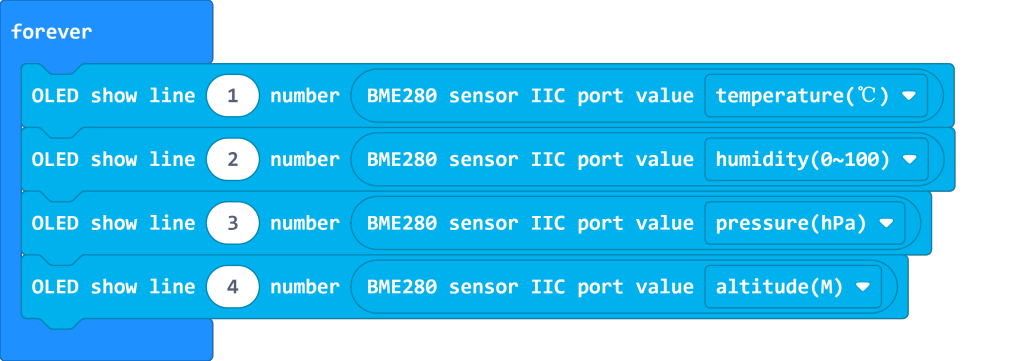
Function 1: detects the current environmental status (temperature, humidity, air pressure, altitude) and displays it on the OLED display
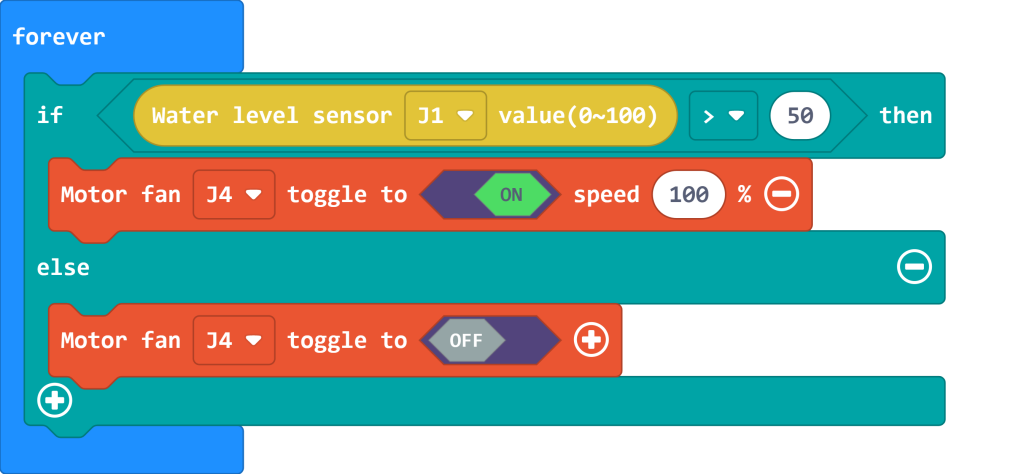
Function 2: The analog water level sensor detects the presence of water and controls the fan (propeller) to turn on automatically
Function 3: When the gesture recognition sensor recognizes the “launch” gesture signal, the four motors start to launch the paper plane at the same time
Next, follow the steps of my construction and programming!
BUILDING STEPS
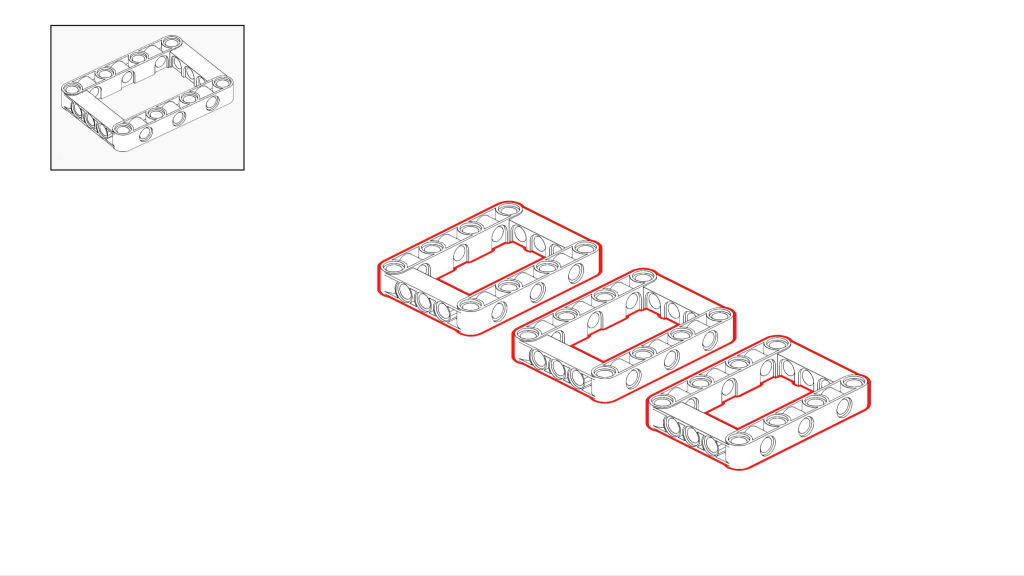
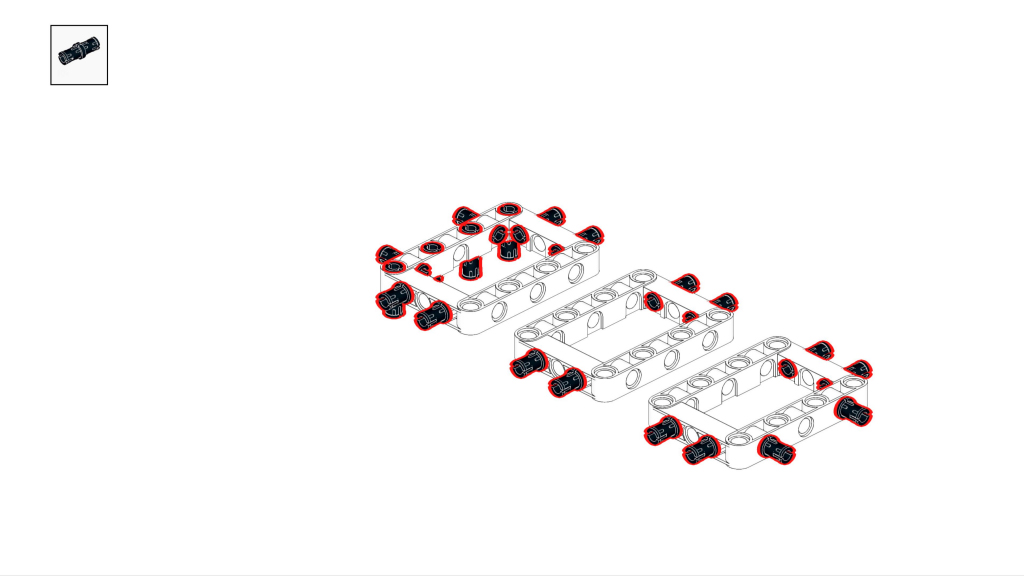
1. First, build the base. Use 20 black pins and insert them in the corresponding holes of each of the 3 boxes as shown in the picture.
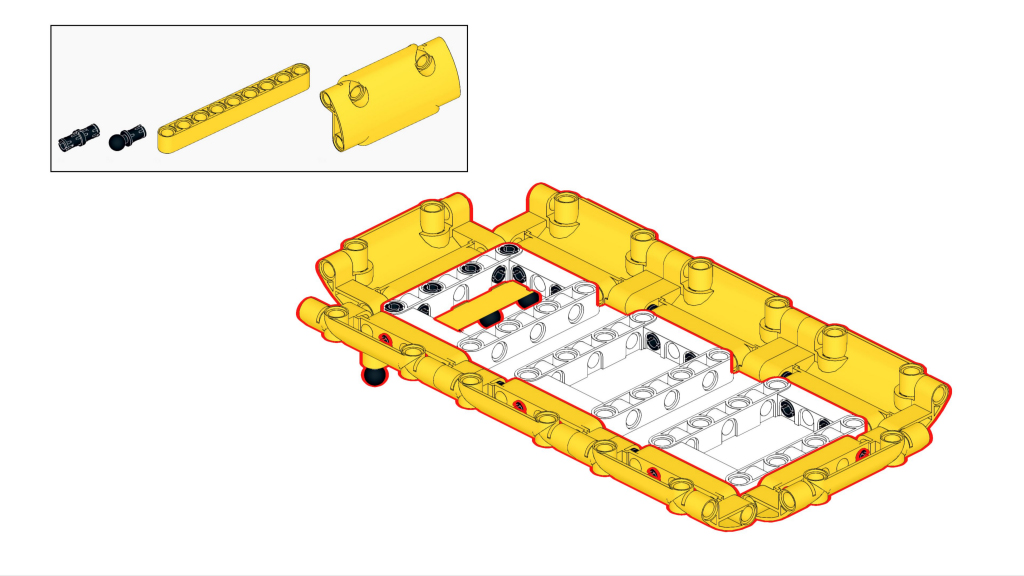
2. Find 8 curved blocks to fit around the box and a 9-hole strip to fit at the bottom as shown.
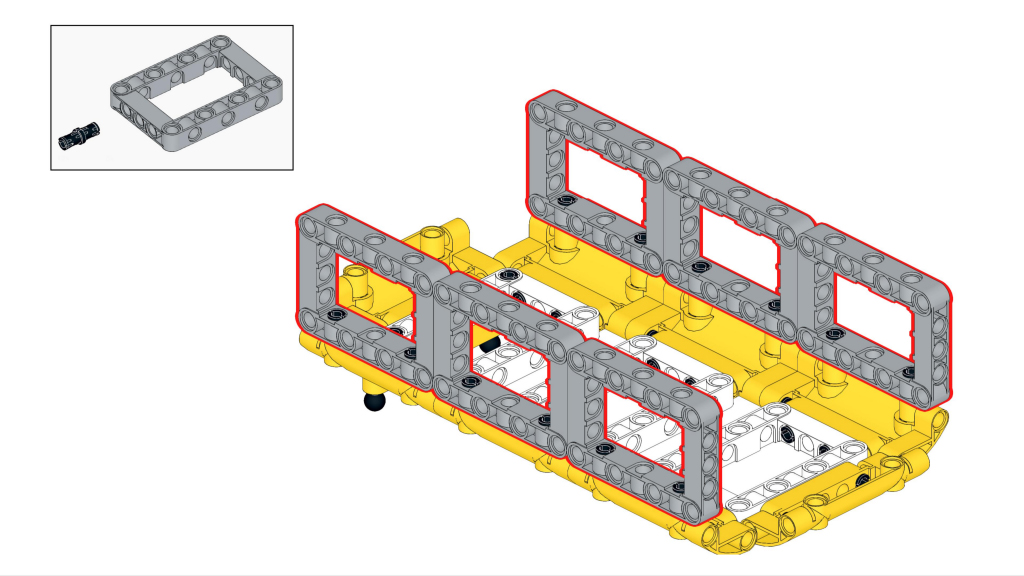
3. Find 6 square frames to build up vertically; then we need to add some nice decorations to the base. The base frame is then roughly formed.
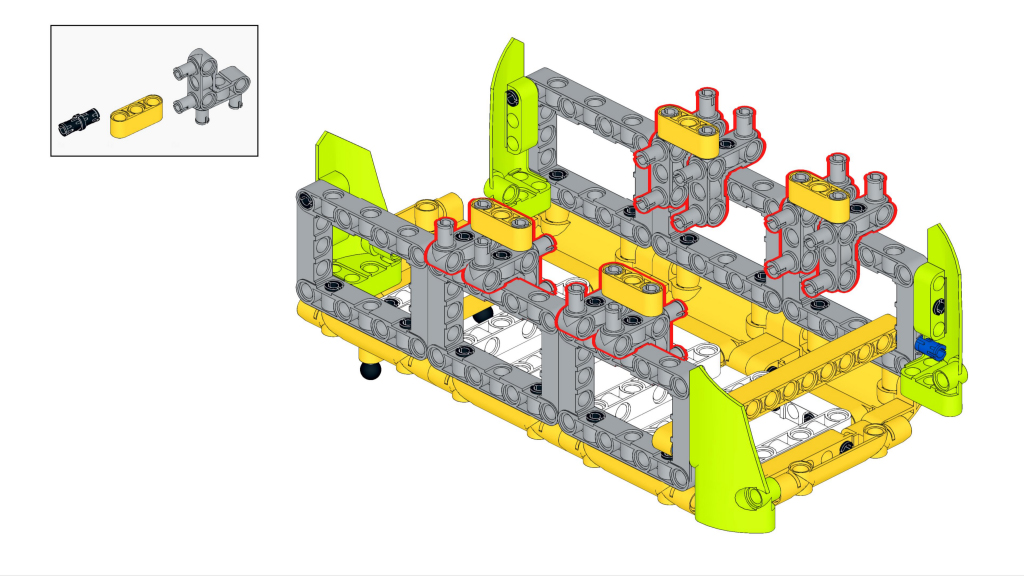
4. Next, you will need 6 horse-shaped pins and 4 3-hole blocks. Attach the 3-hole blocks to the 2 horse pins and fix them in place.
5. Install the Nezha Breakout Board. Nezha is inserted with the motherboard facing down and the ladder block pieces and black pins above to hold it in place.
6. This step requires the use of 9-hole and 5-hole building blocks, you can choose different colors. Install the 9-hole blocks below, and stack the 5-hole blocks on both sides.
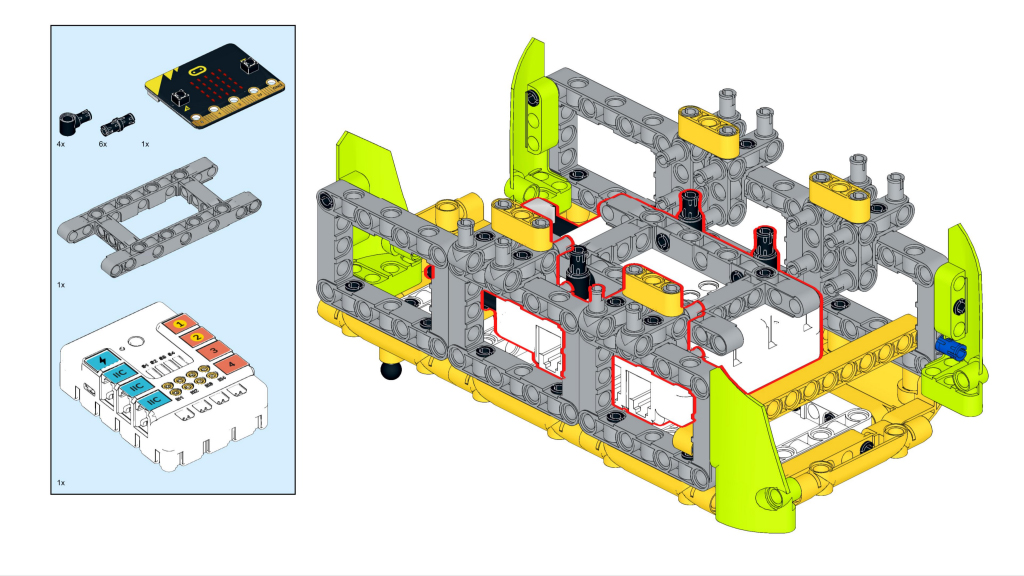
7. Insert the 5-hole blocks and the 15-hole blocks on each side of the H-pin in turn, with the long blue pin in the middle to hold them in place and the short grey and black pins on the 15-hole blocks.
8. In this step we are fitting the rear of the carrier, using 4 curved blocks together to connect to the 15-hole blocks fitted in the previous step. There is a T-block in the middle for the next step.
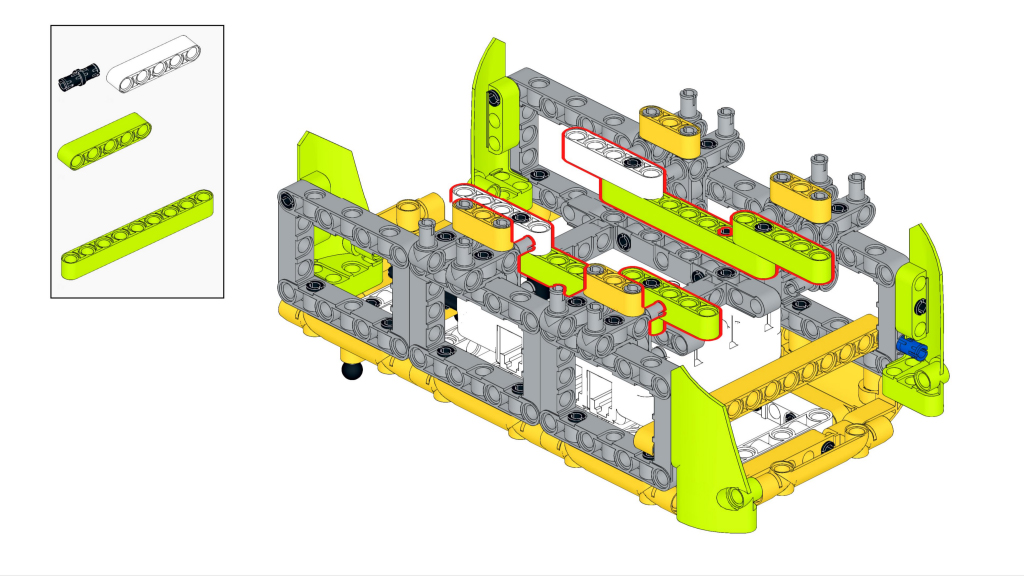
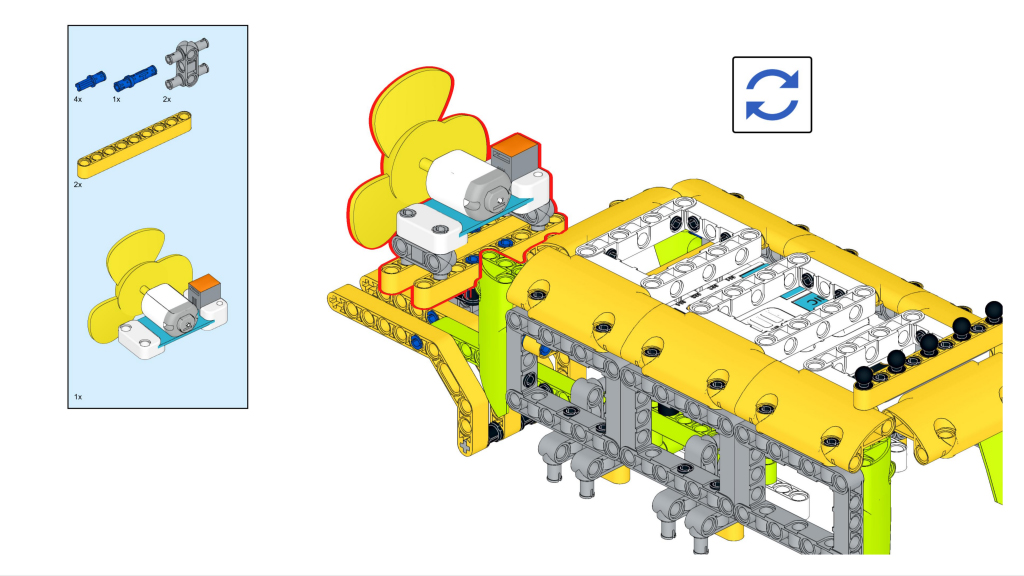
9. Let’s reverse the structure of the bottom, here we have to install the fan module. Get two H-pins to fix each side of the 9-hole block and fit the fan on the other end of the H-pins. The fan module here simulates the propeller of an aircraft carrier.
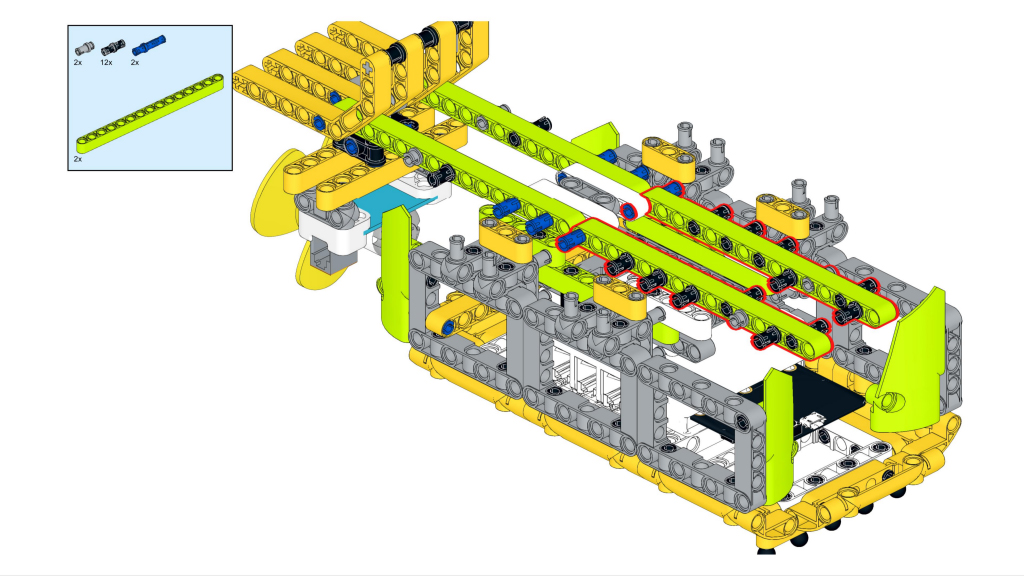
10. Turn back to the front and extend towards the front with the two 15-hole blocks, noting that more black pins need to be fitted in this step, as shown in the picture.
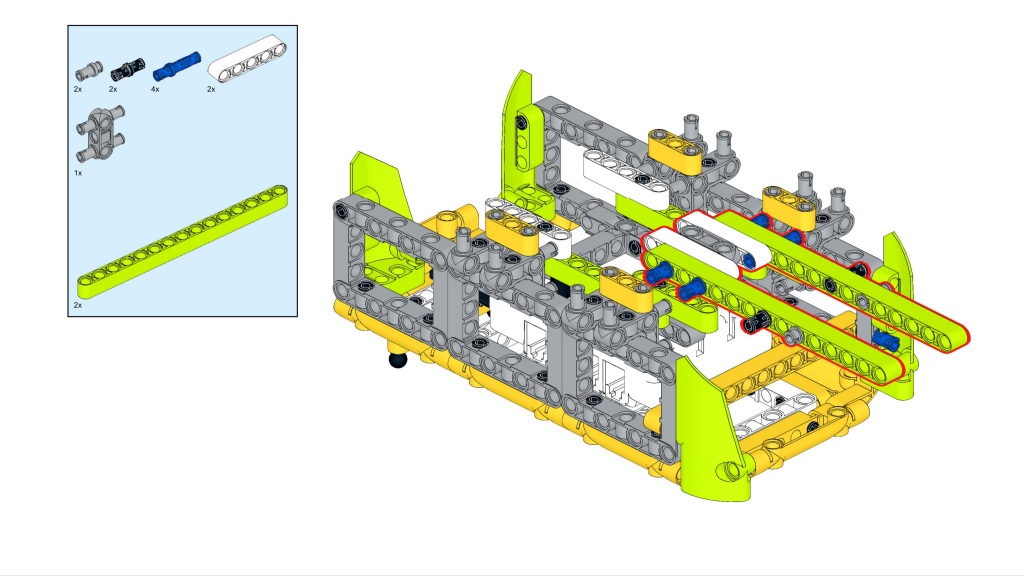
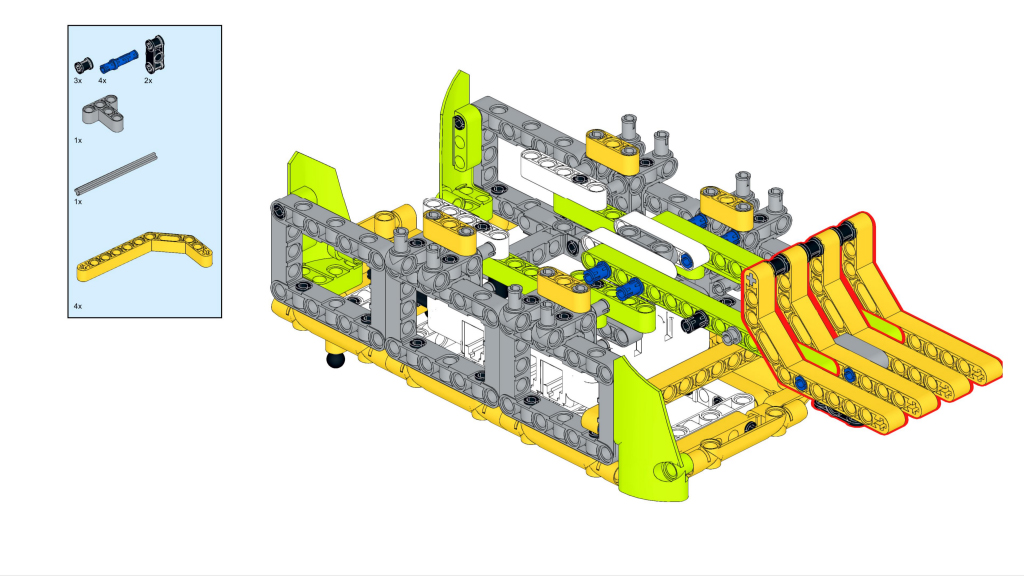
11. This step involves the use of a number of different types of blocks: L-blocks, 7-hole blocks, curved baffles, H-pins, and, in this case, the head of the aircraft carrier. The two H-pins are fitted with 7-hole blocks at the ends, leaving a space in the middle for the L-blocks, with the short side fitted and the long side left on the outside to accommodate a stopper.
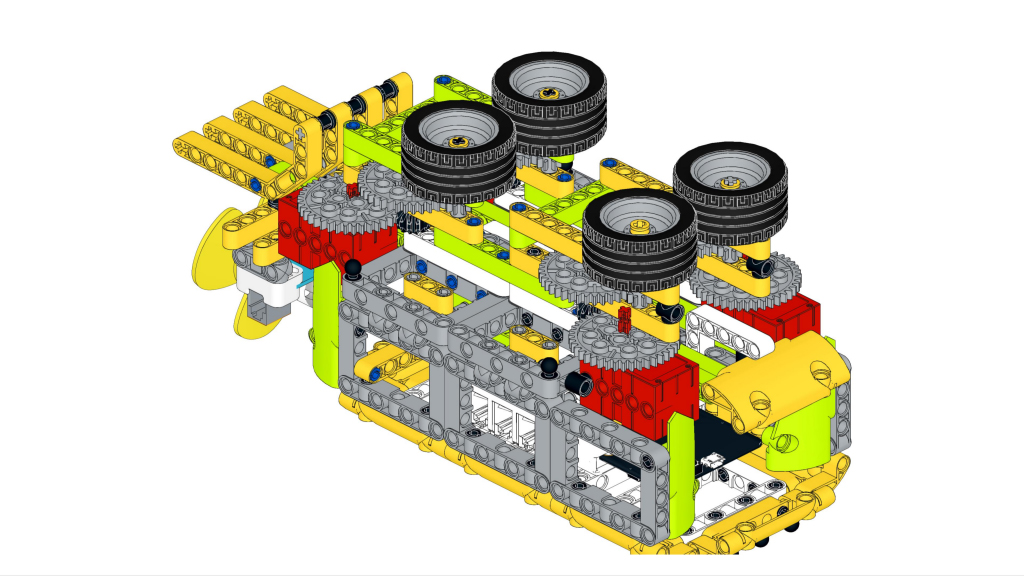
12. The bottom frame of the aircraft carrier is almost complete, next we have to install the device for ejecting the aircraft.
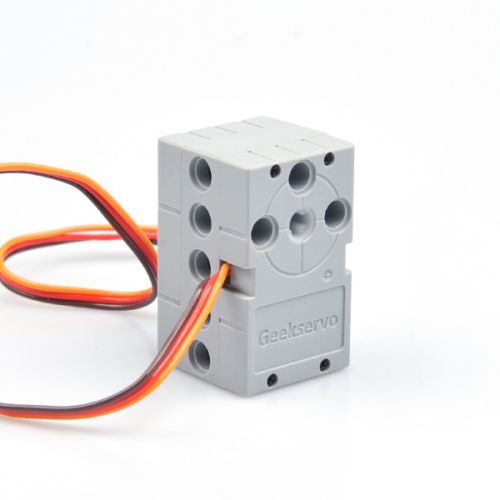
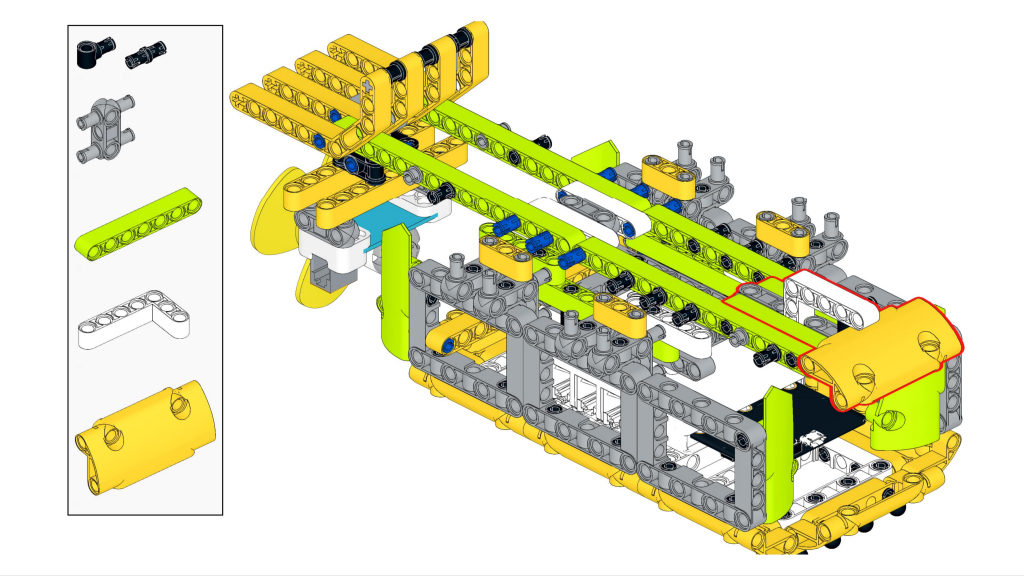
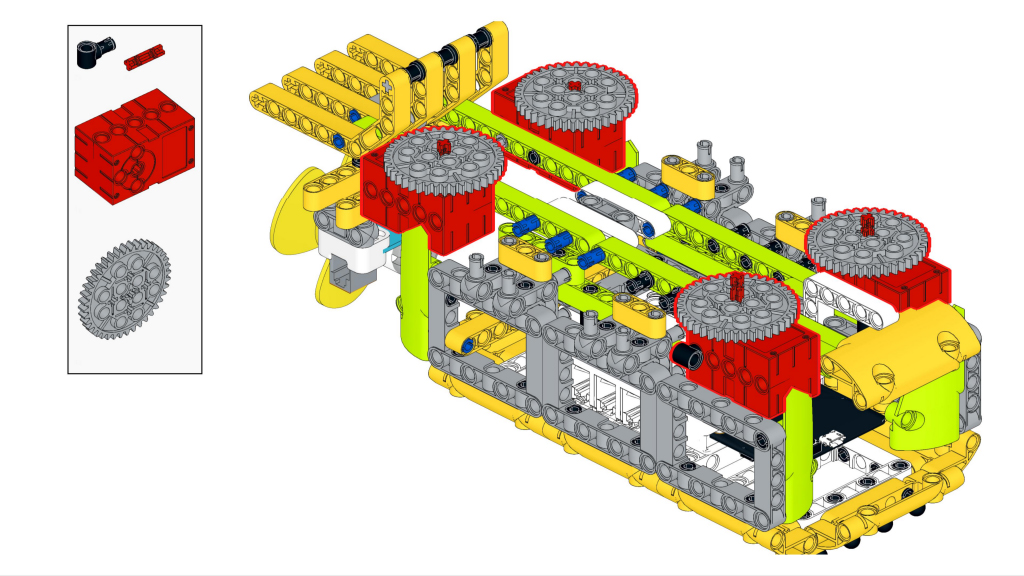
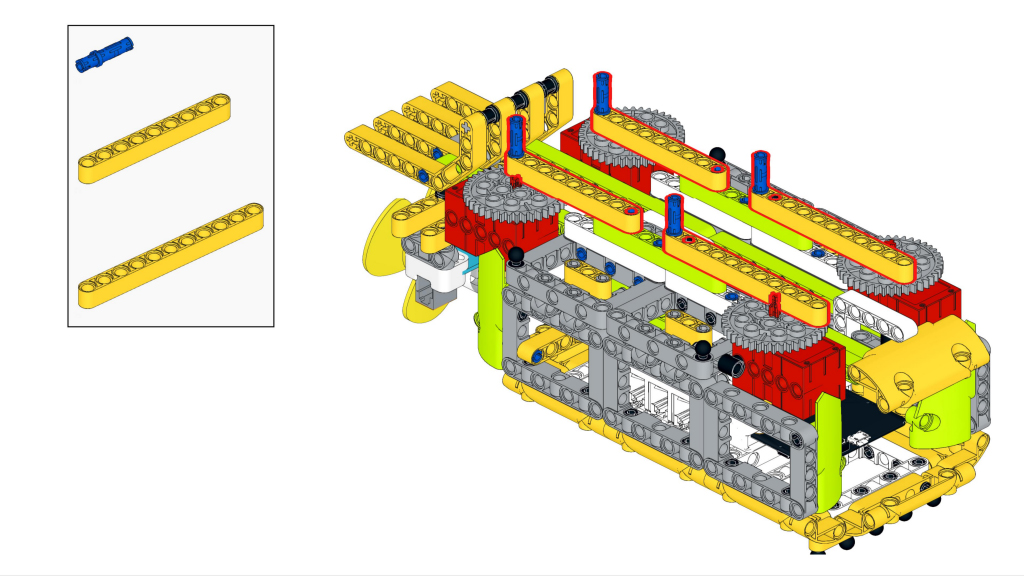
13. Find 4 motors and 4 gears and fit them to each of the 4 vertices. Fit long blocks on top of each of the gears. Fit the 9-hole blocks at the end and the 11-hole blocks at the head. Secure with long blue pins.
14. This step is very important! Because the ejection of the paper airplane requires a high speed, our tests have shown that the motor is still not fast enough for ejection when running at 100% speed. This way, the final wheel speed can support the ejection flight of the paper plane!
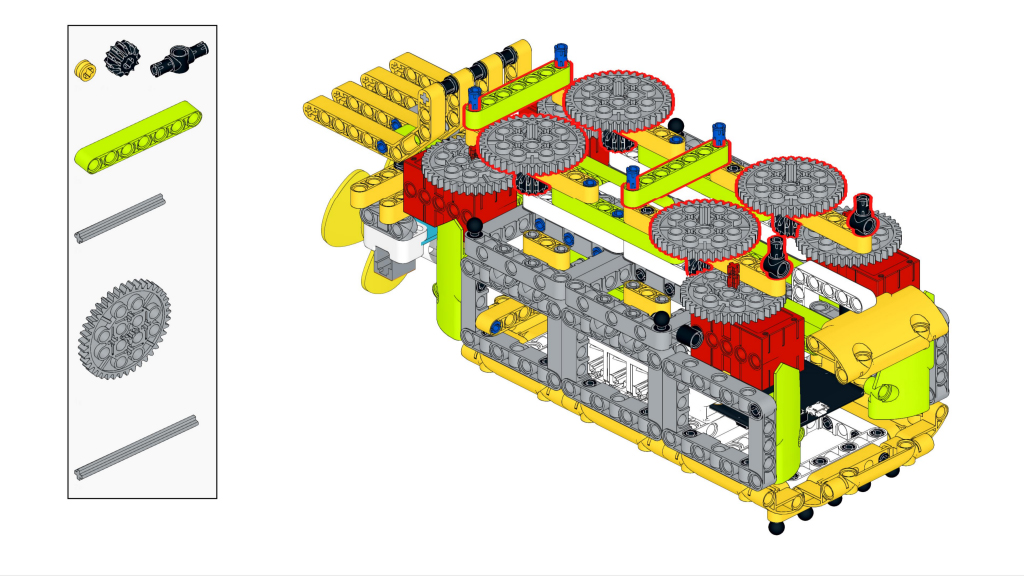
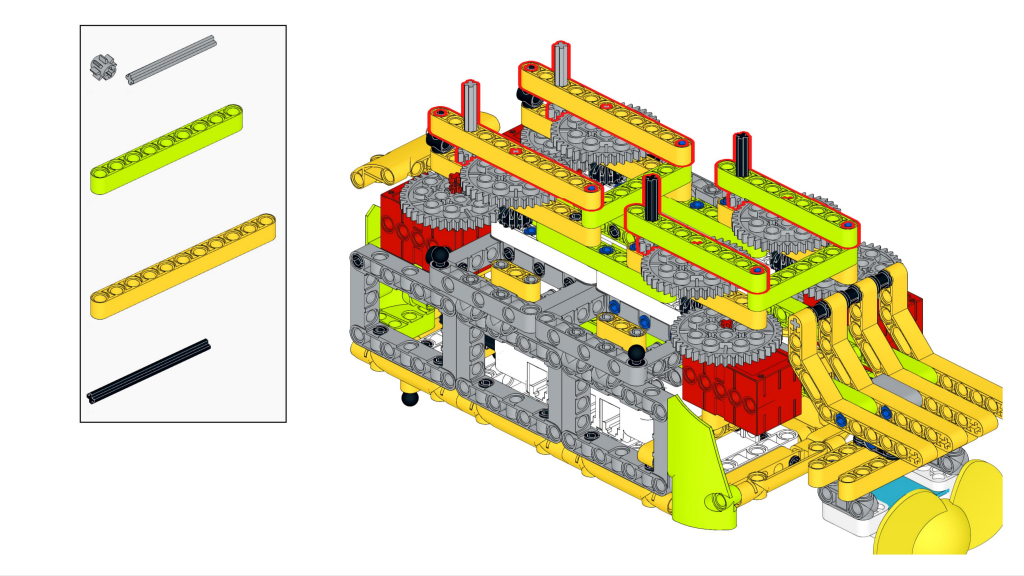
15. The last step is to attach the long blocks to the top, with the 11-hole blocks at the front and the 9-hole blocks at the end, with the 4 wheels on top.
Done! During the above process, if you don’t understand something, feel free to leave a message on ELECFREAKS Discord Community and we will have a dedicated technician to answer your questions and discuss more possibilities with you!
PROGRAMMING
Our “ELECFREAKS Aircraft Carrier” is equipped with a number of sensors and actuators that add a lot of fun and playfulness to it, it has a total of three functions, let’s take a look at these fun ways to play with it!
Function 1: Simulates water level detection and starts the fan
If the water level sensor detects a certain amount of water, the fan module will automatically start and the Enfu carrier will be ready to go! Connect the water level sensor to Nezha’s J1 port and the fan module to Nezha’s J4 port. After the devices are connected, we use the “infinite loop” module to keep the water level sensor and fan in operation. In “Infinite Loop” we add “If… then…” If the preset value is met, then the fan module will start, if not, then the fan module will not start.
Function 2: Environmental value reading
The BME280 environmental sensor identifies the current ambient temperature, humidity, barometric pressure, and altitude values and displays these values on the OLED display.
In the program, we use another “infinite loop” module, which combines the program module that controls the OLED display and the module that identifies the data from the BME280 environmental sensor, so that they can display the environmental data on the display in real-time.
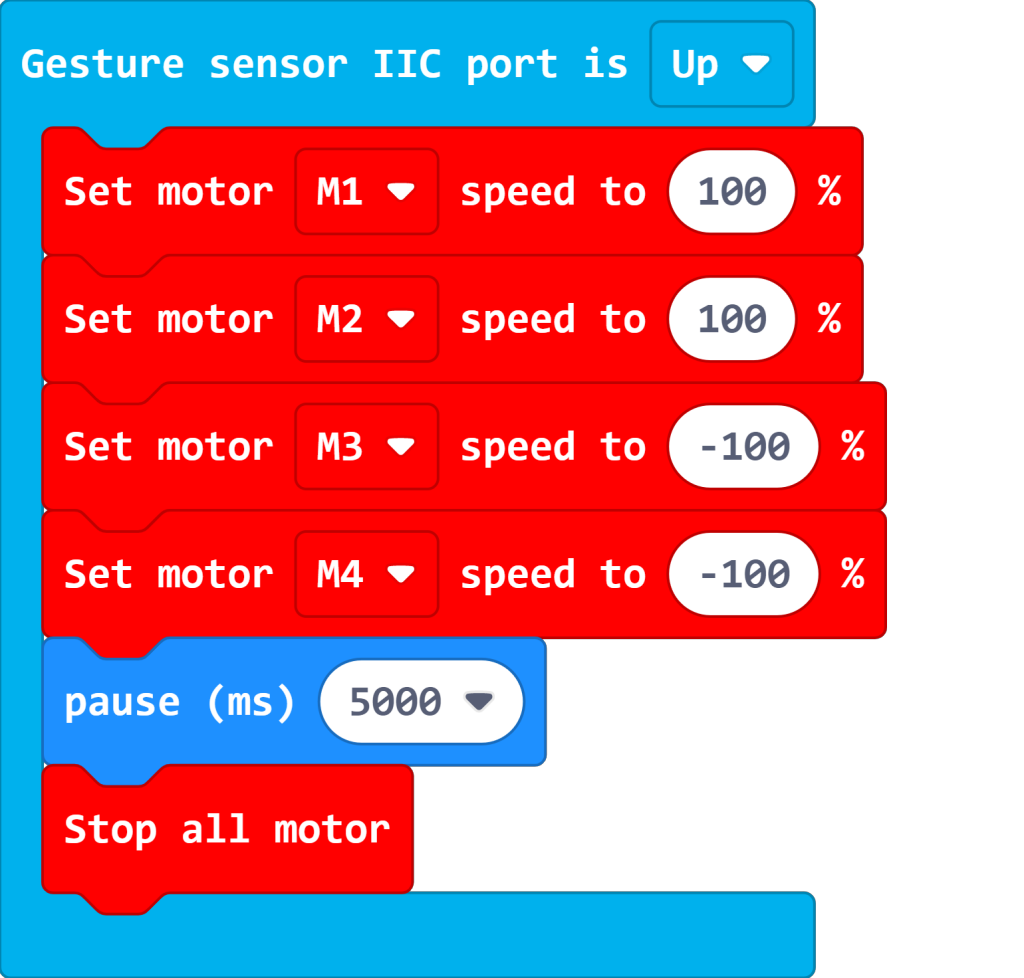
Function 3: Launching the paper plane launcher with gestures
The gesture recognition sensor recognizes 9 gestures, including move up, move down, move left, move right, etc. We use these gestures to get the paper airplane launcher started! The paper plane launcher starts by getting the four motors to turn at full speed to propel the paper plane forward. Inside the structure, we also use a secondary acceleration structure to get the tires to turn at a higher speed!
PROGRAMMING LINK
https://makecode.microbit.org/_2tMEDjHTMdJ8
DISPLAY
CONCLUSION
The super cool ELECFREAKS Aircraft Carrier is complete! You can also add voice recognition sensors and MP3 modules to control the aircraft catapult activation by voice, or add ultrasonic sensors for a “defensive” effect, or add LED lights for alarm alerts; whatever you do, look forward to your aircraft carrier!