

In this tutorial, we take our first steps with MicroPython on the micro:bit by creating a simple dice that uses random number generation triggered by gesture control, all in 9 lines of code!
Put simply???Micro Python is an implementation of Python 3 for microcontrollers. MicroPython includes a small subset of the Python standard library, but it is optimised to run on microcontrollers rather than microprocessors. MicroPython was created by Damien George and the first board to support the language was a crowdfunded board called PyBoard.


The micro:bit is a microcontroller board created by the BBC (British Broadcasting Corporation) in partnership with 29 companies (ARM, CISCO, Code Club, Microsoft, Python Software Foundation.)
The goal of the partnership was to create a platform for children to learn with and the various partners provided expertise in software, hardware, manufacturing and producing content to support the micro:bit.
In 2016 the micro:bit Foundation was formed, and they took on the responsibility for supporting and nurturing the micro:bit and its community.
The micro:bit measure 5CM by 4CM and in the centre of the board is a 5×5 single colour LED matrix, flanked either side by two push buttons. On the bottom edge of the micro:bit is a 20 pin edge connector that acts as the GPIO (General Purpose Input Output) of which five pins (0,1,2,3V and GND)are broken out for use with crocodile clips. Under the hood, we have a 32-bit ARM Cortex M0 CPU running at 16MHz with 16K RAM. The board also comes with Bluetooth Low Energy (BLE), accelerometer and compass, all ready for use in projects.
There are a number of languages supported by micro:bit but the two most popular are a JavaScript Blocks editor and a Python editor. We shall be using the Python editor to explore how to create a dice that reacts to the user shaking the micro:bit.
For this project, you will need???

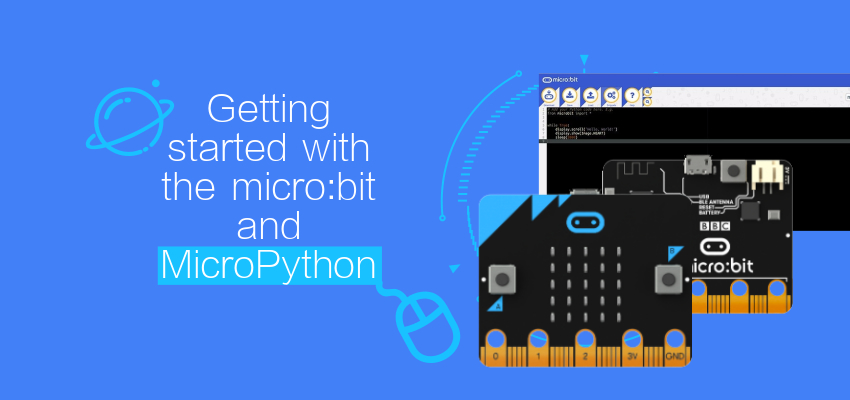
We start by opening our web browser to http://python.microbit.org/ and this will present us with the Python web editor. The interface is clean and simple.

Download: This will download a compiled (.hex) file of our code for use on the micro:bit.
Save: This will download an uncompiled Python file that we can examine and learn from.
Load: Loads a Python or .hex file into the editor.
Snippets: Short blocks of code that can be used in your code.
Help: An extensive help system.
We can see that there is already some code in the editor, this is the “Hello World???code to test that your micro:bit is working. For now, we can delete all of the code except for line 2 “from microbit import *???
On a new line let’s add the code to import the randint function from the random library. We shall use randint (Random Integer) to generate a random number between 1 and 6 for our dice.
from random import randint
Now we create an infinite loop, in Python this is called “while True:???and this loop will continually run the code that is contained within.
while True:
We are now inside the loop, indicated by the code being indented by four spaces / one tab automatically by the editor. For the next line of code, we need to create a condition which shall be tested. This condition is to check if the micro:bit has been shook, if that is correct then the “gesture???recorded by the micro:bit will be “shake??? and we can progress to the next line of code.
if accelerometer.was_gesture("shake"):
So the code is now indented once more and these next three lines of code are activated if the micro:bit has been shaken. First the micro:bit will display on the LED matrix a randomly chosen number between 1 and 6 (7 is a limit and that number is not chosen). The keen-eyed among you will spot the rogue str(), this is used to convert the random number (Integer) into a String that can be used on the LED matrix display.
display.show(str(randint(1,7)))
The next two lines will instruct the code to pause for 2 seconds (2000 milliseconds) and then clear the LED matrix display.
sleep(2000)

   display.clear()
But what happens when the micro:bit has not been shaken? Well for that we use an “else???condition which will show a smiling face on the micro:bit when it is not in use.
else:

    display.show(Image.HAPPY)

And that is all of the code. Click on Download to download a copy of the compiled code for your micro:bit. Now insert the micro USB cable into your micro:bit and then your computer. The micro:bit will appear as a USB flash drive. Copy the downloaded code from your computer to the micro:bit. On the reverse of the micro:bit you will see a yellow light flicker, this is an activity LED showing us that the code is copying across. Once complete the light will remain on.
Now take a look at the front of the micro:bit and you should see a smiling face! Shake the micro:bit and watch as it picks a number!
In this tutorial, we took our first steps with the micro:bit and MicroPython, learnt how to interact with the micro:bit, and generate random numbers using a Python library.

This article is written by Les Pounder.


