

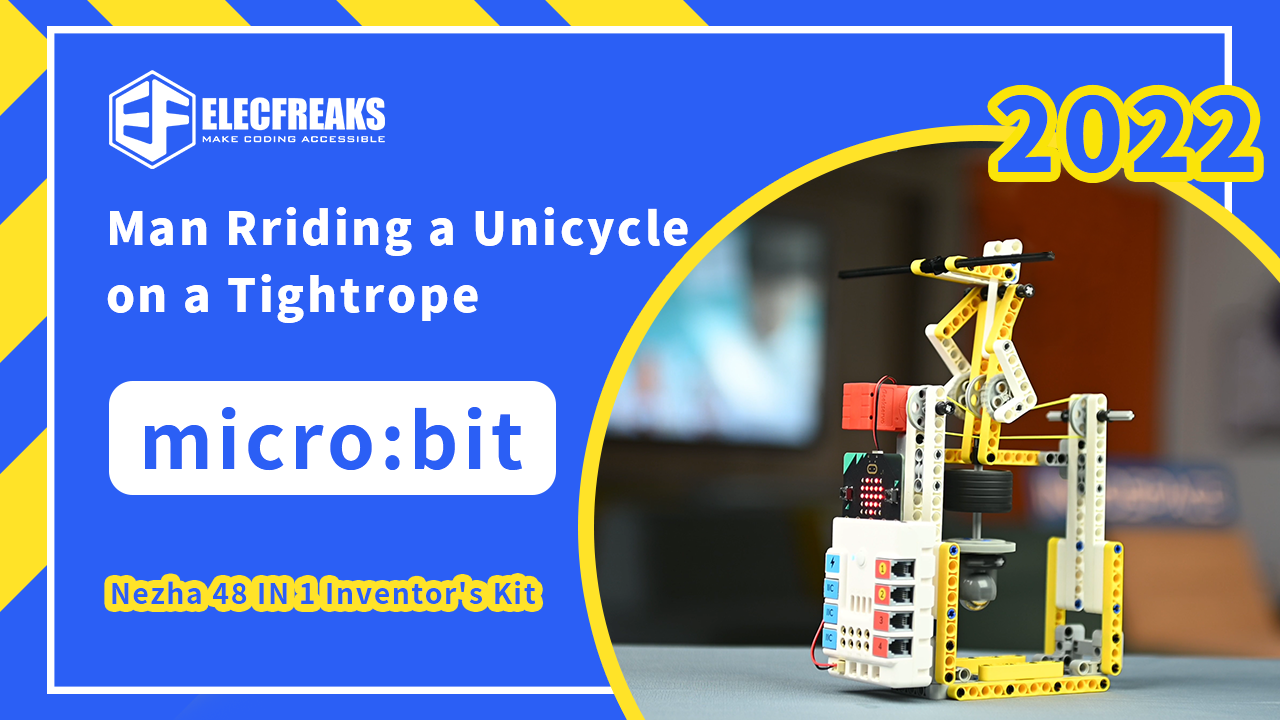
Acrobatics is a kind of performance art and is the general name of various juggling, magic, and animal-training play. Its characteristic is to play all kinds of extremely difficult skills with artistic moves, to show the courage of human beings to defeat nature and provoke themselves, and the work that is impressive and hard to believe.
We are going to do an acrobatic case of “man riding a unicycle on a tightrope” today, which mainly consists of two parts, one is the “man riding a unicycle” structure, and the other is the “aerial wire” structure. structure. The principle used is to control the motor to drive the pulley and the transmission of the belt, thus driving the operation of the “man on the wheel” above. Let’s start building this interesting acrobatic show!
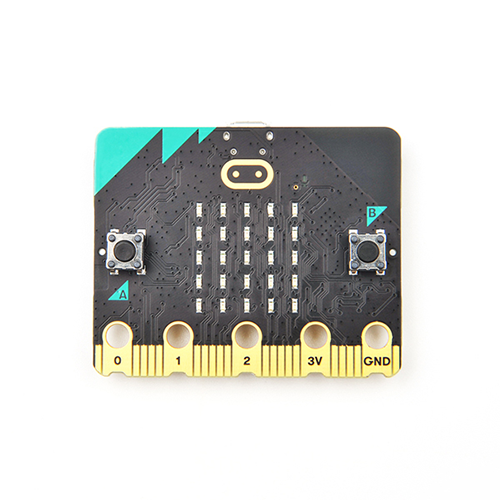
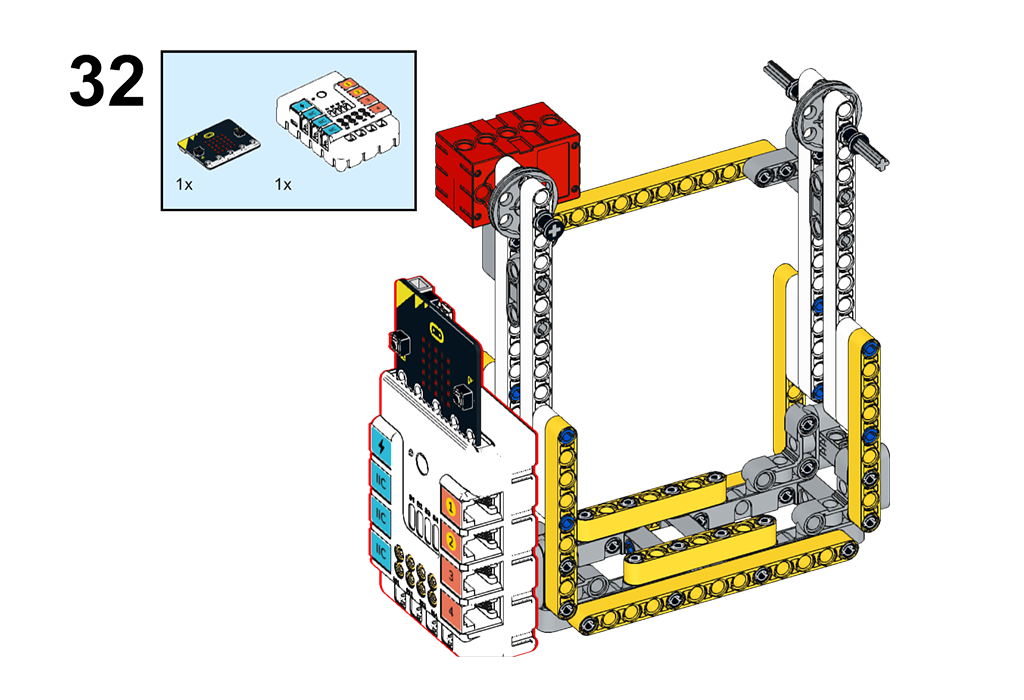
ELECFREAKS BBC micro:bit V2.2 *1
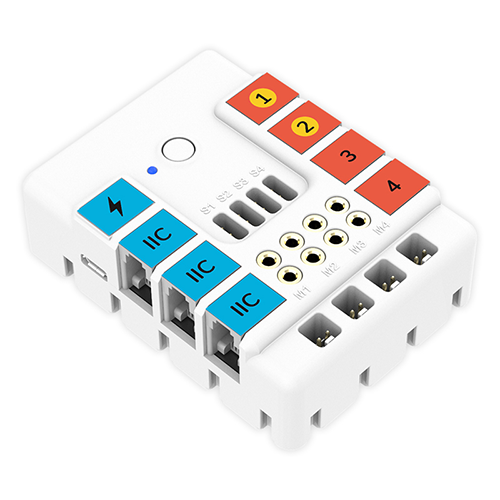
ELECFREAKS Nezha Breakout Board *1
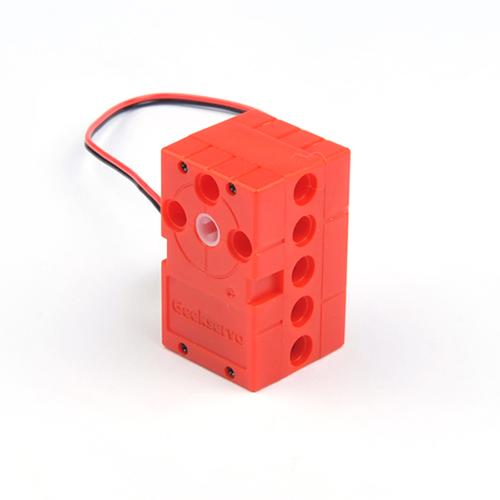
ELECFREAKS High-Speed Building Blocks Motor *1
Some Building Blocks
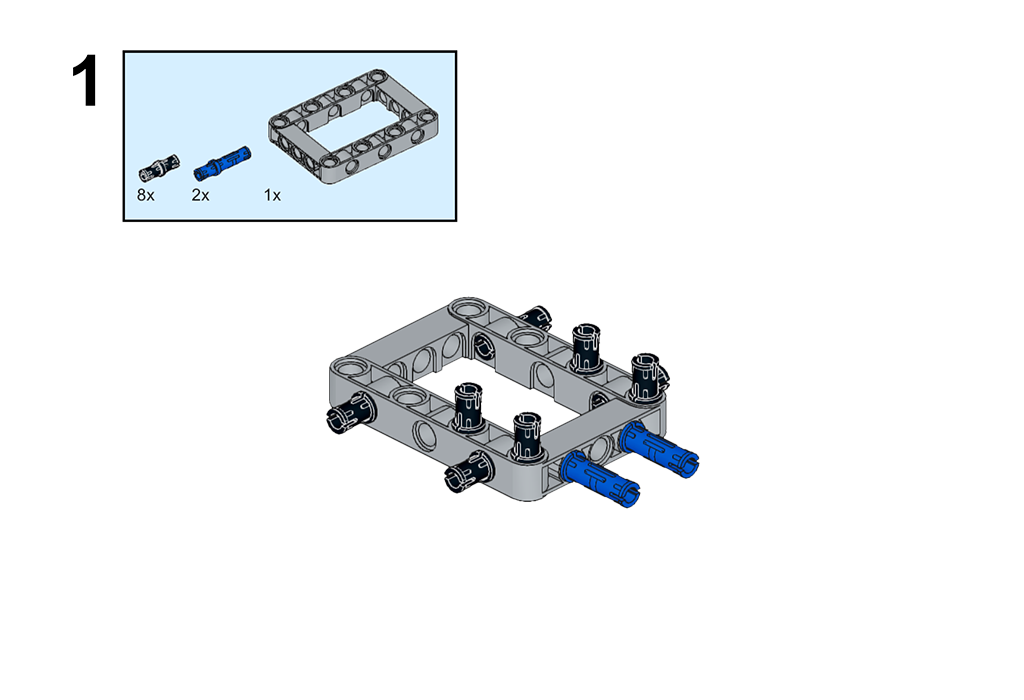
1. Now build the “overhead wire” part first. Insert 2 long pins and 8 live fastening pins on the ring beam.
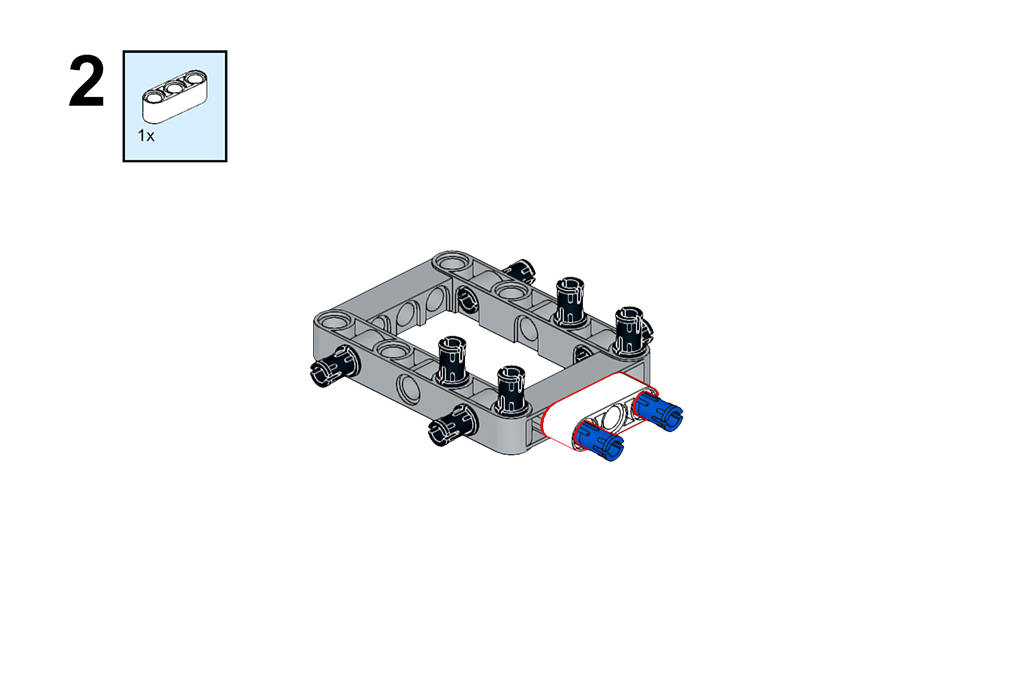
2. Insert 1 3-hole beam.
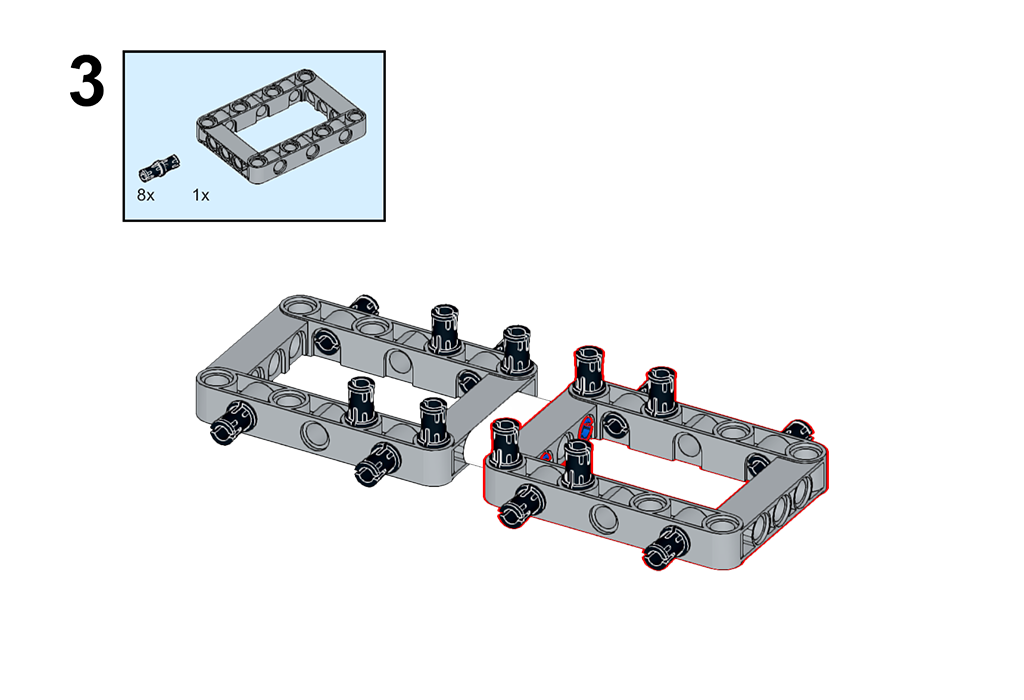
3. Connect the two ring beams through the pins and insert 8 pins, the primary base has been formed.
4. Use two 13-hole beams to fix the base on both sides.
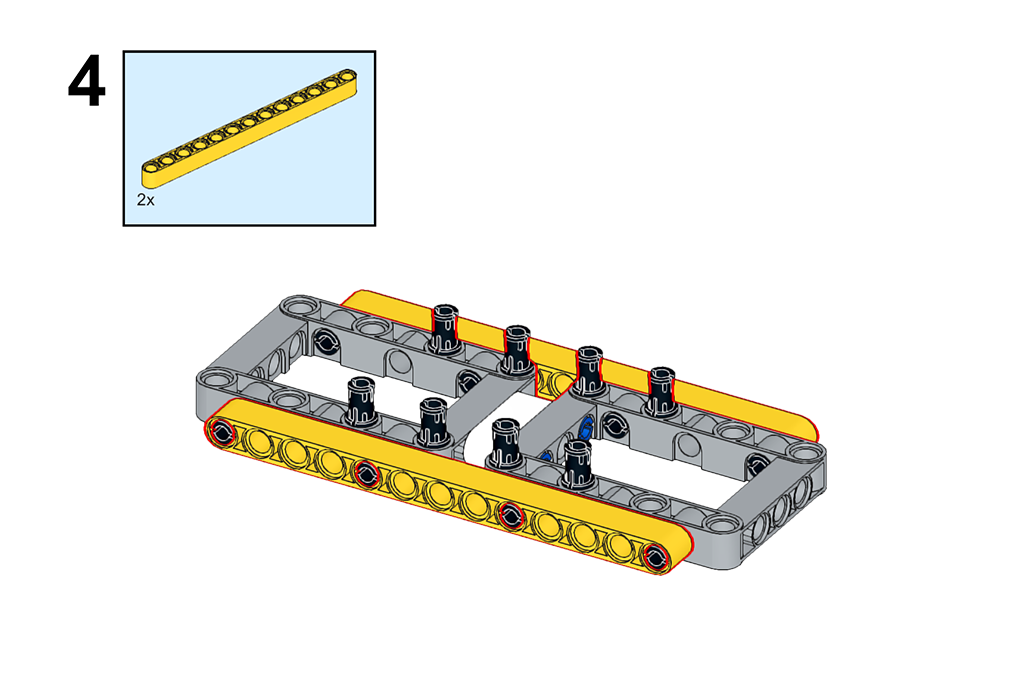
5. Re-fix with a 7-hole beam on the top.
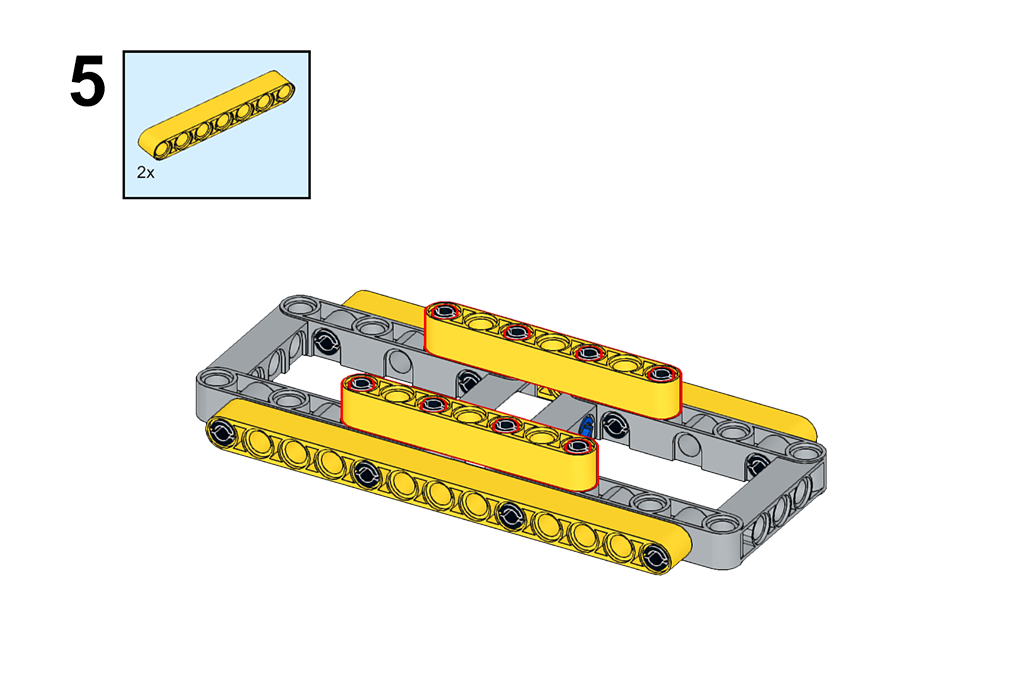
6. 4-bolt 3-hole right-angle connector and latch to connect the edge of the base, the purpose is to facilitate the construction of the project of connecting the upper wire.
7. Operate the same as the previous step and fix the other side.
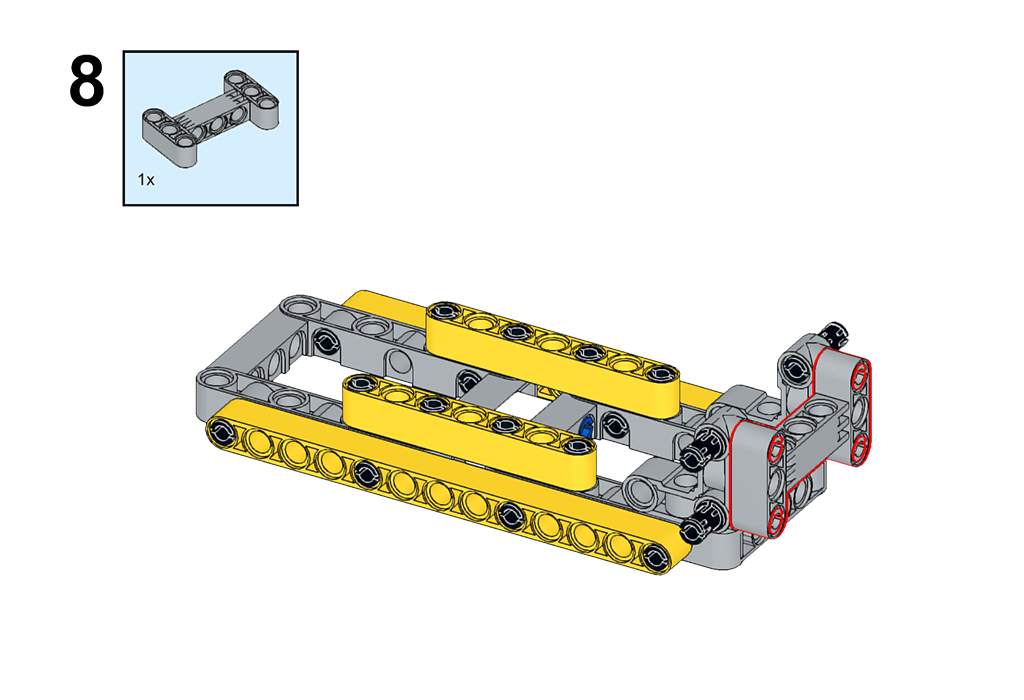
8. Fix the edge with an H-shaped hole arm, which is more beautiful.
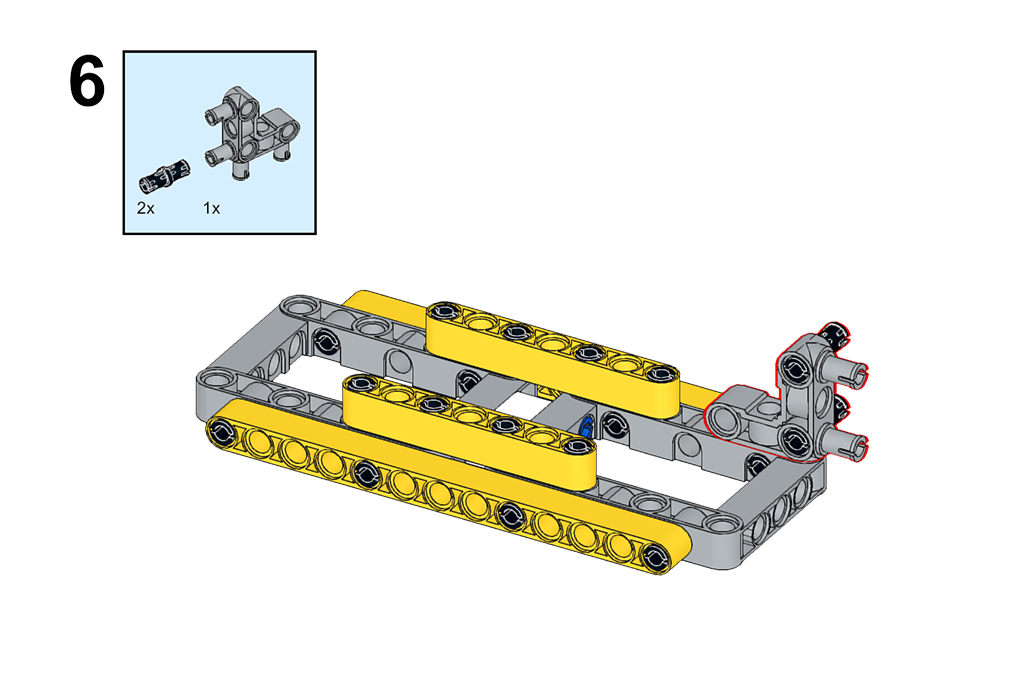
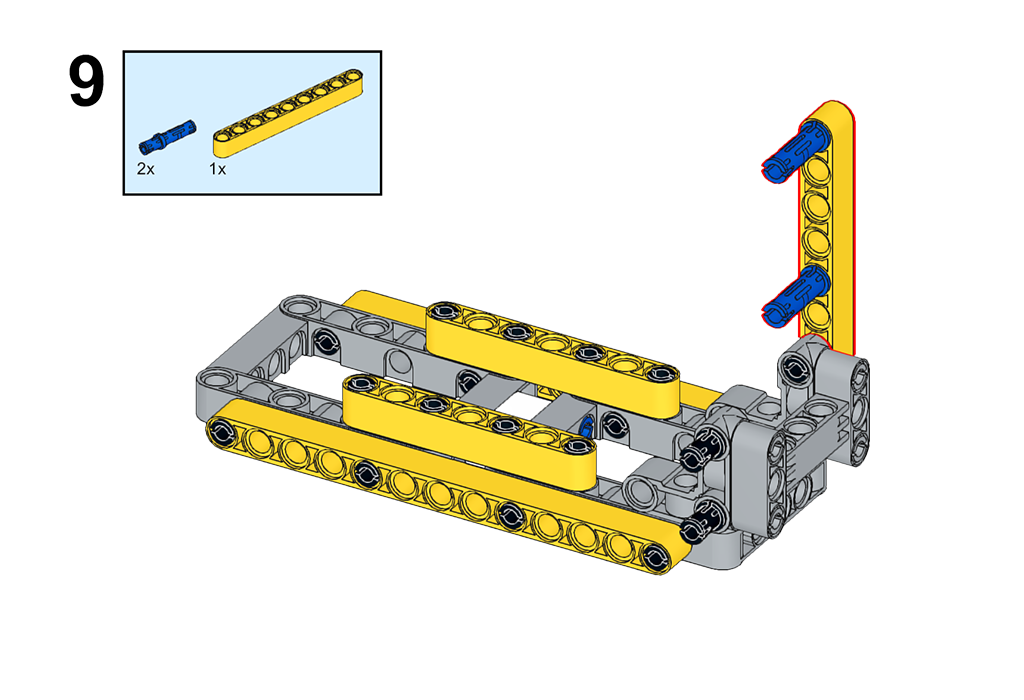
9. Now start to build the fixed bottom columns on both sides, using 9-hole beams and long pins.
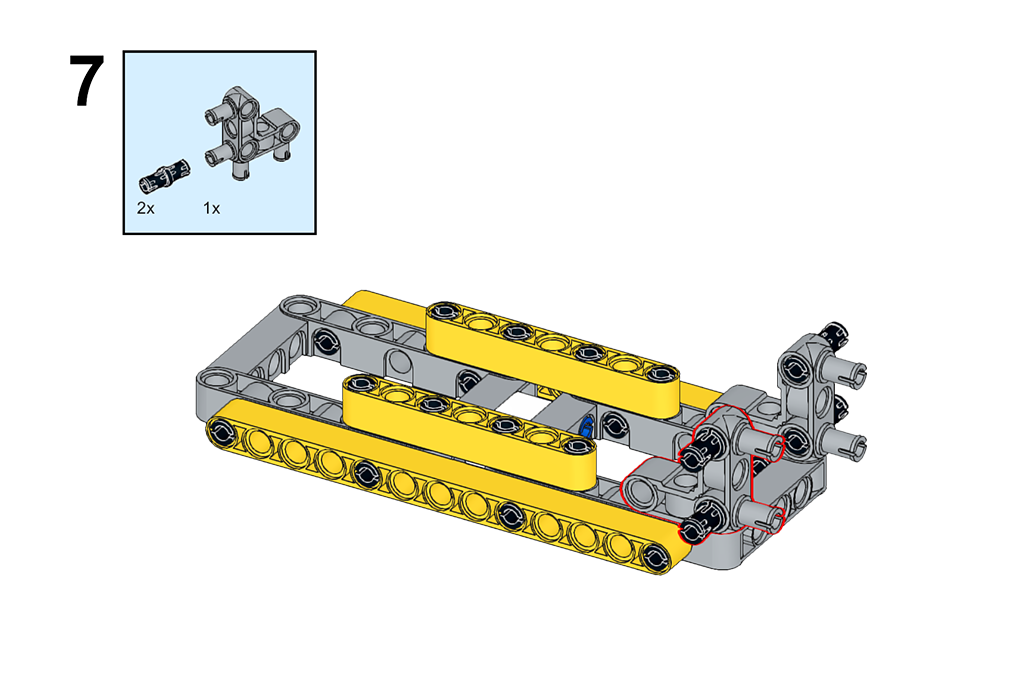
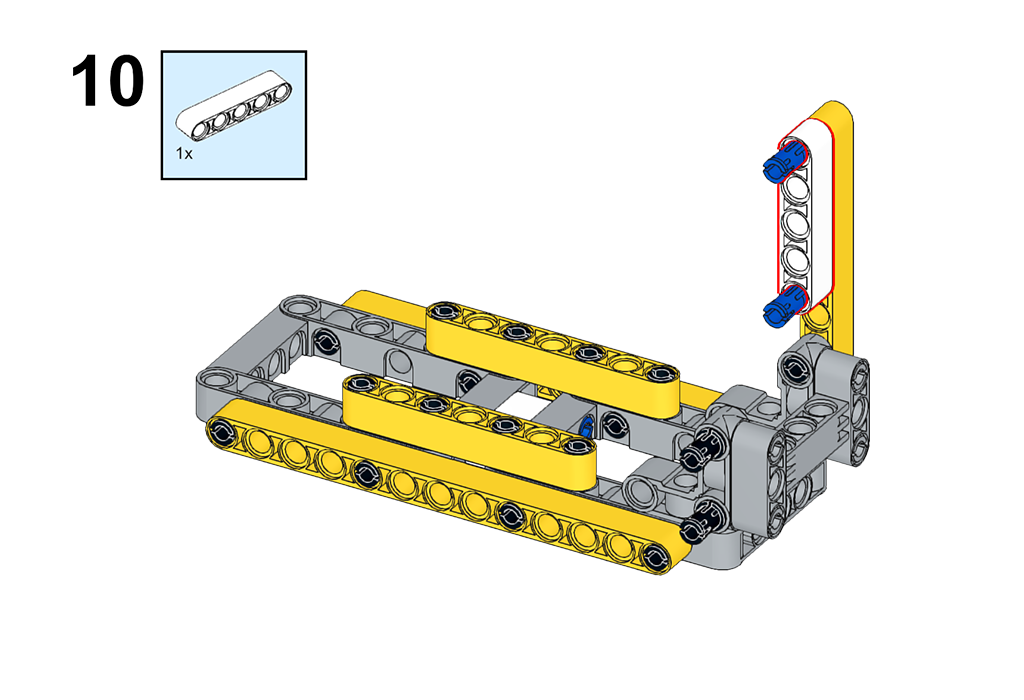
10. Fix with the 5-hole beam.
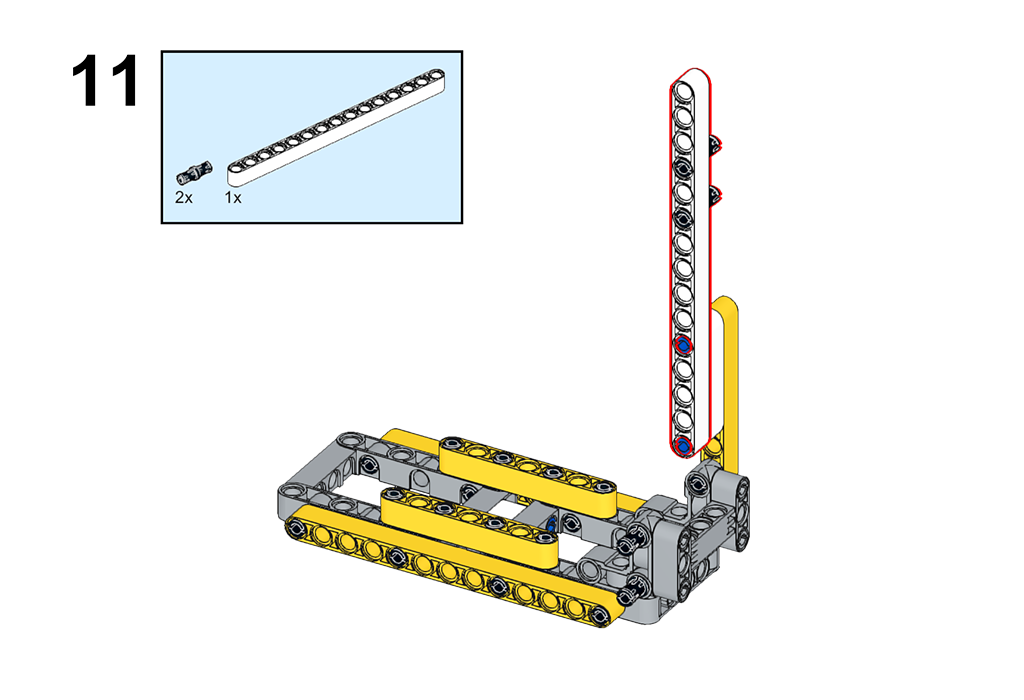
11. This step is to build a permanent station to extend the height.
12. Insert the double bolt connector, which is to be fixed with the other side of the long beam.
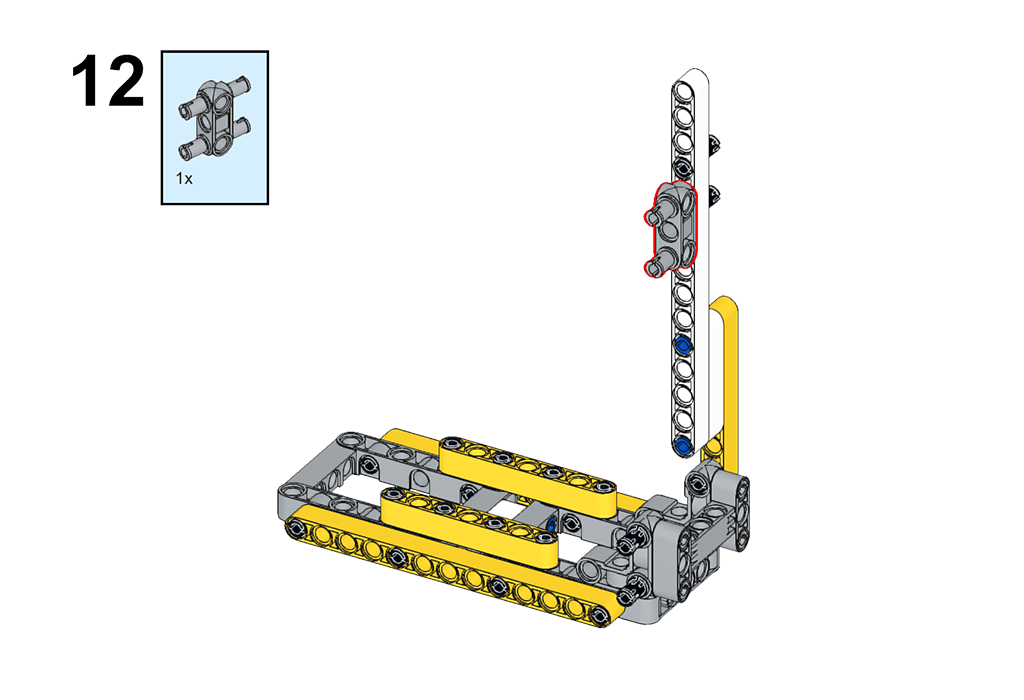
13-15. The steps are the same as 9-11 so that the two sides of the long column have been fixed.
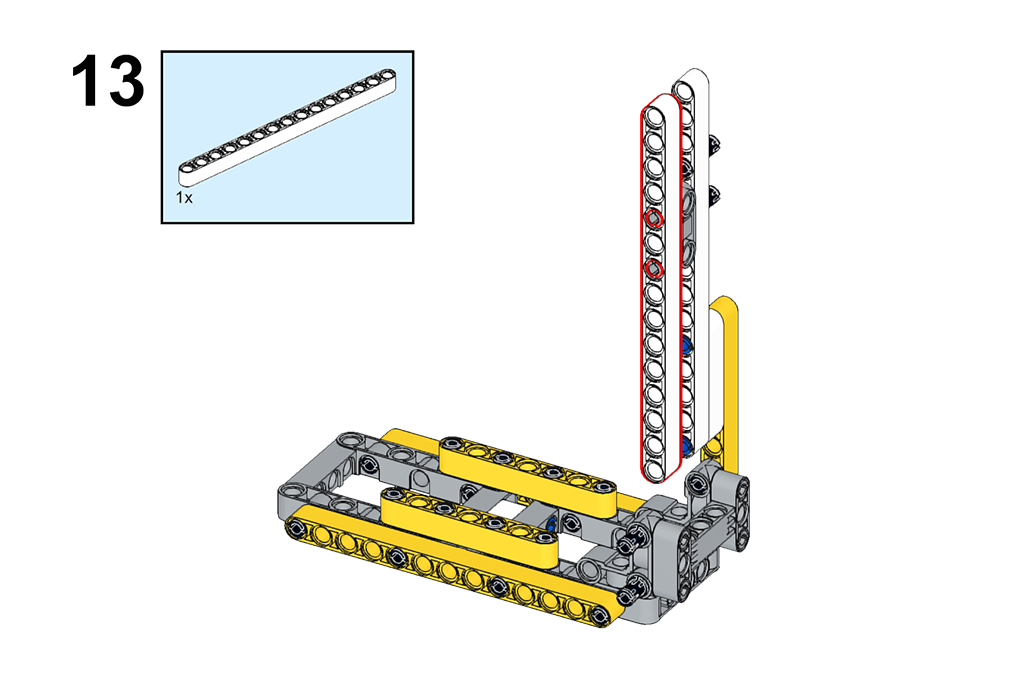
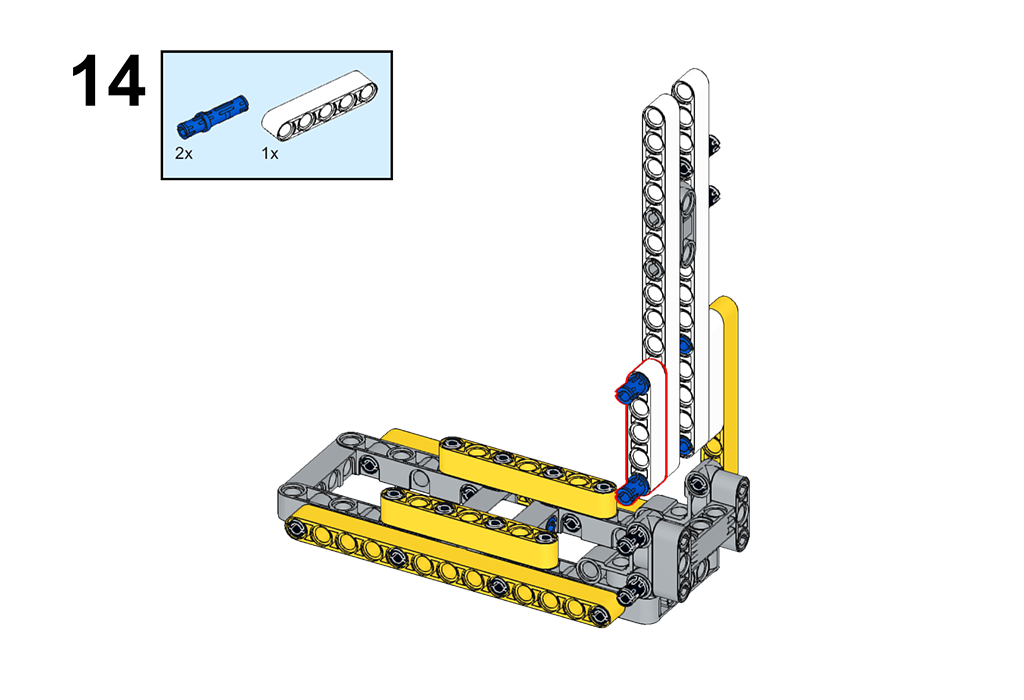
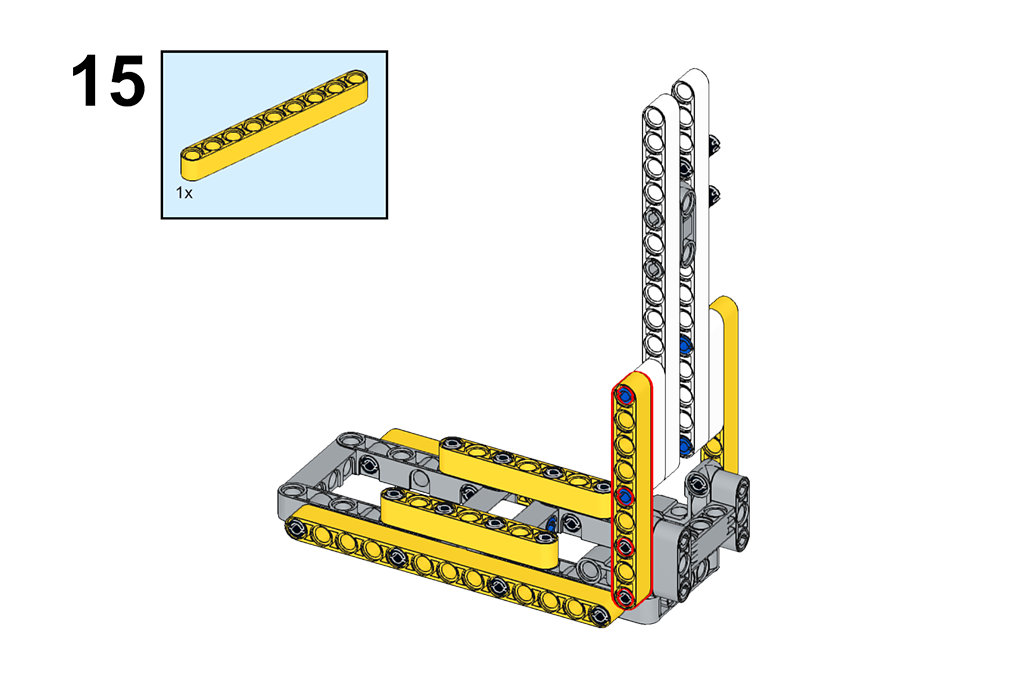
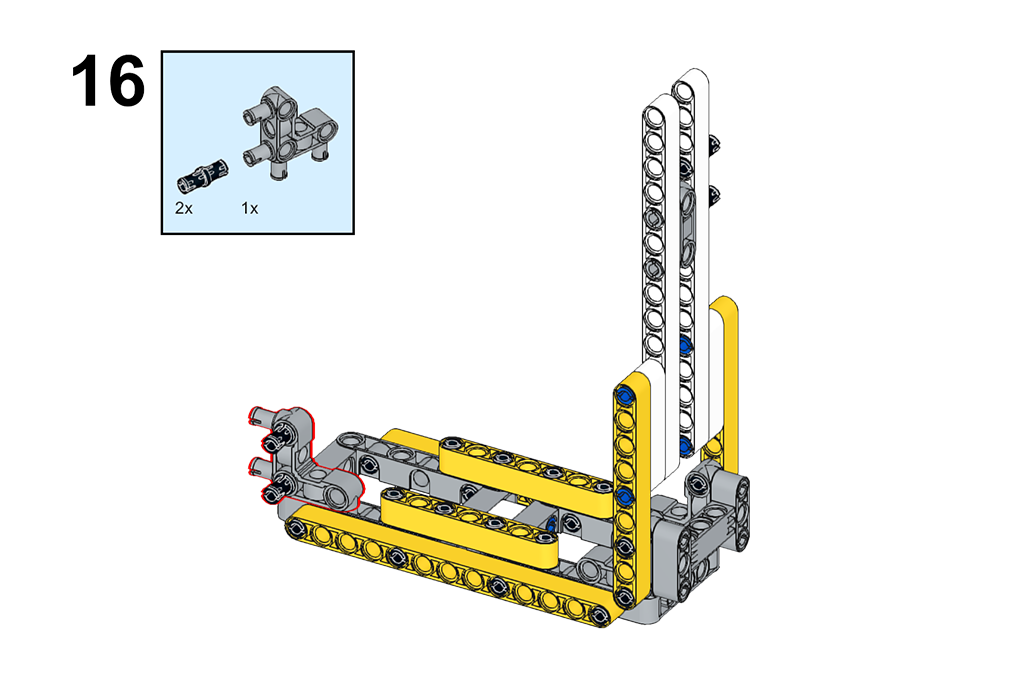
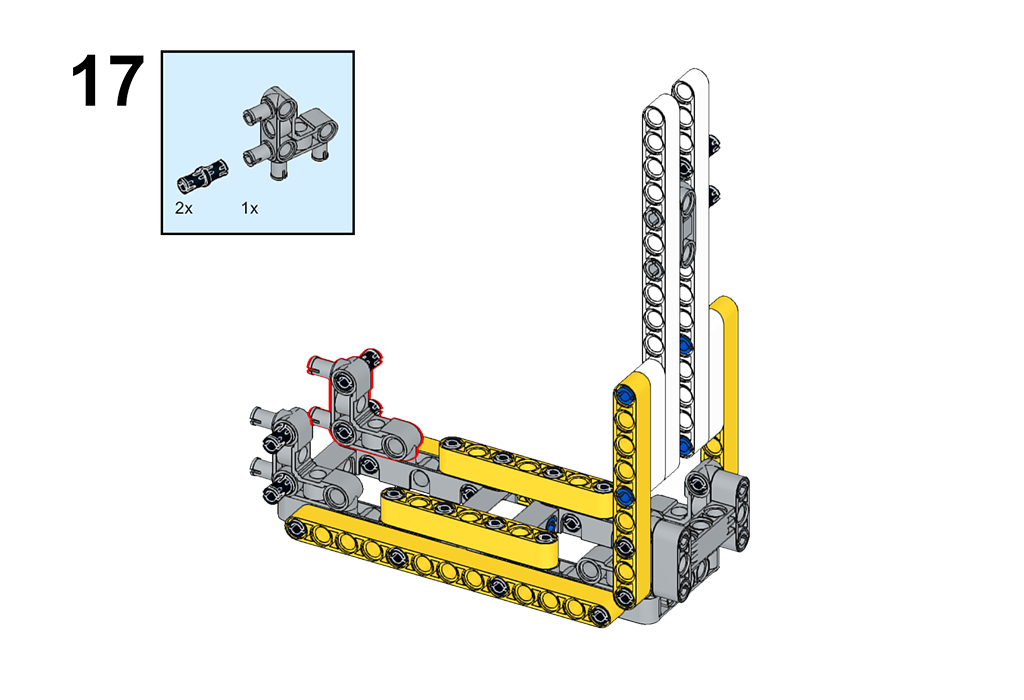
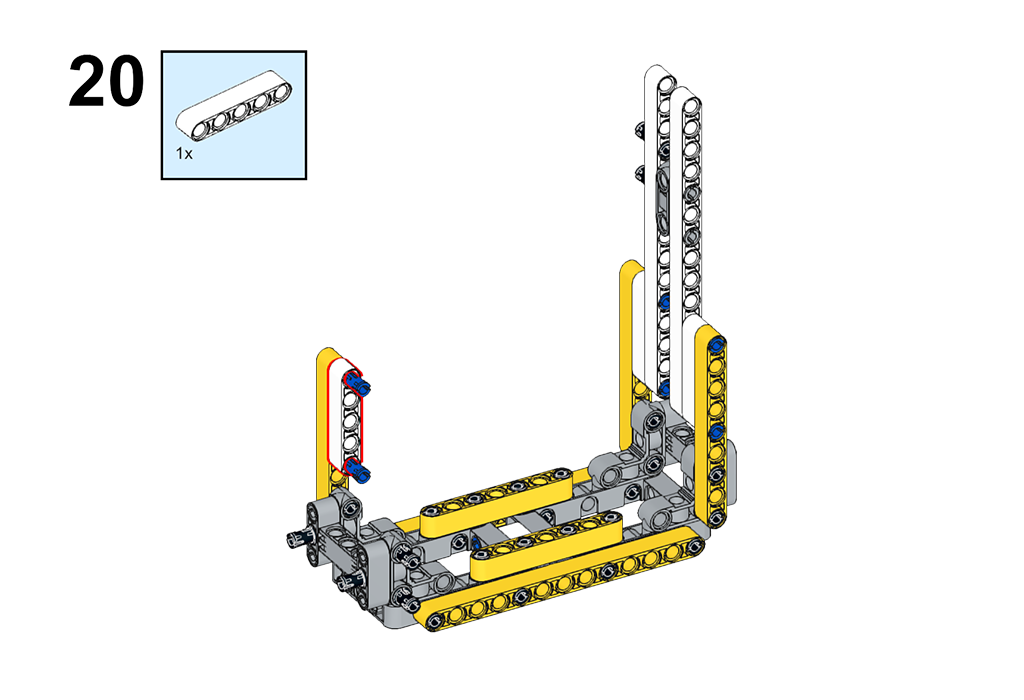
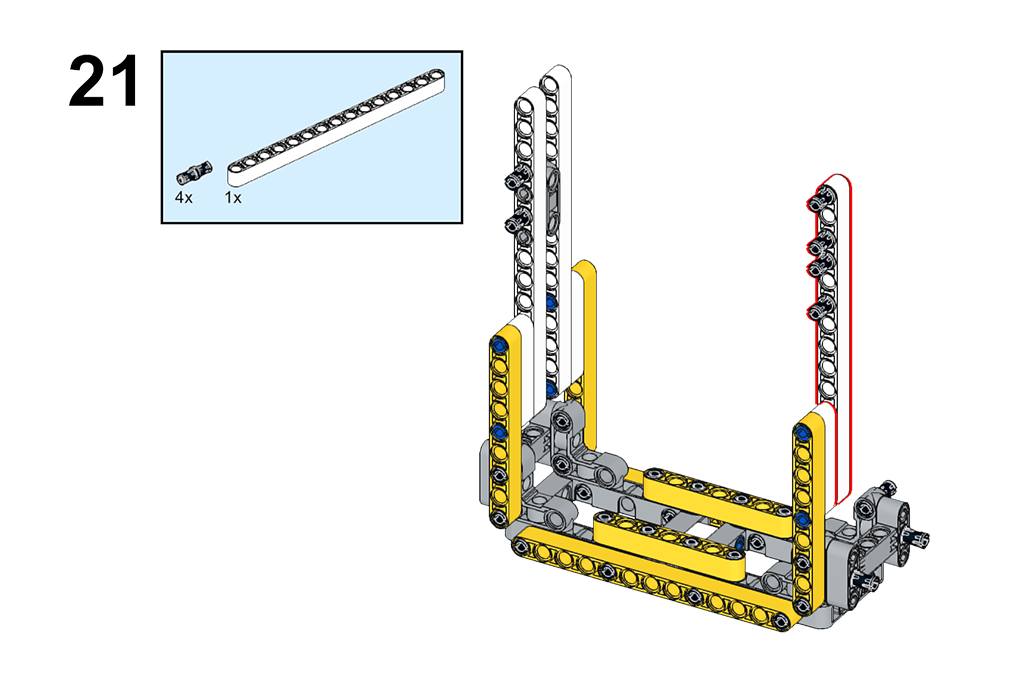
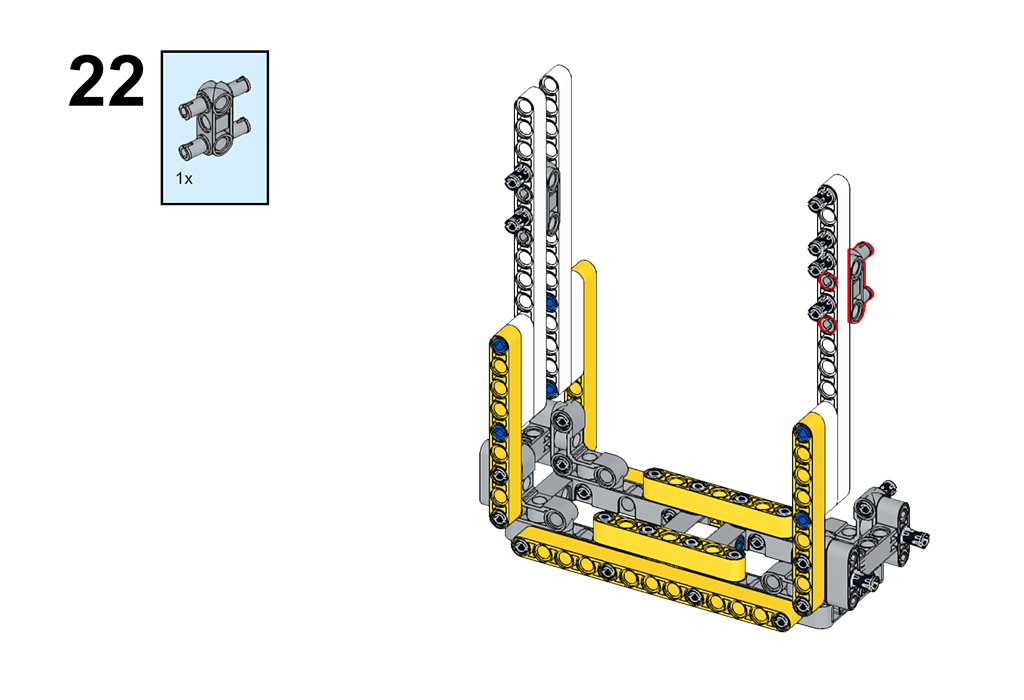
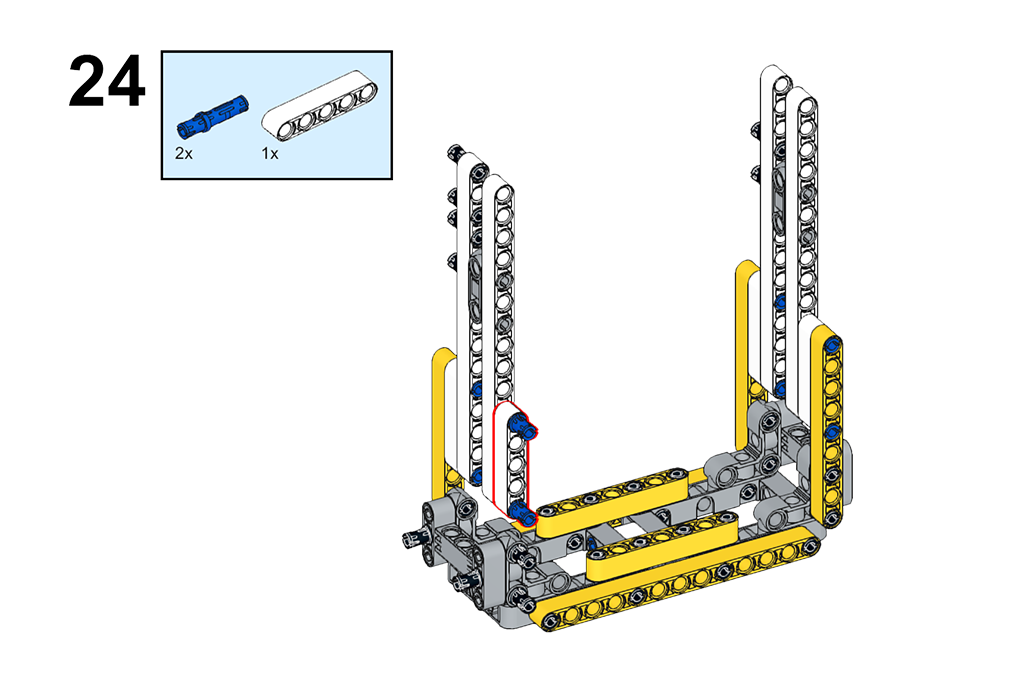
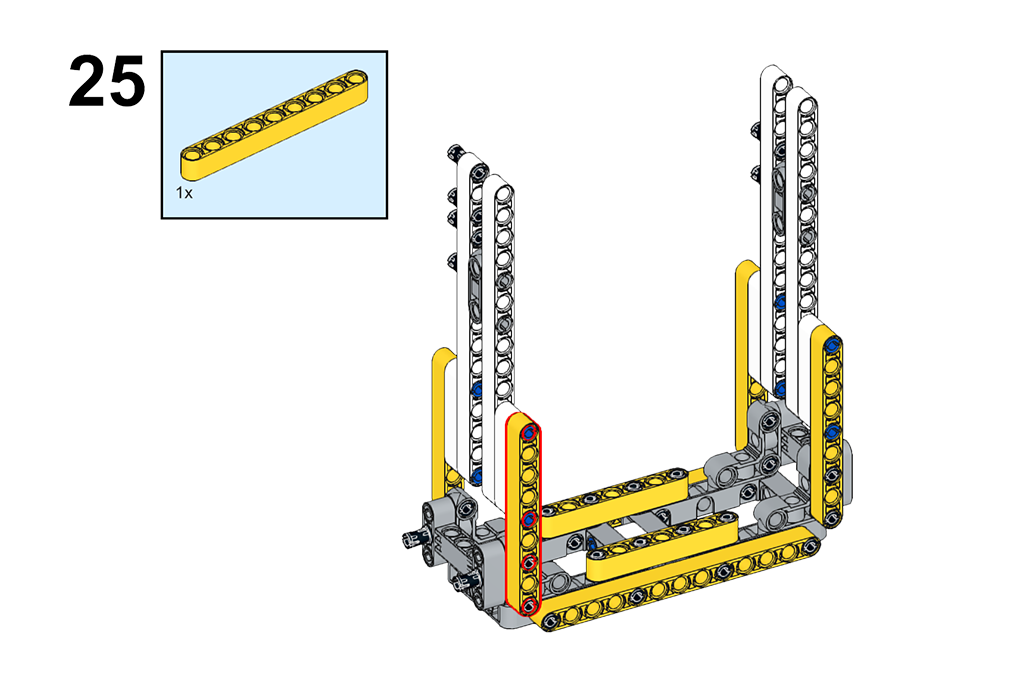
16-25. The steps are the same as 9-15 so that the two opposite long columns have also been fixed.
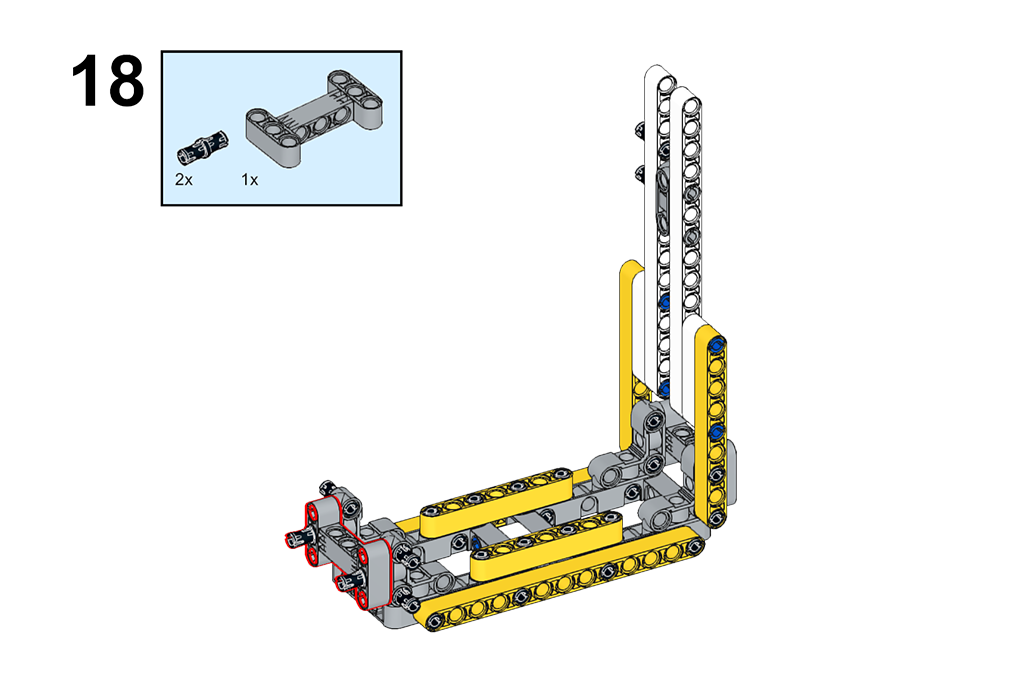
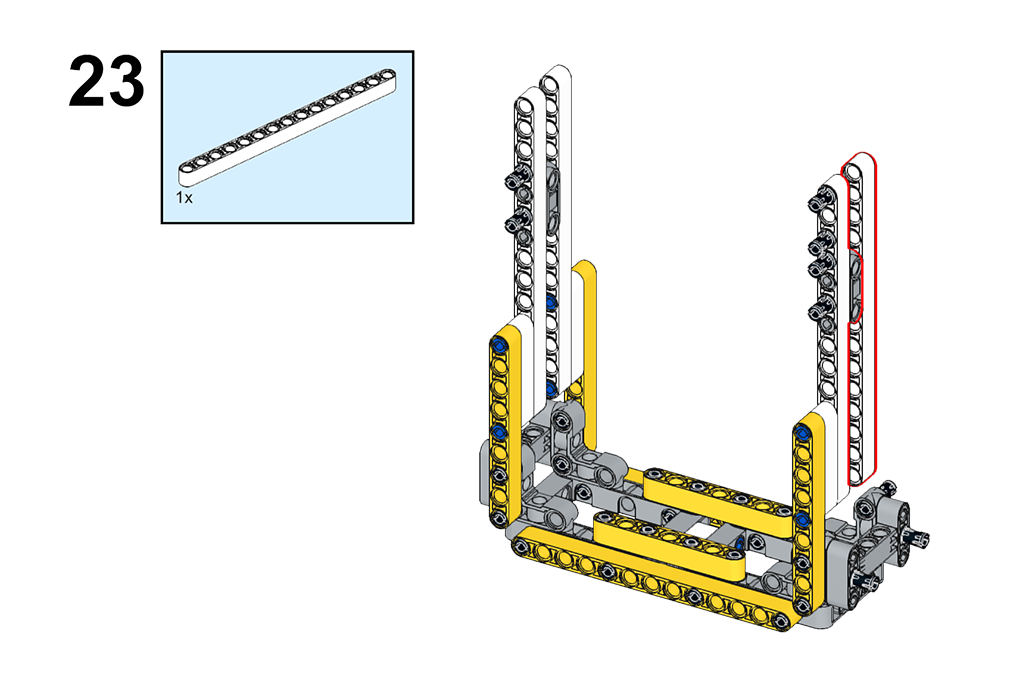
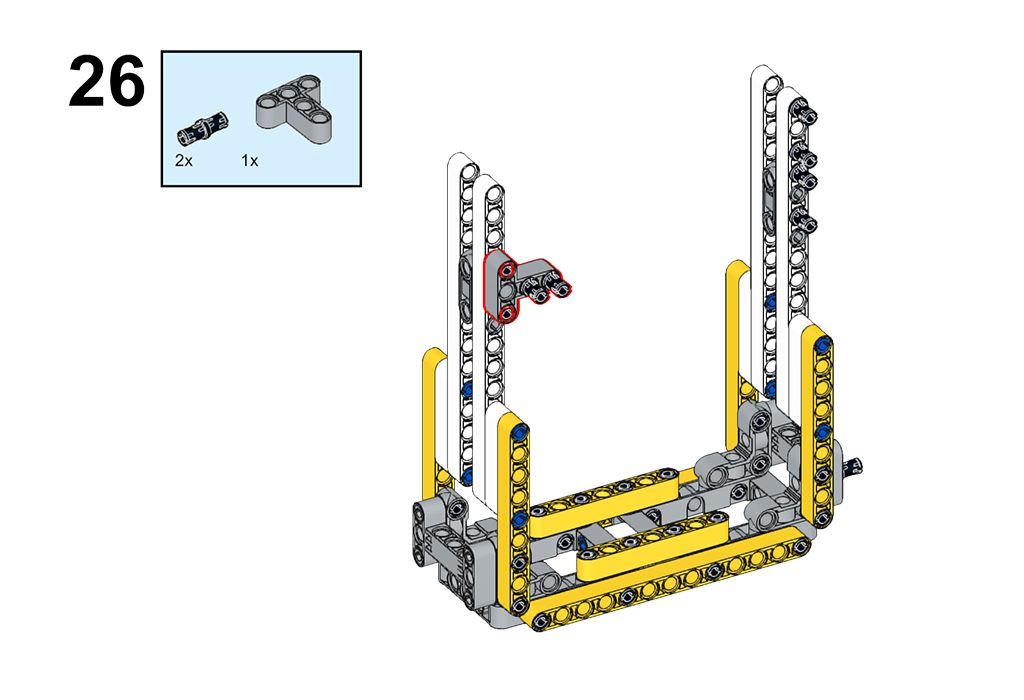
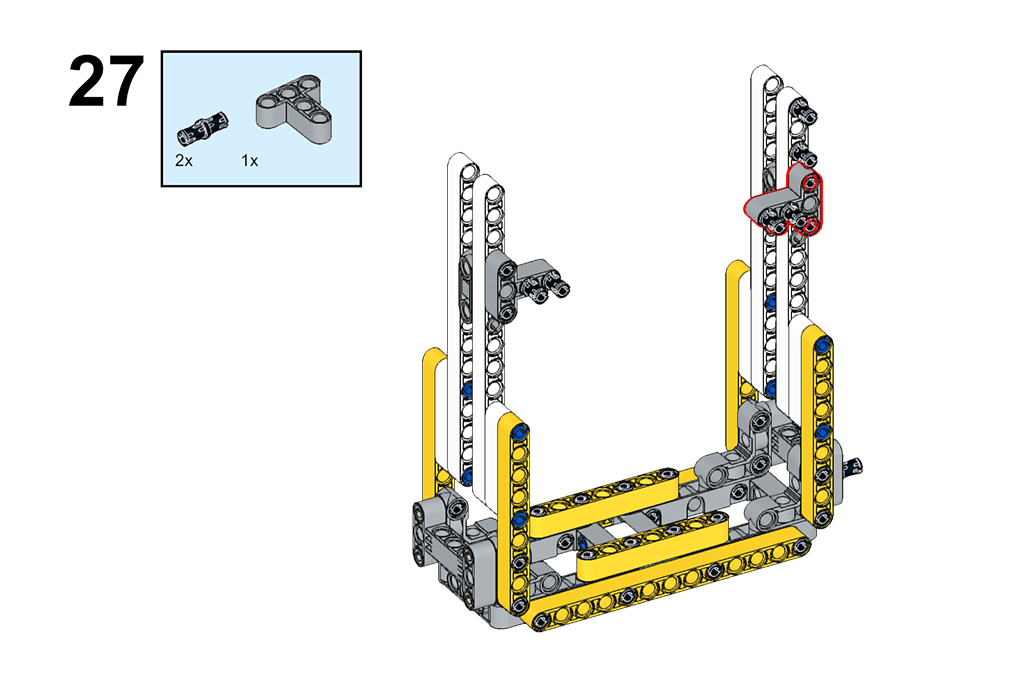
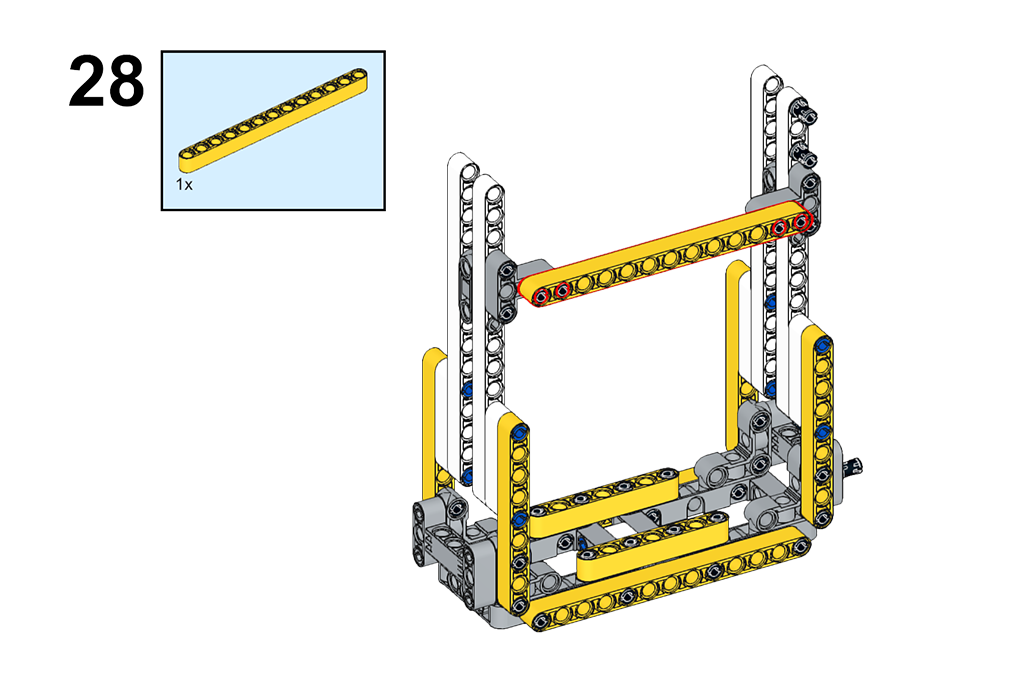
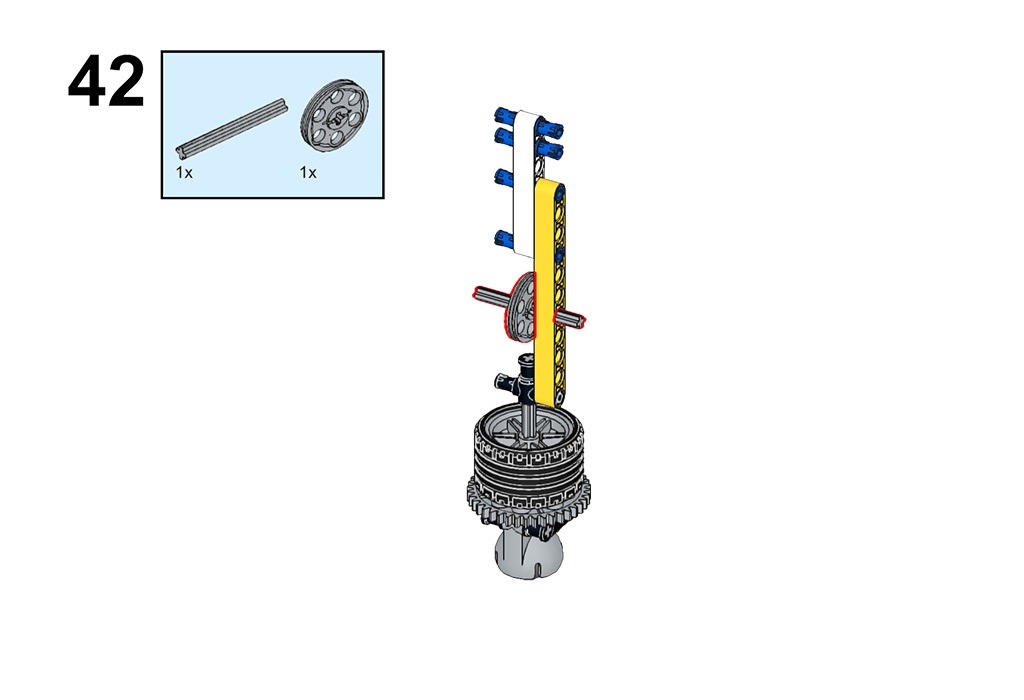
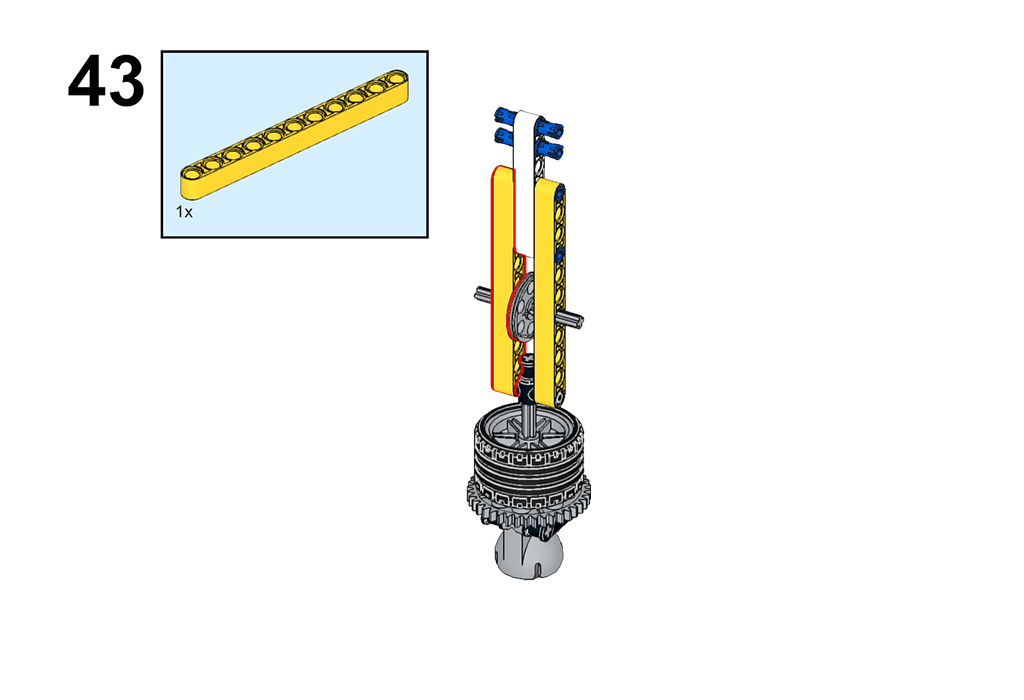
26-28. With T-shaped frame with holes, pins, 13-hole beam for fixing one side.
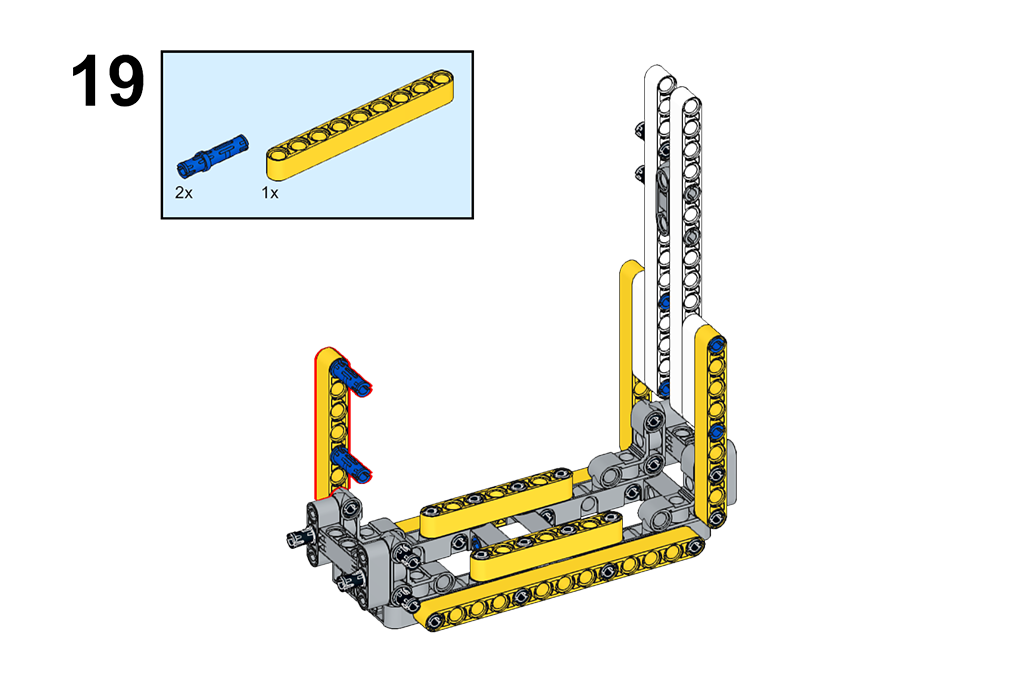
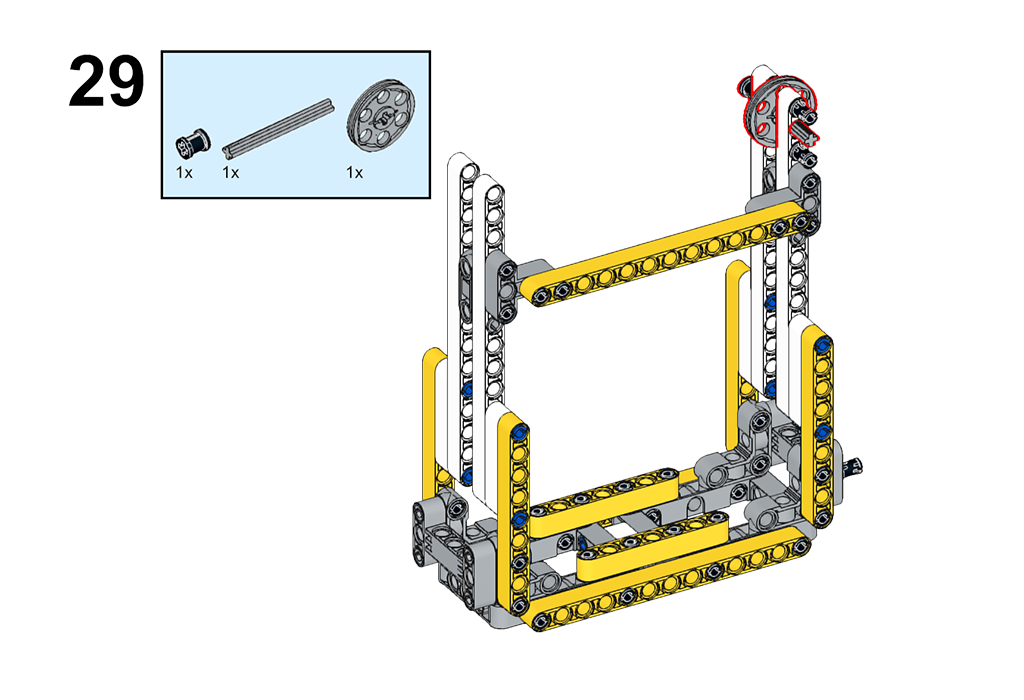
29-30. Both sides with a cross shaft through the pulley, and then use the sleeve to fix the pulley.

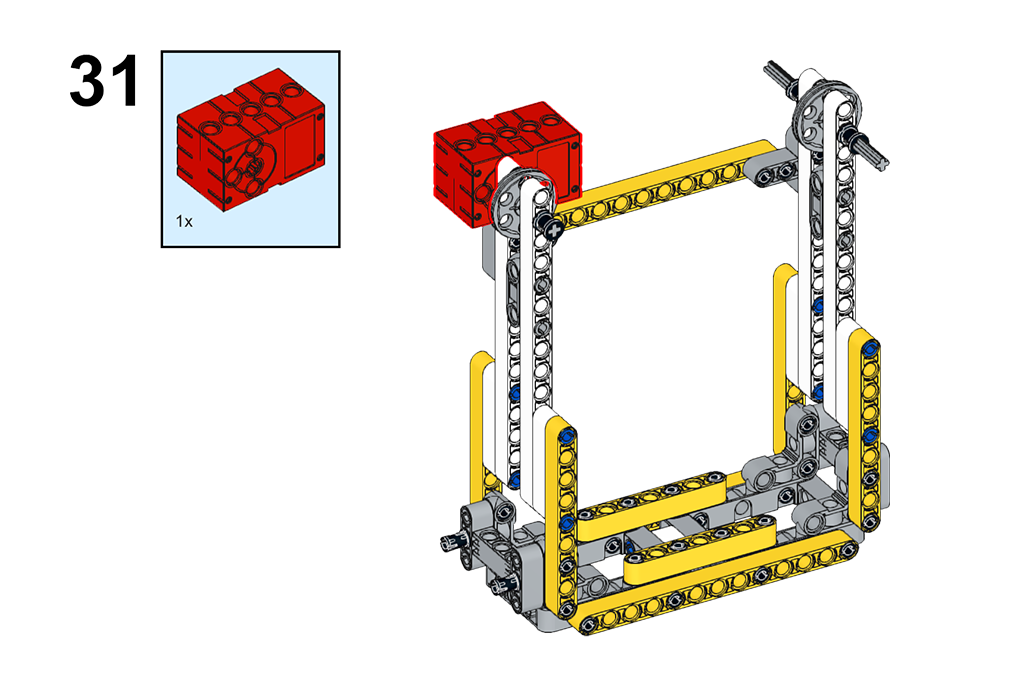
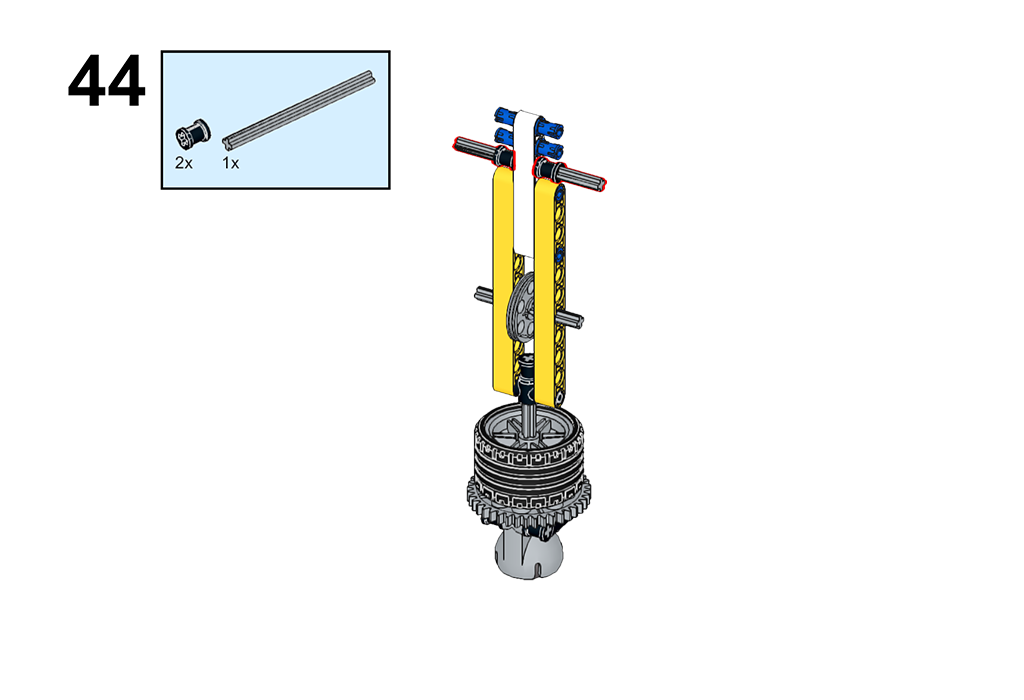
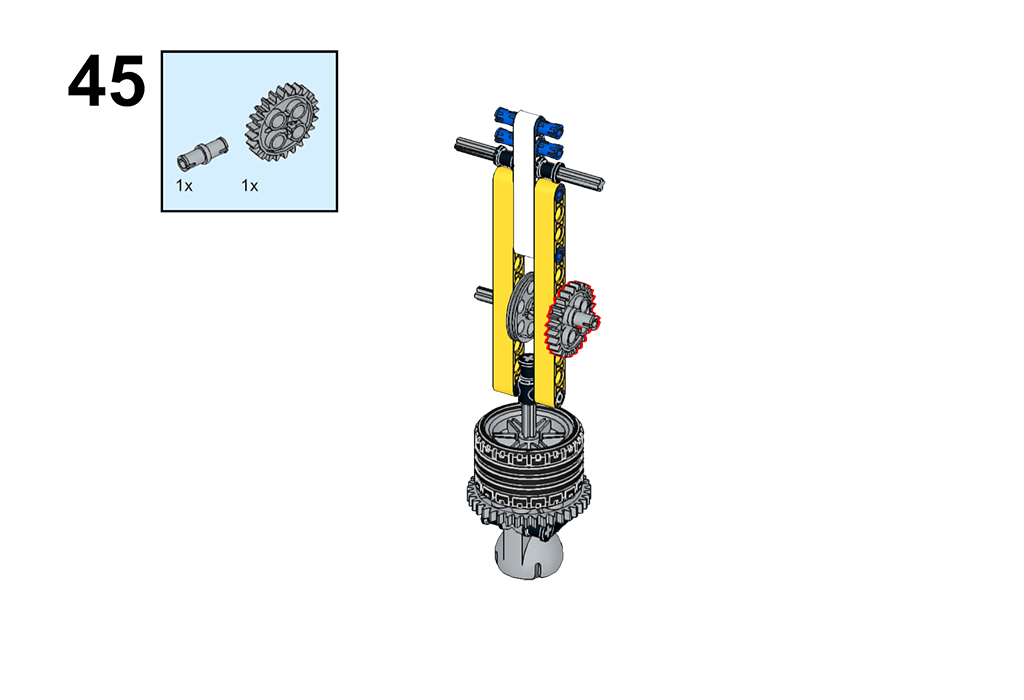
31-32. Fix the motor and Nezha expansion board and connect them, Nezha expansion board can make the red motor rotate after programming the power supply.
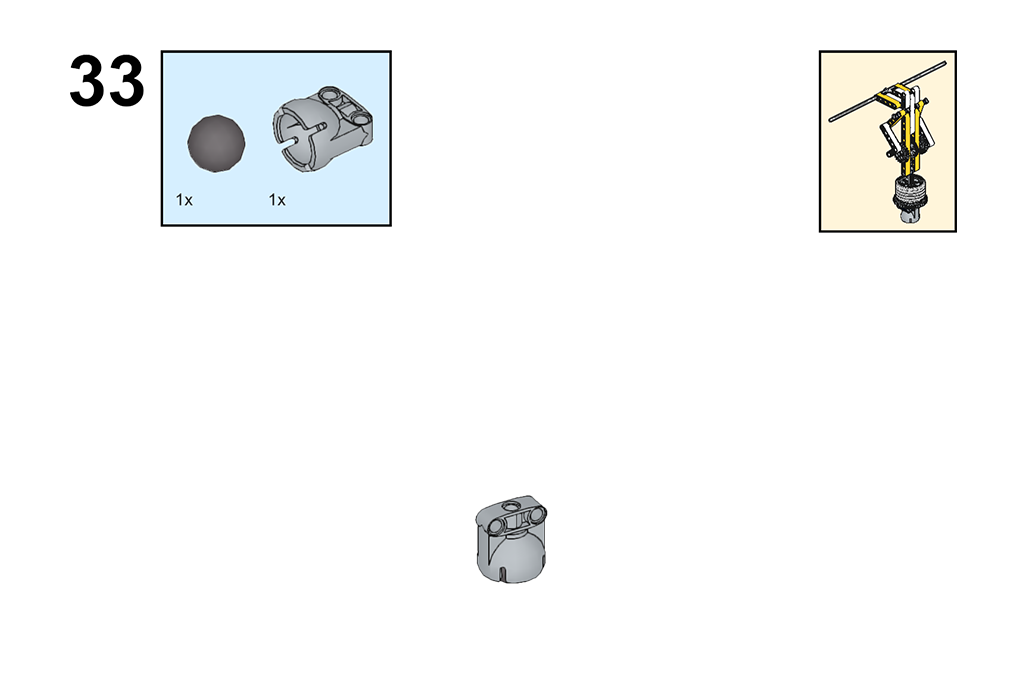
33. Begin to build the part of the person riding the wheel, the steel ball into the universal wheelset, the steel ball has a certain weight, used to increase the balance.
34. Fixed with shaft and coupling.

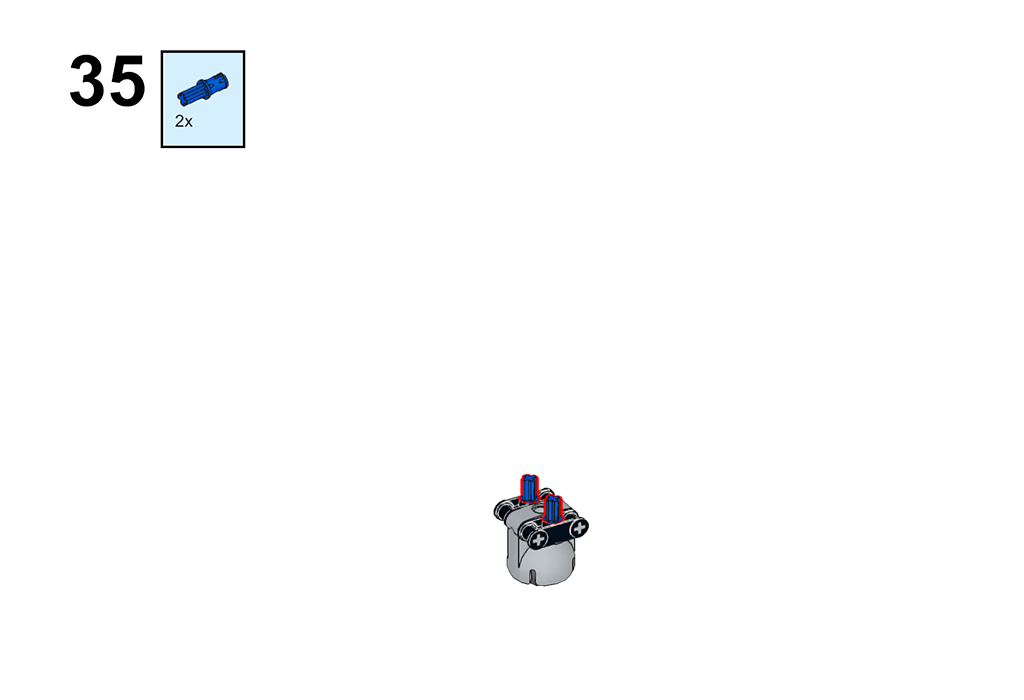
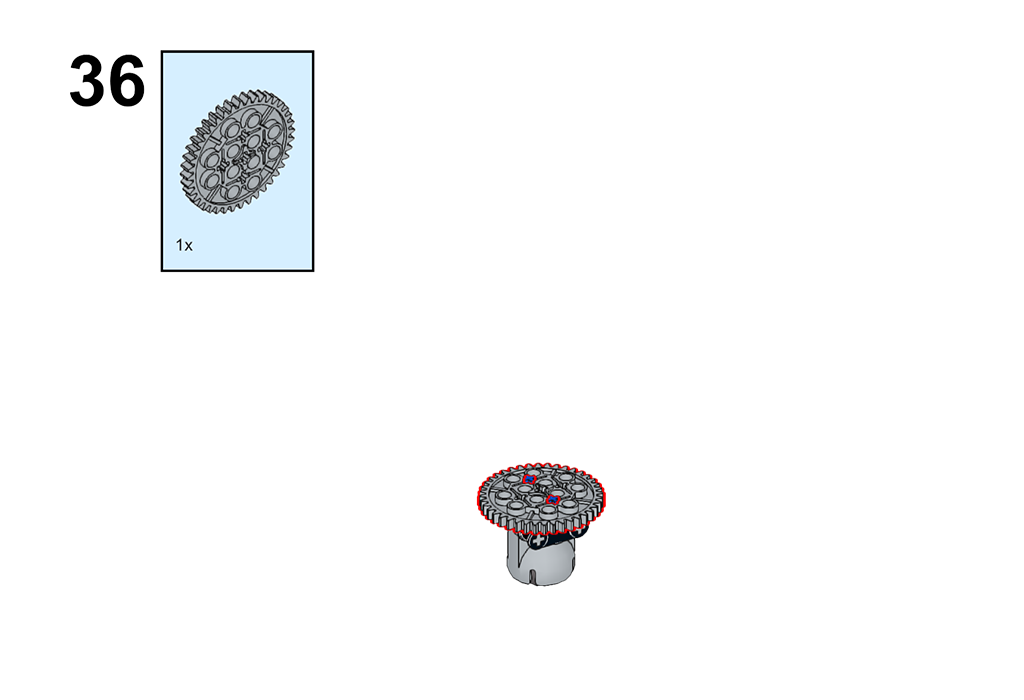
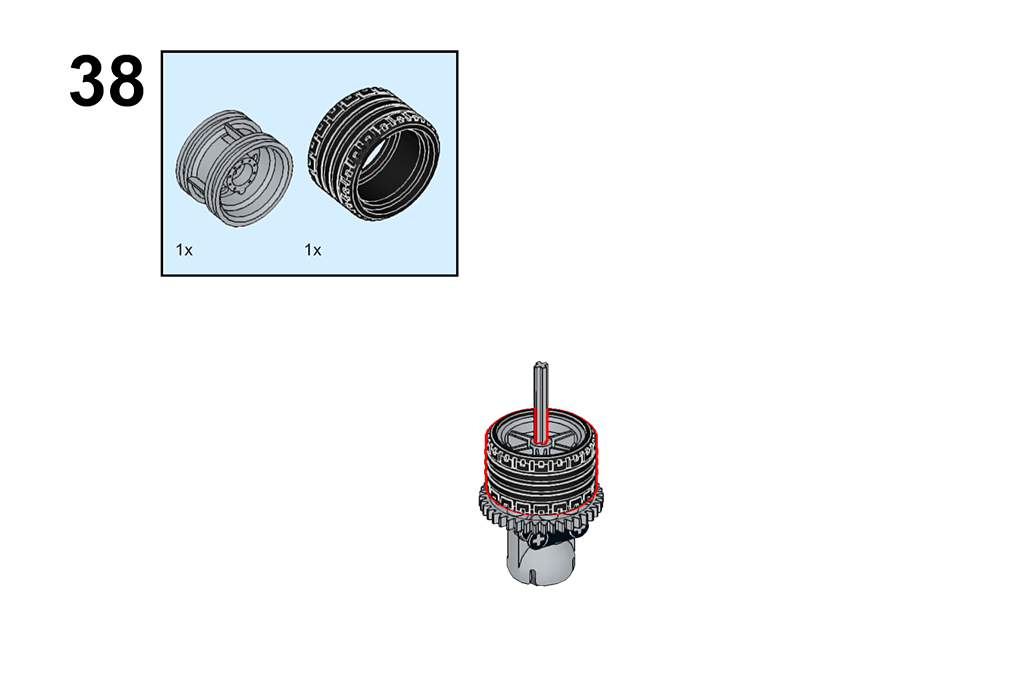
35-38. To make the center of gravity more stable, add wheels also to increase the weight.
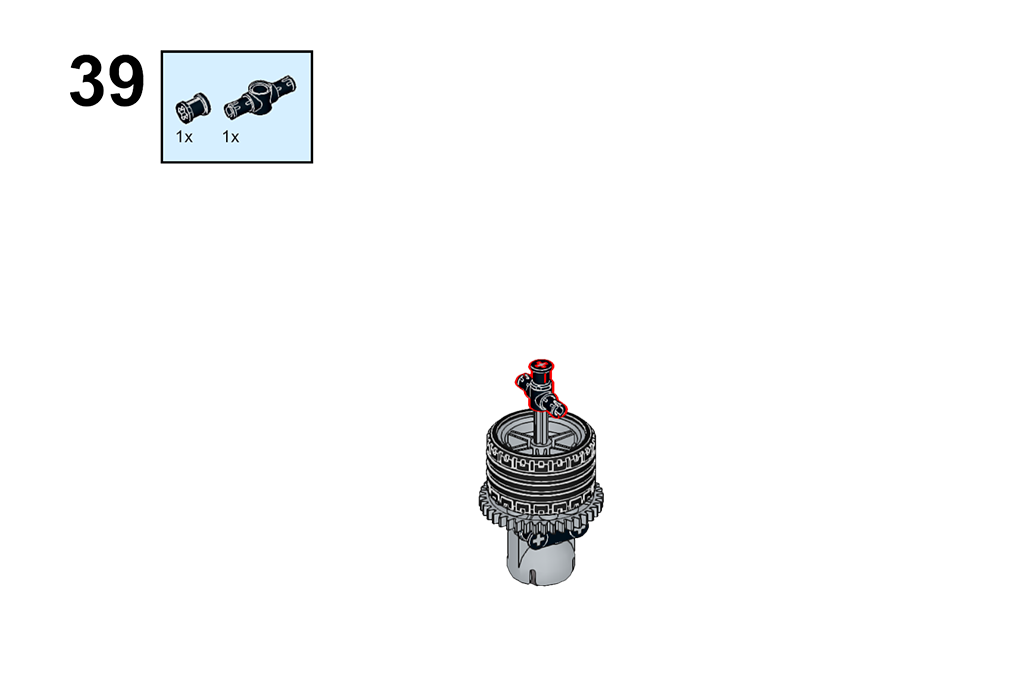
39. Add the bolt connection and the cross bush to form the bottom.
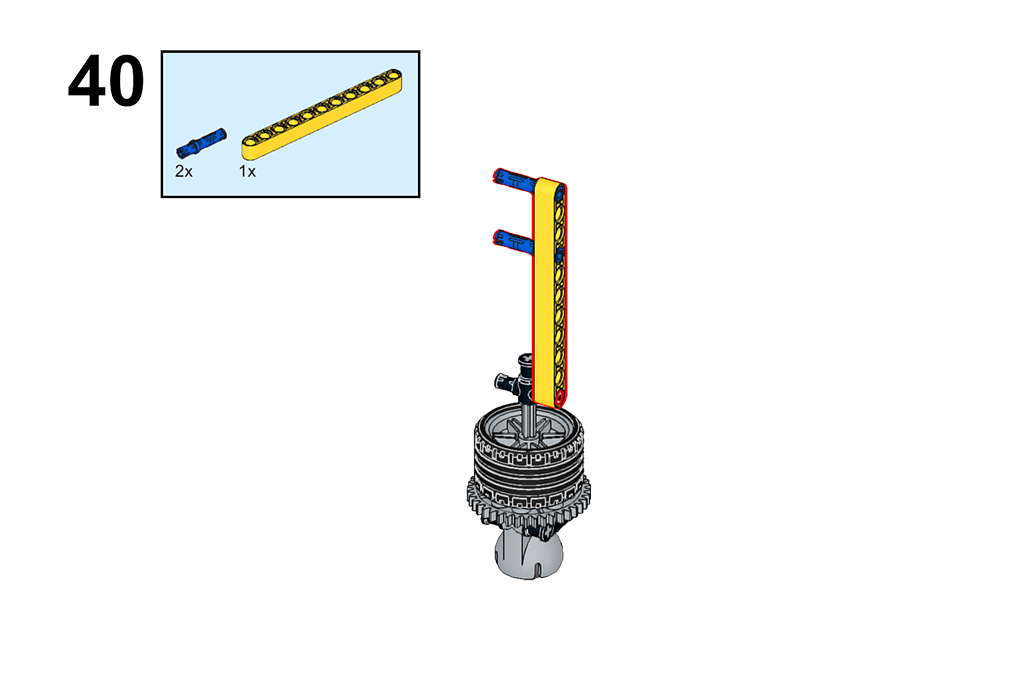
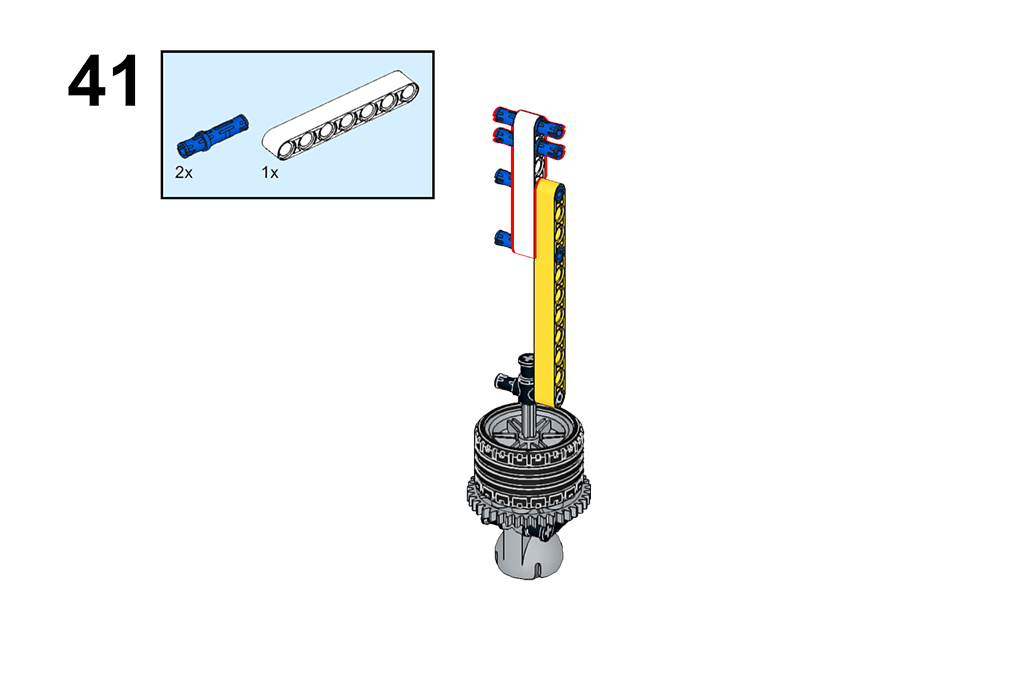
40-43. Run the axle through the pulley in the middle of the two long beams, so the pedal is built.
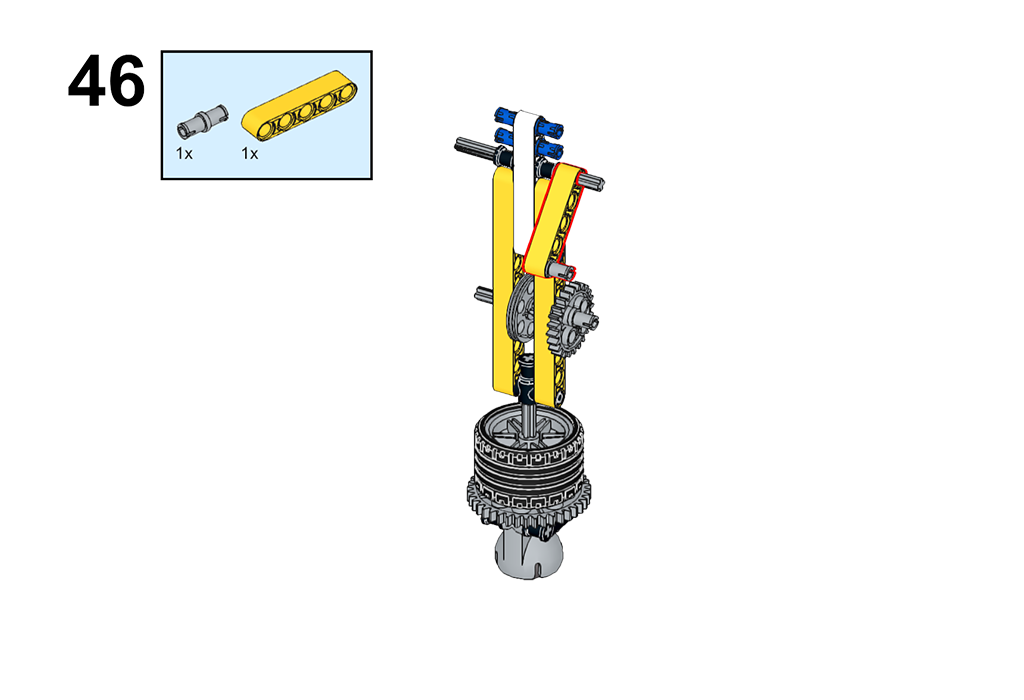
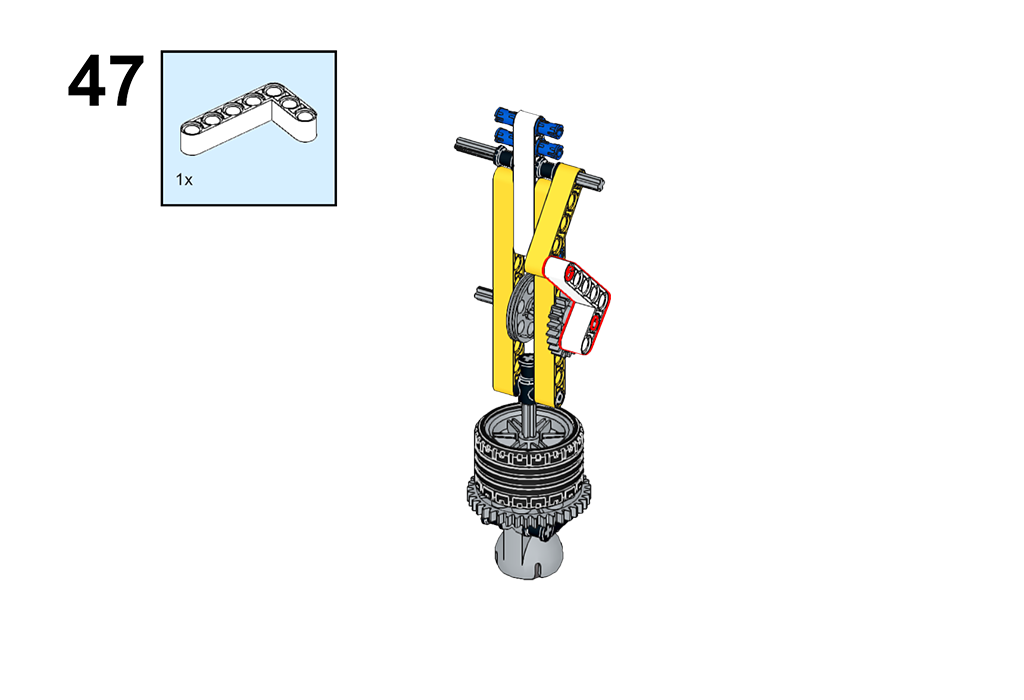
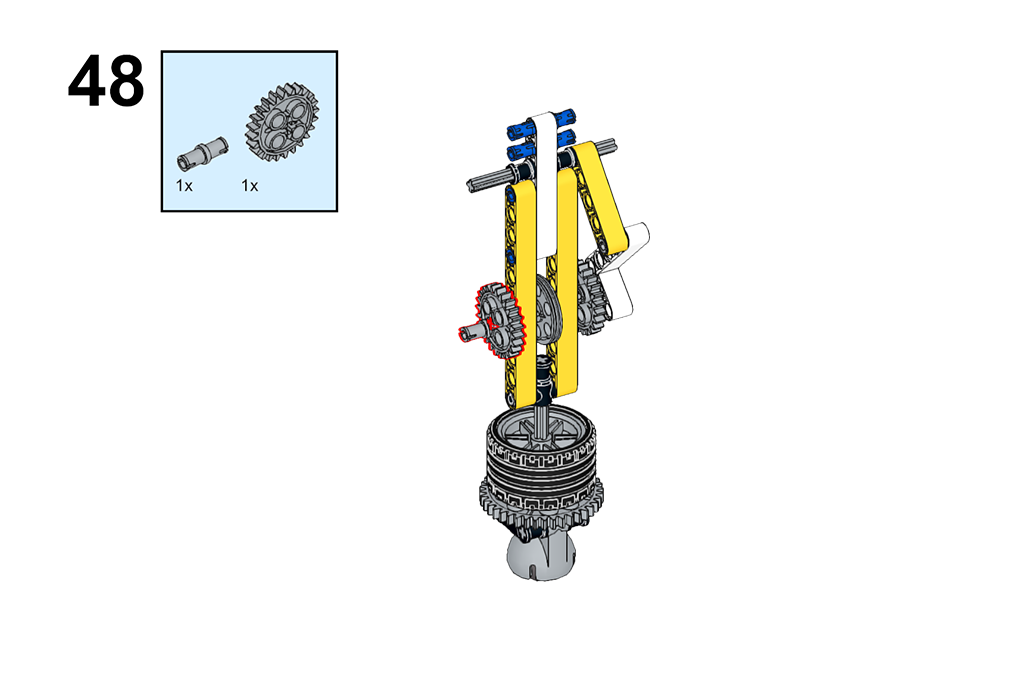
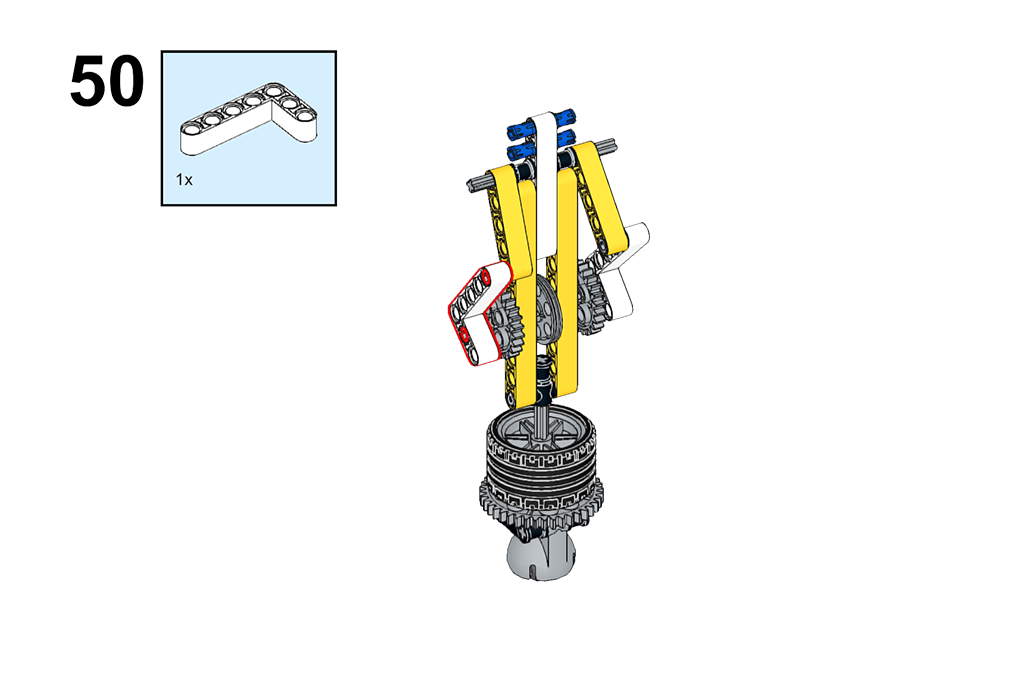
44-50. Upward to build the part of the foot, through the principle of gear transmission, through the L-shaped beam, 5-hole beam, plus gear connected to form the pedaling action.

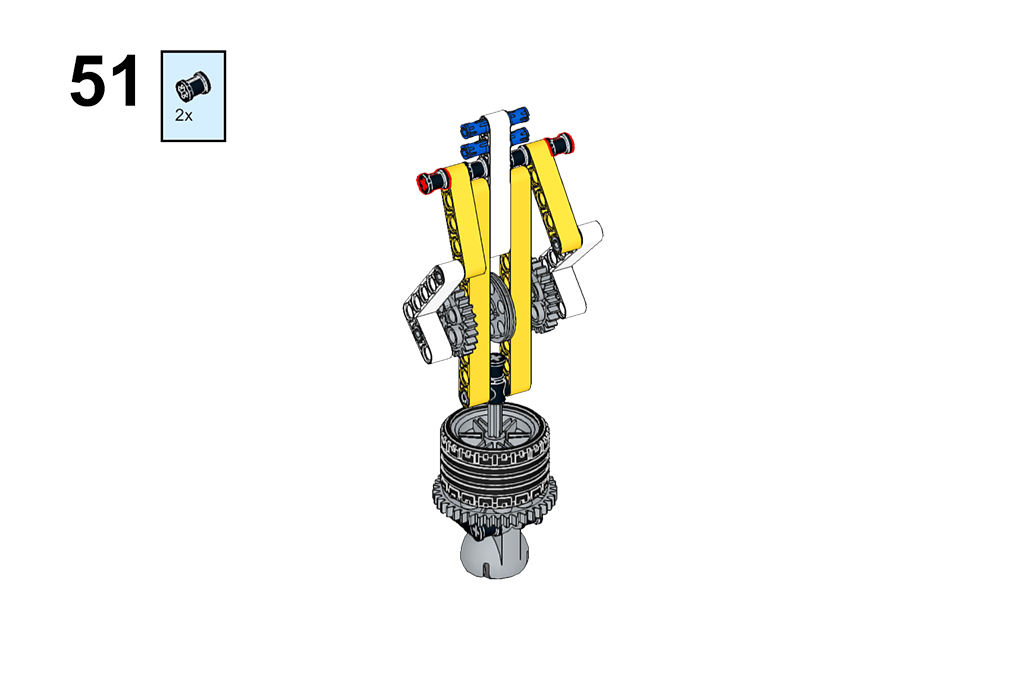
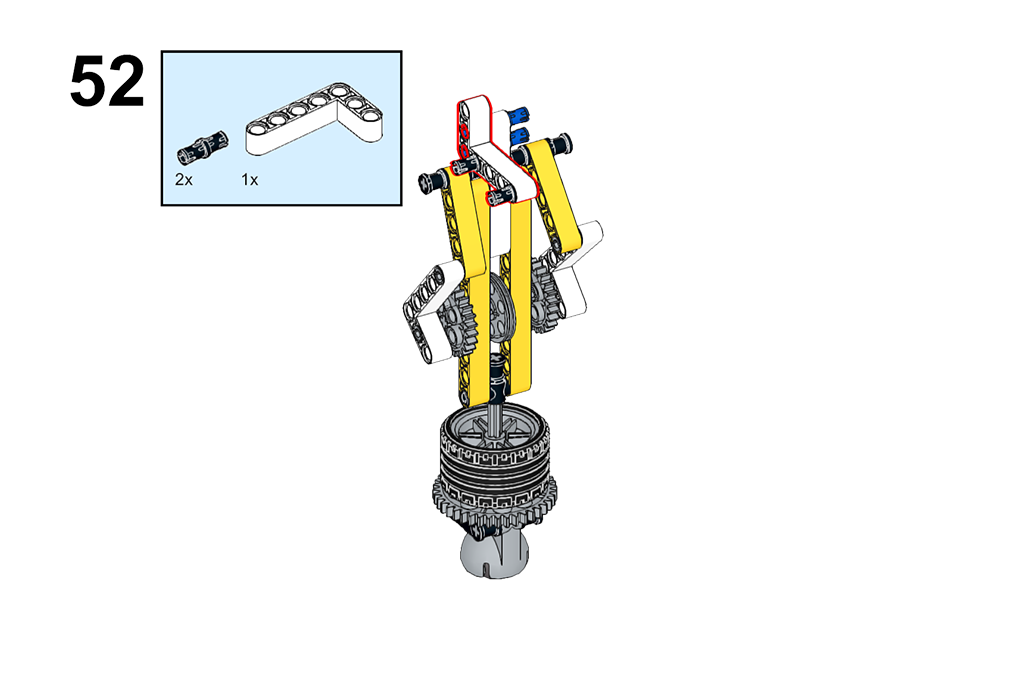
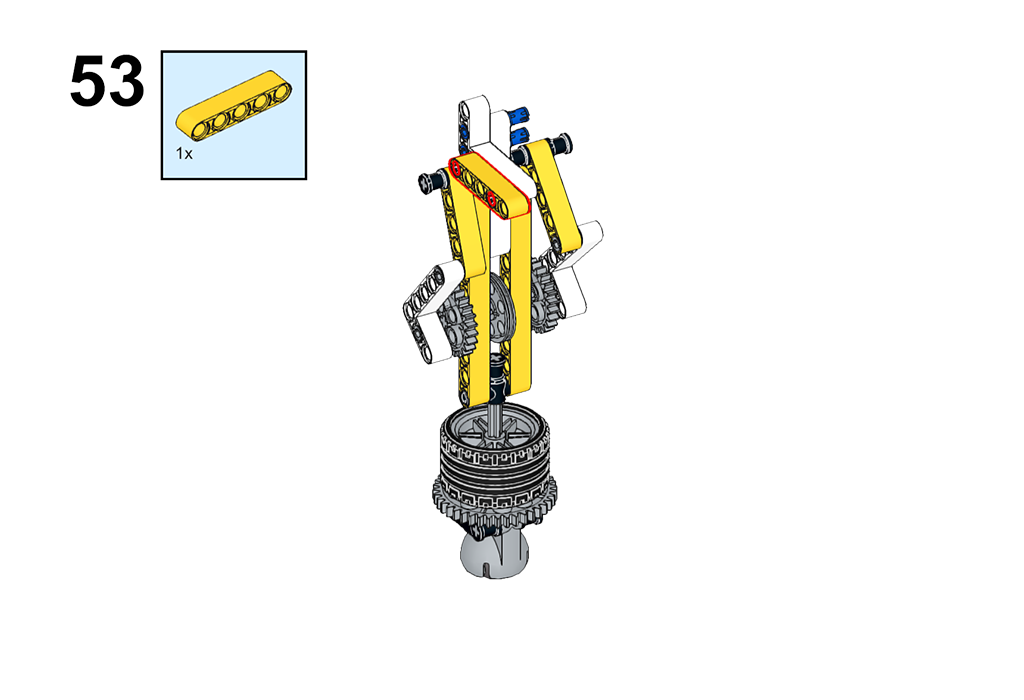
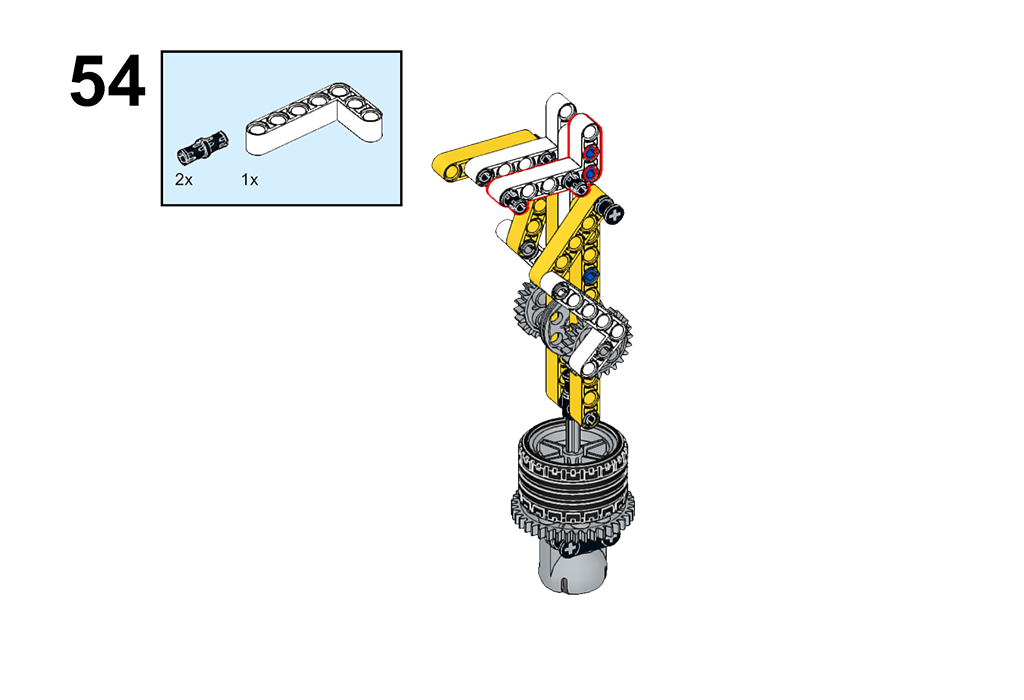
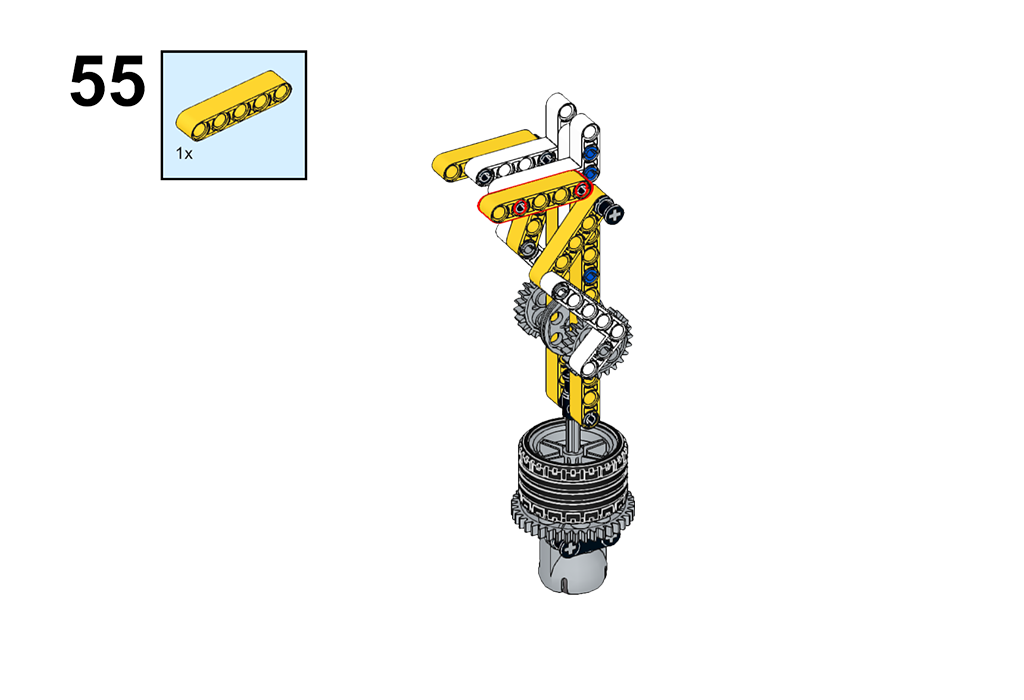
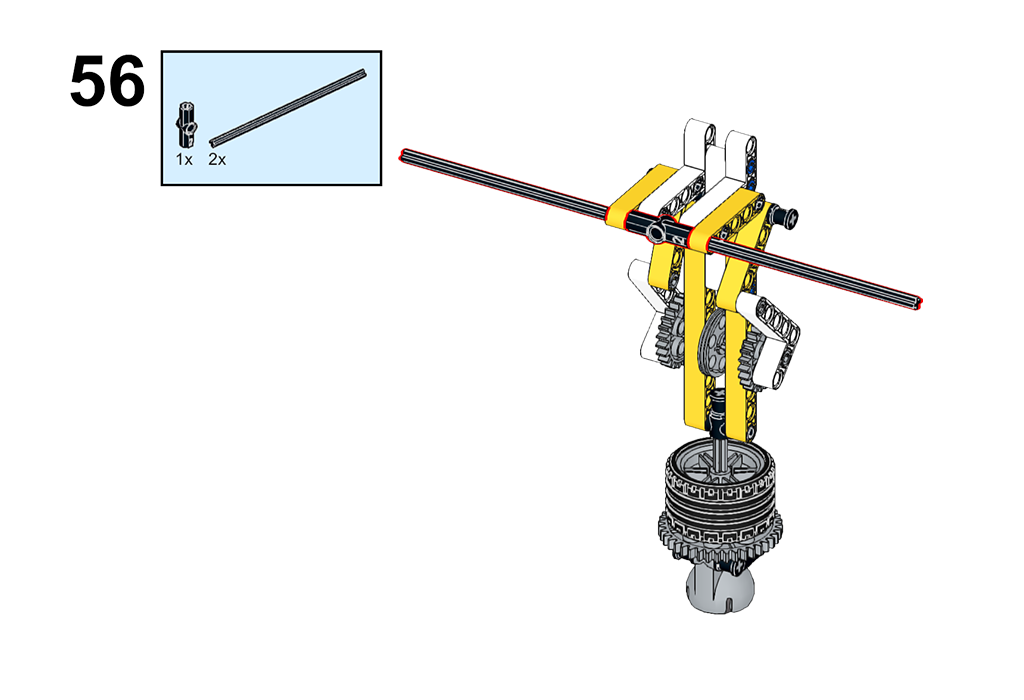
51-56. And then build up the hand to grab the balance bar action, so that the “man riding a unicycle” part has been done.
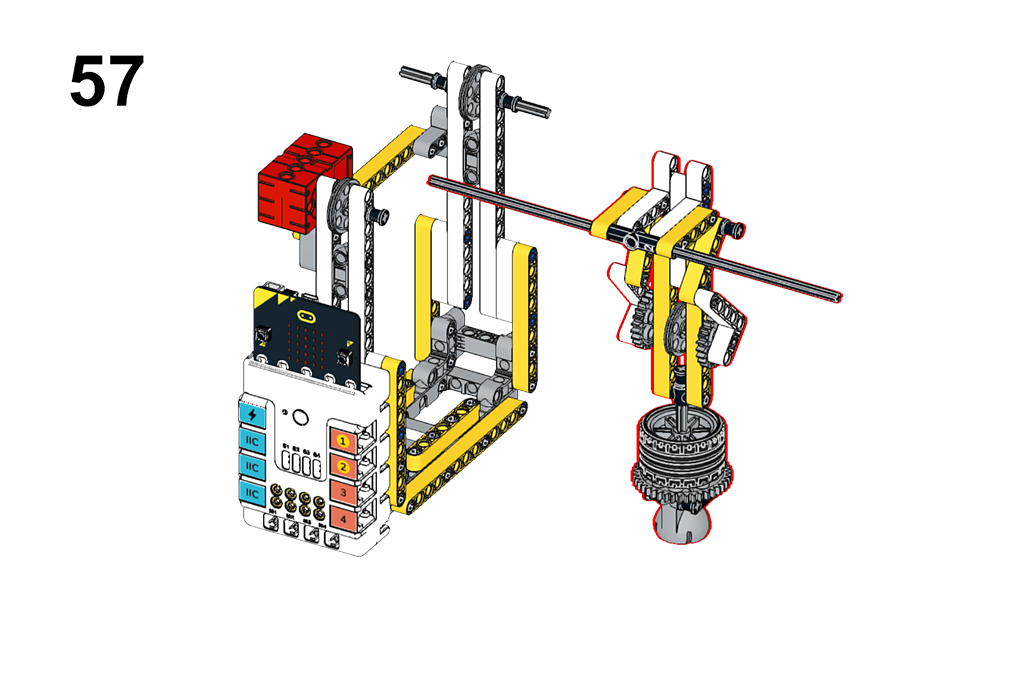
57. Finally, we use rubber bands to build according to the following chart, the “man riding a unicycle” and “high wire” pulley connected, so it is complete.
Here we use the MakeCode to do the program, go to MakeCode editor page, and please follow the steps below:
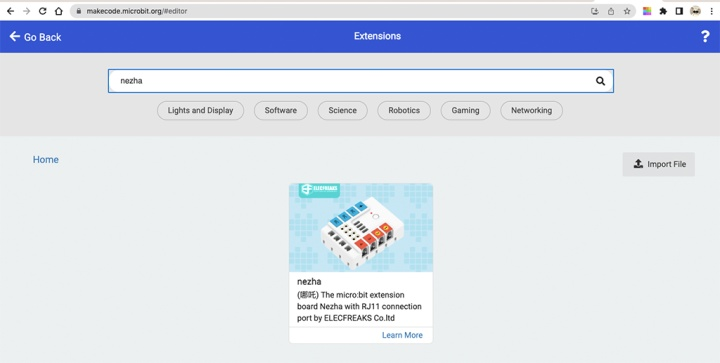
Click “Extensions” in the drawer to add the extensions that we need for this project.
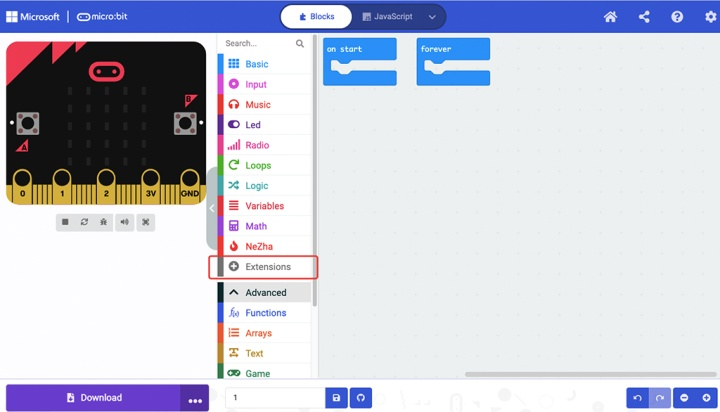
Search with “Nezha” in the dialogue box and click it to add it to the drawer.
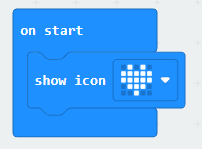
We start programming by dragging and dropping the programming blocks. First, make the micro:bit display a love heart when you turn it on to put you in a good mood.
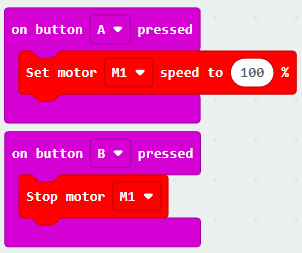
Next, we find the block “Set motor M1 speed to 100%” in the “nezha” software library and drag it to the programming area to set the motor to move when button A is pressed. To make the motor more powerful, adjust the speed of the motor (M1) to 100%. When button B is pressed, the motor stops working.
You may download the whole program with the link below for your reference:
https://makecode.microbit.org/_ebcWihK325Hc
After the equipment is energized, press button A, the motor will drive the pulley, the pulley drives the rubber band, and finally drive the operation of the “man on the wheel”, and more interestingly, the wheel below is driven by the rubber band also turns up. This is a wonderful acrobatic show in front of our eyes. When button B is pressed, the motor stops and the show stops. What other interesting acrobatic cases do you have, let’s explore them together!


