

The structure of the swing is a long rope tied to a frame with stirrups underneath, and the person swings back and forth with the stirrups. The origin can be traced back to the ancient times. Because of its simple equipment, and ease of learning, people love it, and it soon became popular in all parts of the world. Swing can make people relaxed, exercise the body and will, and cultivate the spirit of bravery, which has become the exclusive activities of children.
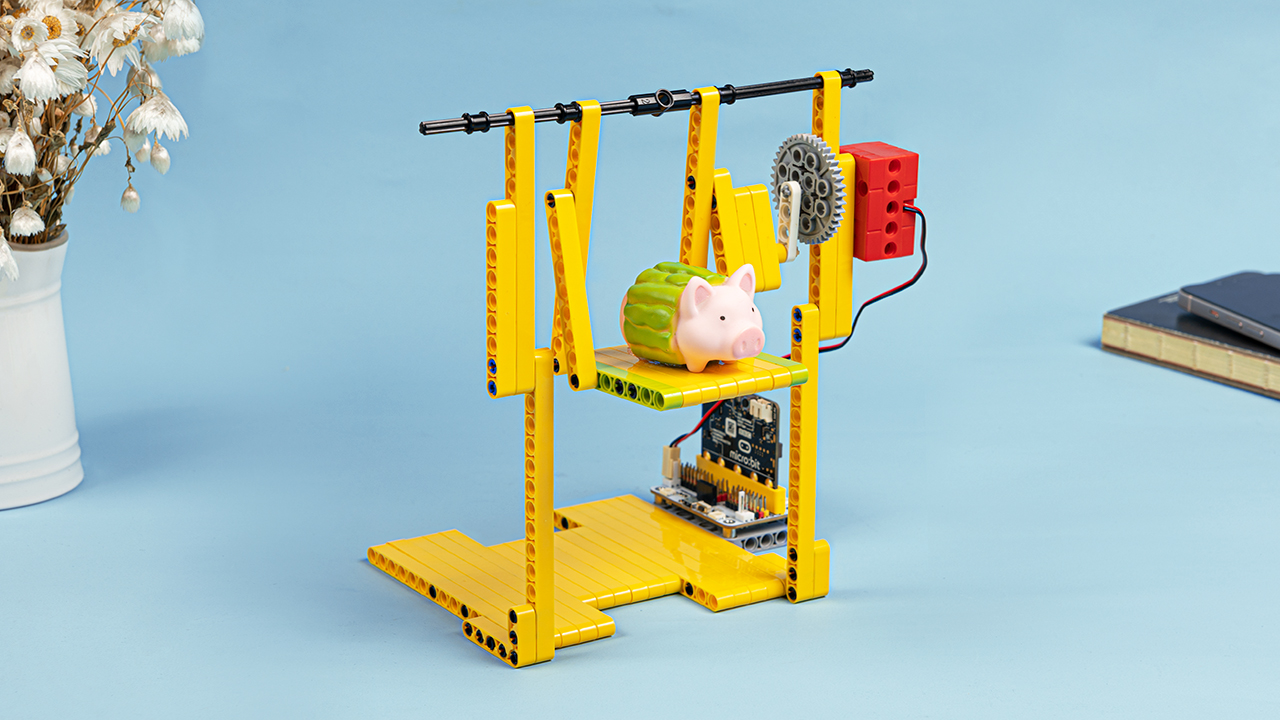
We will do a “swing” case today, it is mainly composed of three parts, one is the “base” part, another is the “beam and chair” structure, and there is the “transmission” part. The principle used is to control the motor to drive the gears, which in turn drives the column, which in turn slaps the chair and drives the chair to rotate. Let’s start building this interesting swing case!
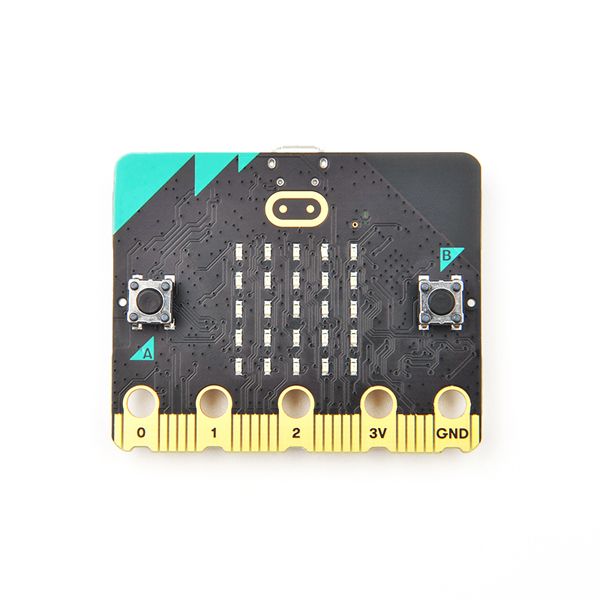
ELECFREAKS BBC micro:bit V2.2 *1
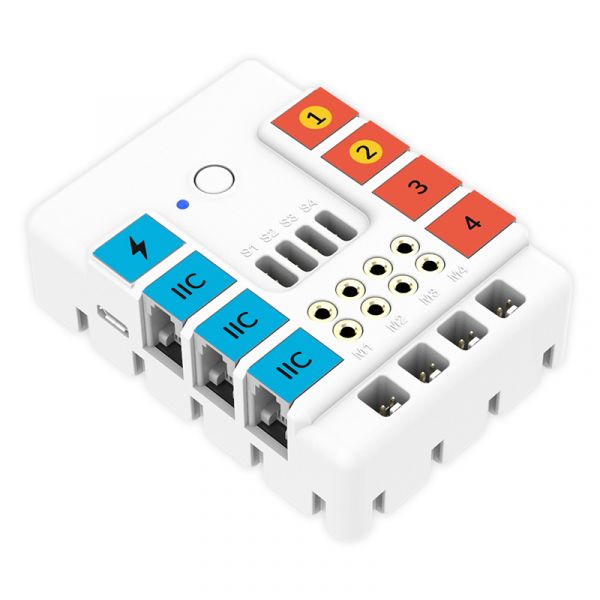
ELECFREAKS Wukong Breakout Board *1
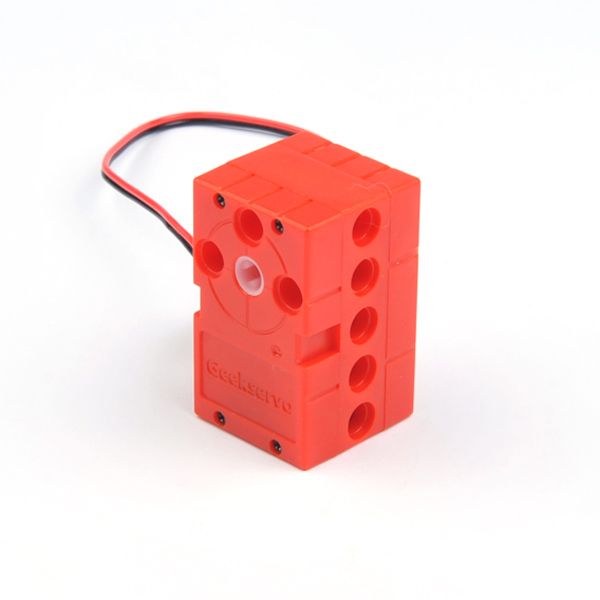
ELECFREAKS High-Speed Building Blocks Motor *1
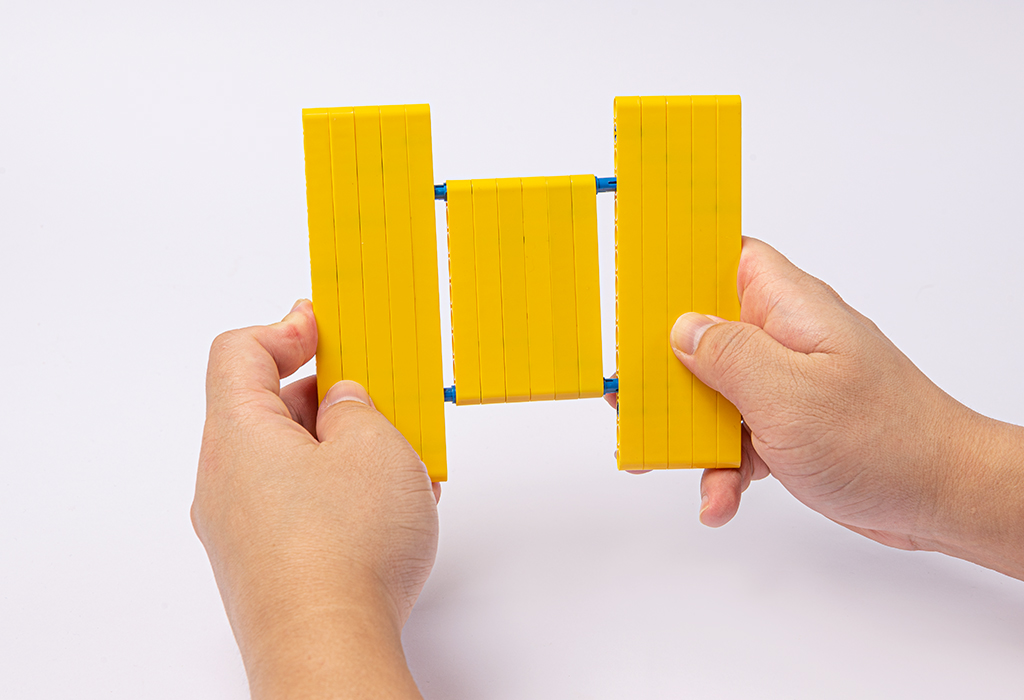
Now build the “base” part first. 5 15-hole beams are connected with pins, and the same operation again 5 15-hole beams are connected with pins.
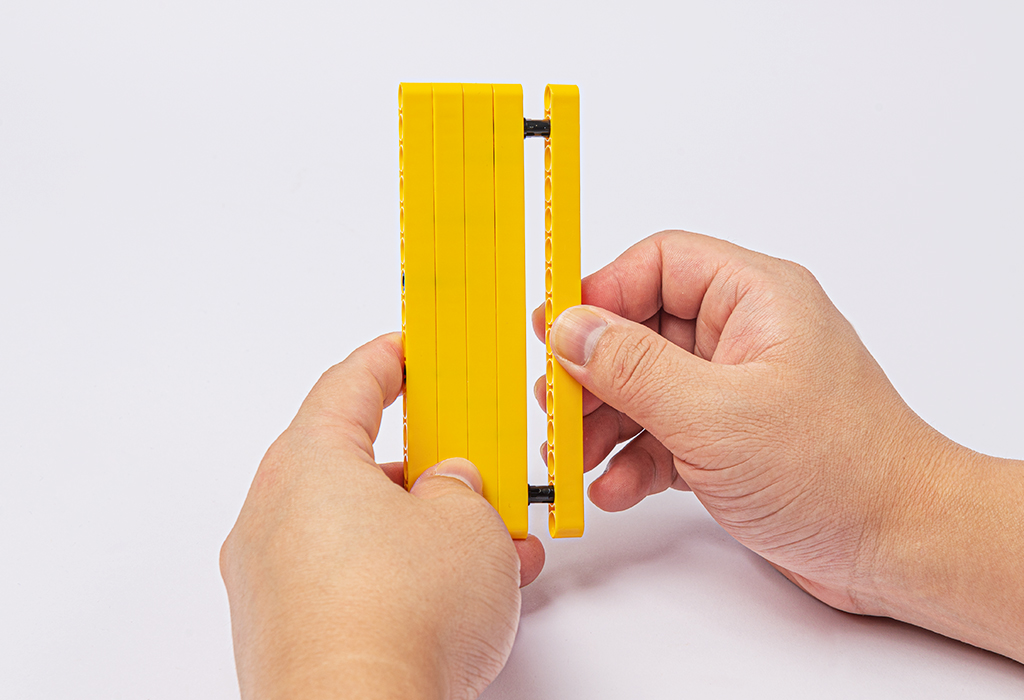
6 x 9-hole beams connected by pins, base complete.
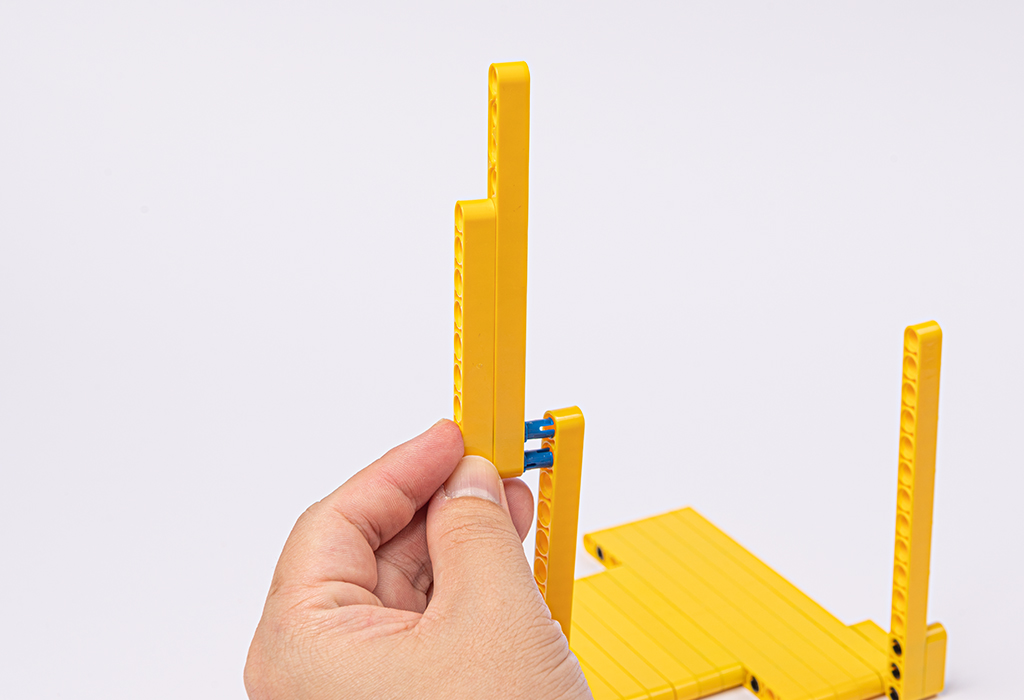
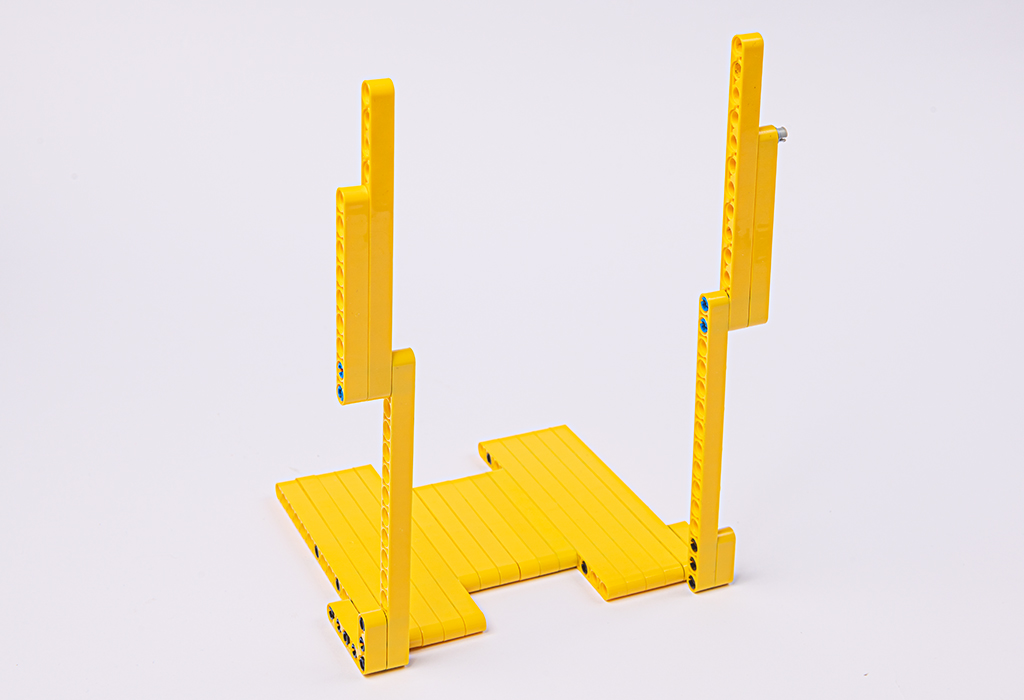
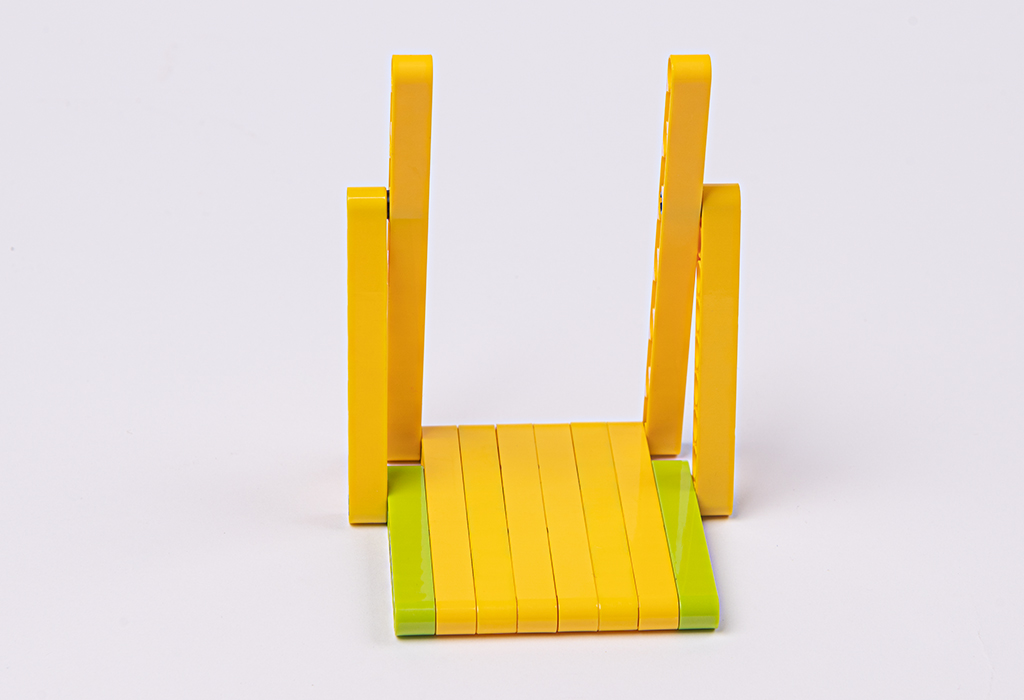
Next comes the erection bar, which is linked to the base by a 3X5 hole beam.

Give extensions to the uprights with the aim of increasing the height of the swing.
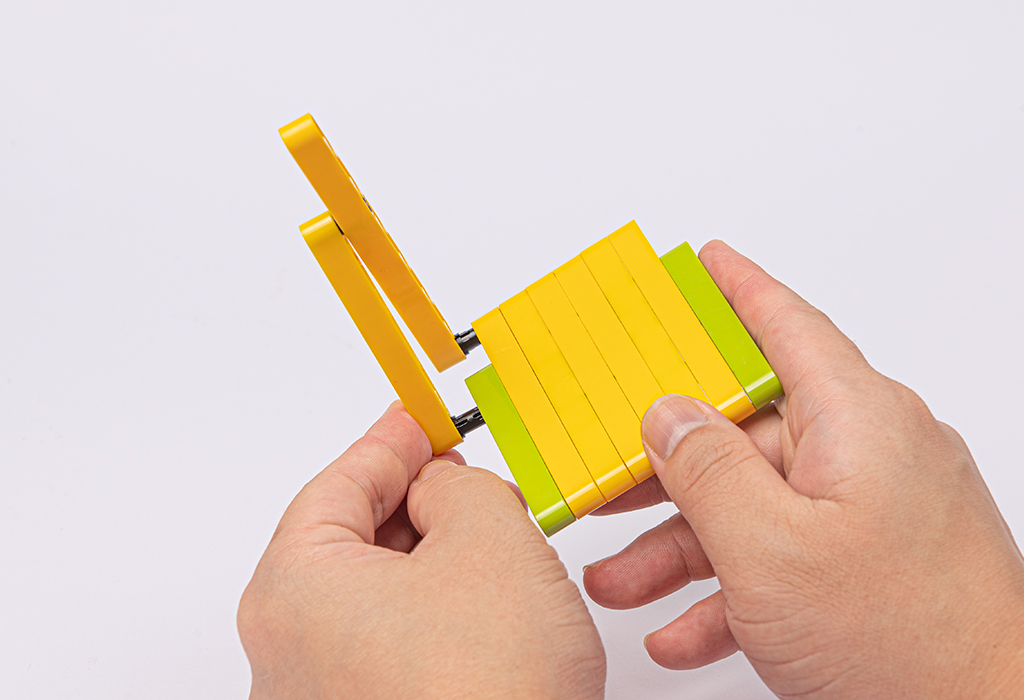
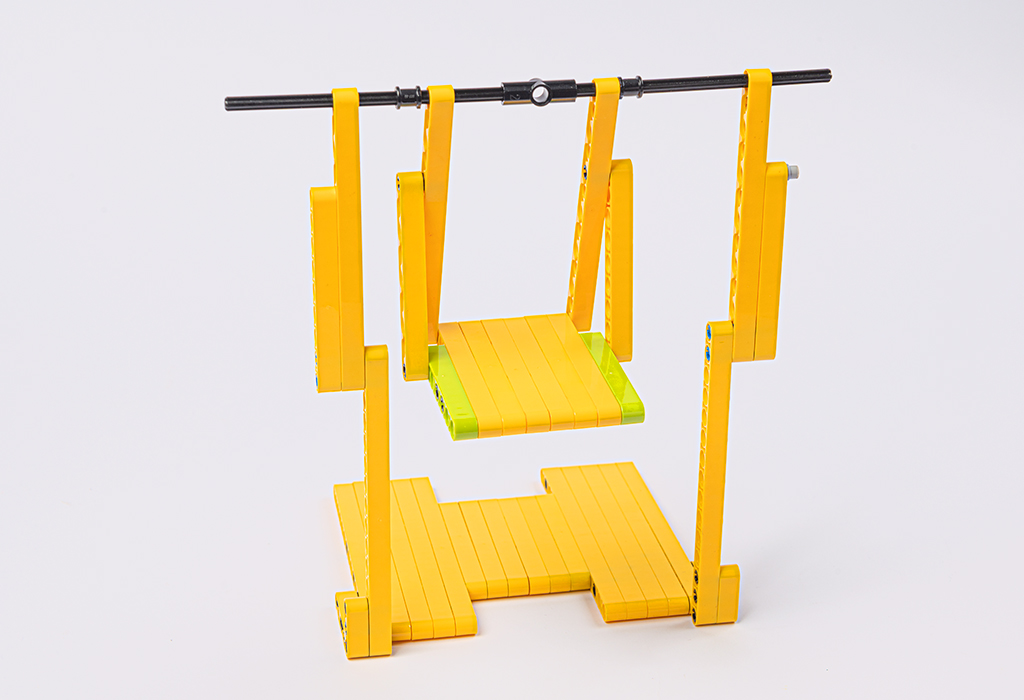
Then the chair structure is built with six 9-hole beams connected by pins. Then the sides are connected with 7-hole beams.
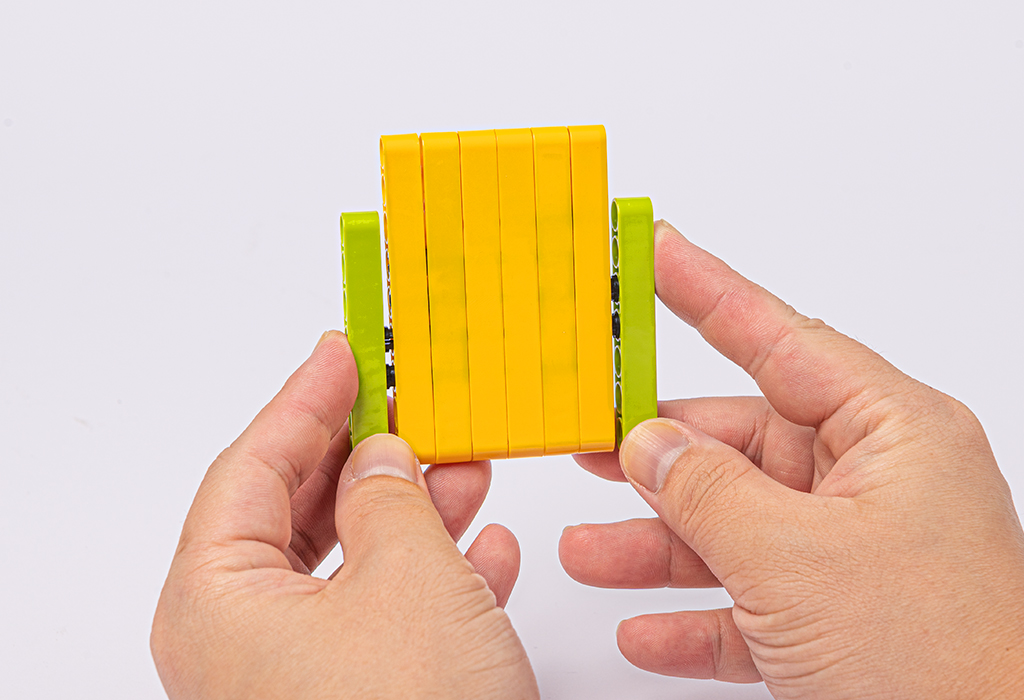
The two sides are connected with 9-hole beams and 13-hole beams to form a triangle, which serves to fix the chair.
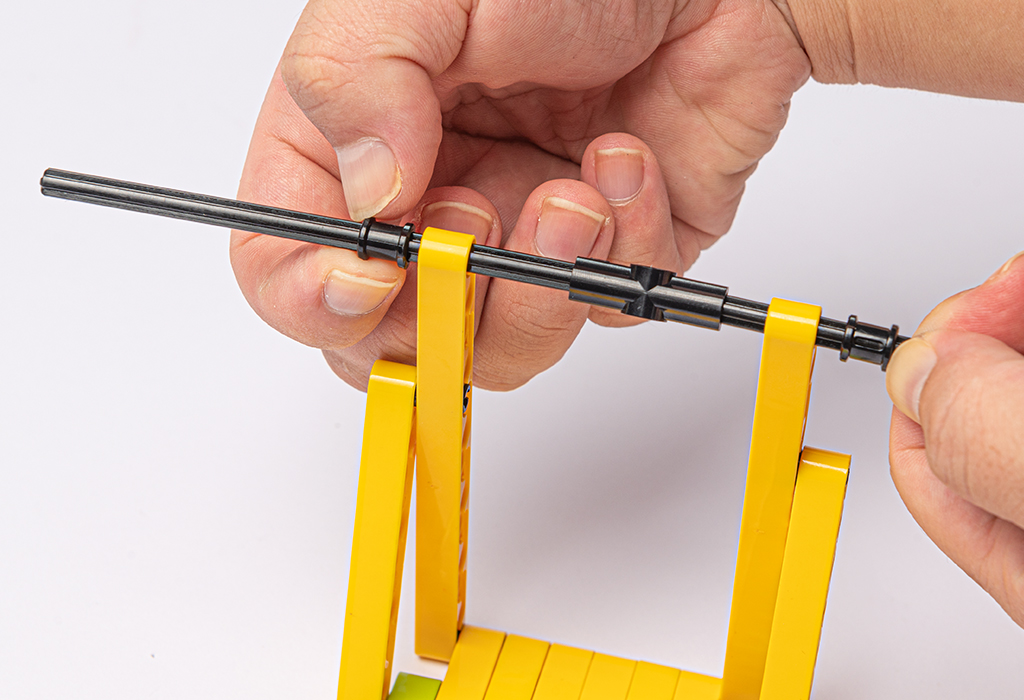
To make the crossbar section, use two crossbars connected by round rods that go through the top holes of the chair.
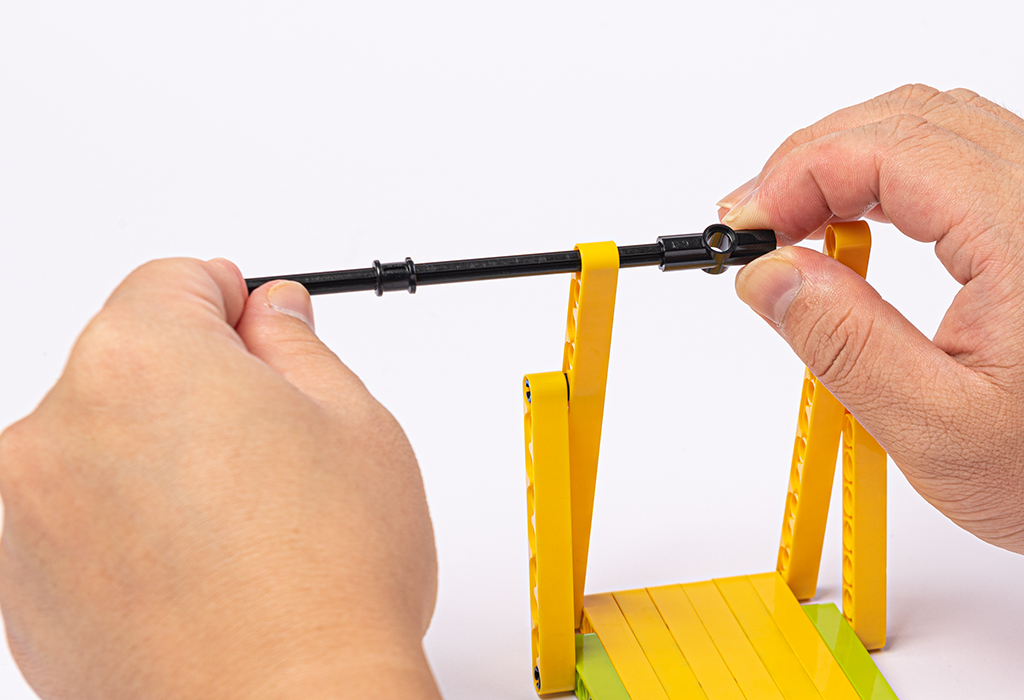
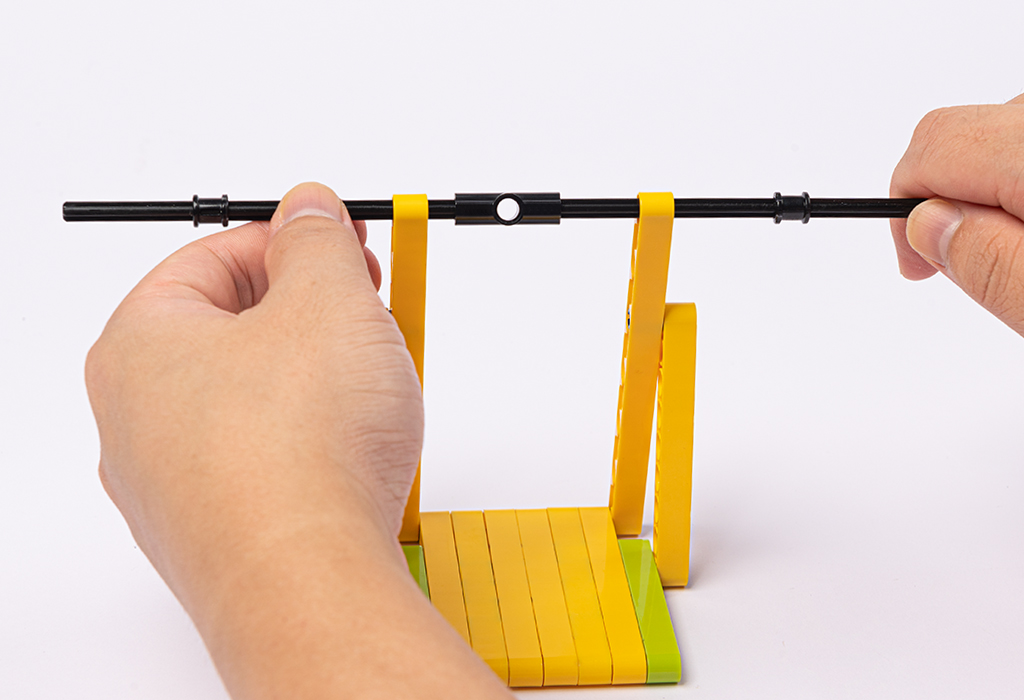
Secure the swing in place with round pins, for now, to keep the swing from swaying from side to side.
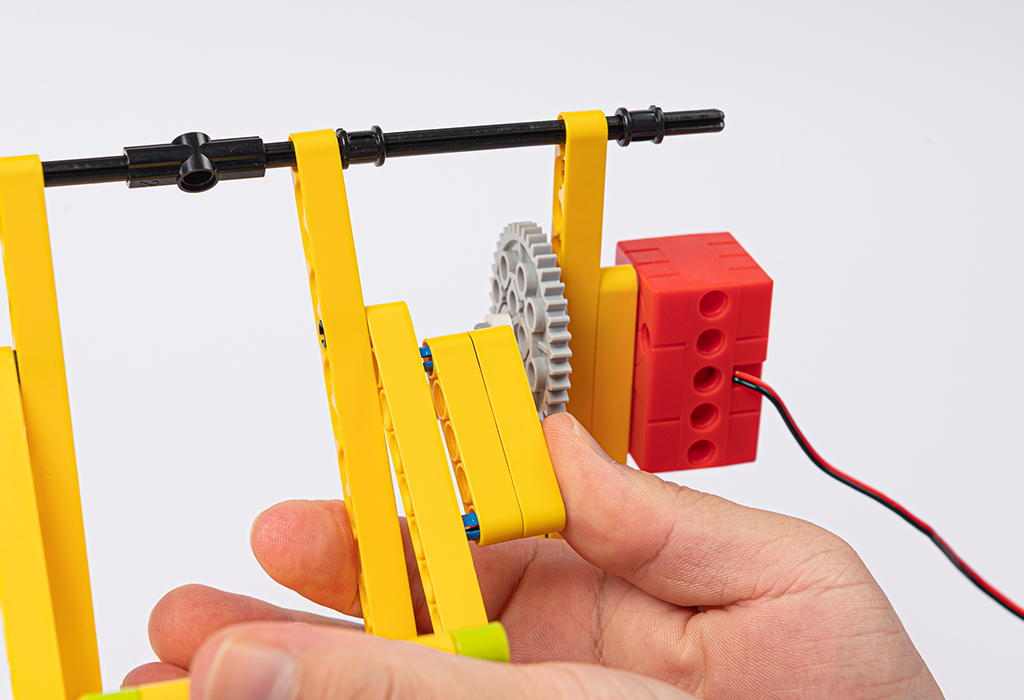
Lastly, in the transmission section, connect the motor and gears with a crossbar and secure the motor with a pin.
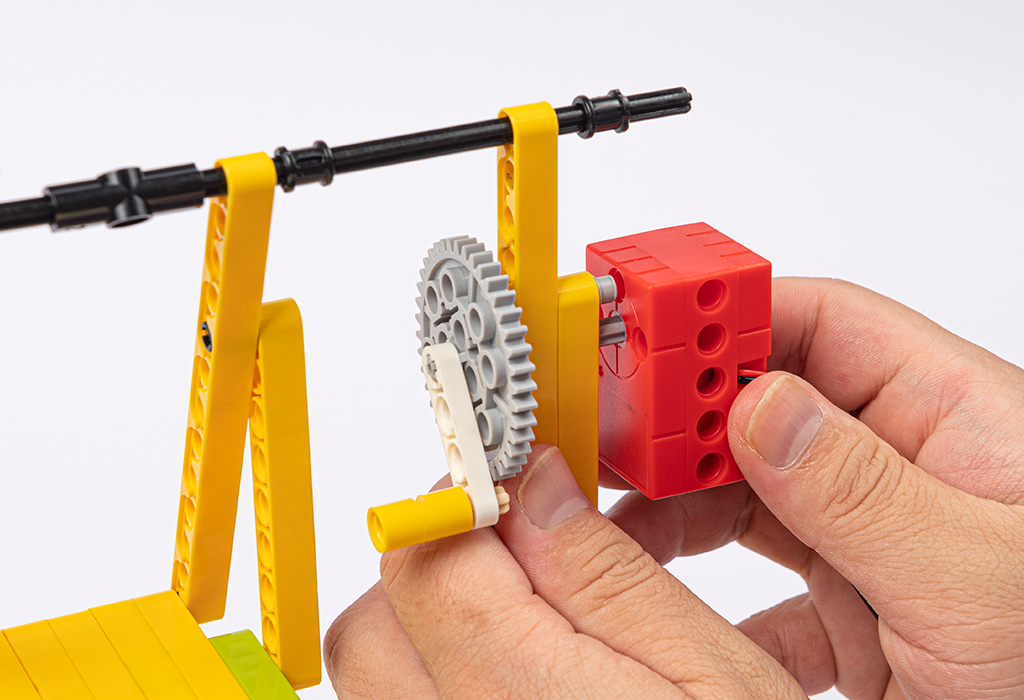
Fix the cylinder, and add two 5-hole beams on the outside of the chair for collision with the cylinder, which can drive the movement of the whole swing.
The motor is connected to the Wukong Breakout Board and we program the motor via microbit.

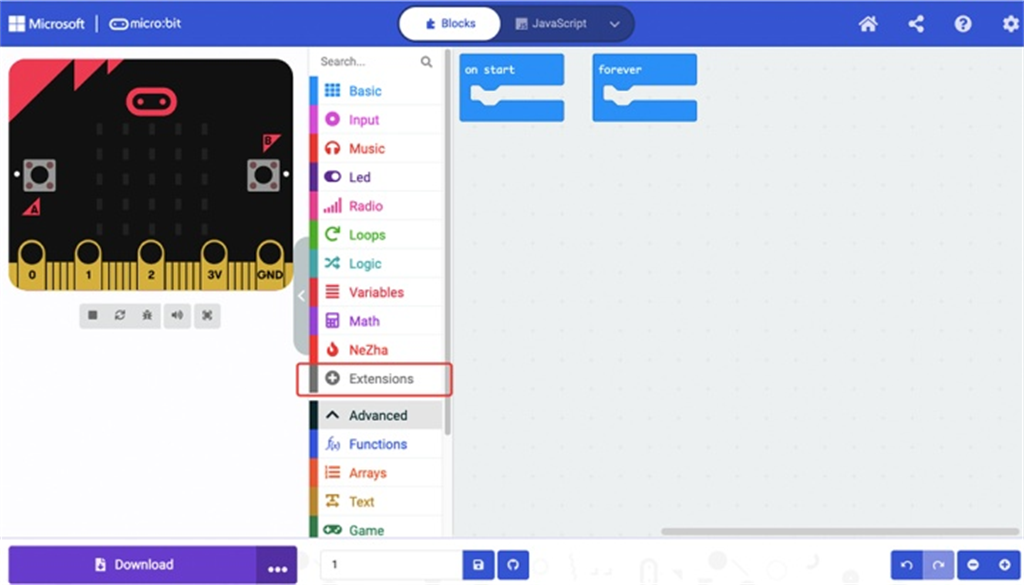
Here we use MakeCode to do the program, go to the MakeCode editor page, and please follow the steps below:
Click “Extensions” in the drawer to add the extensions that we need for this project.
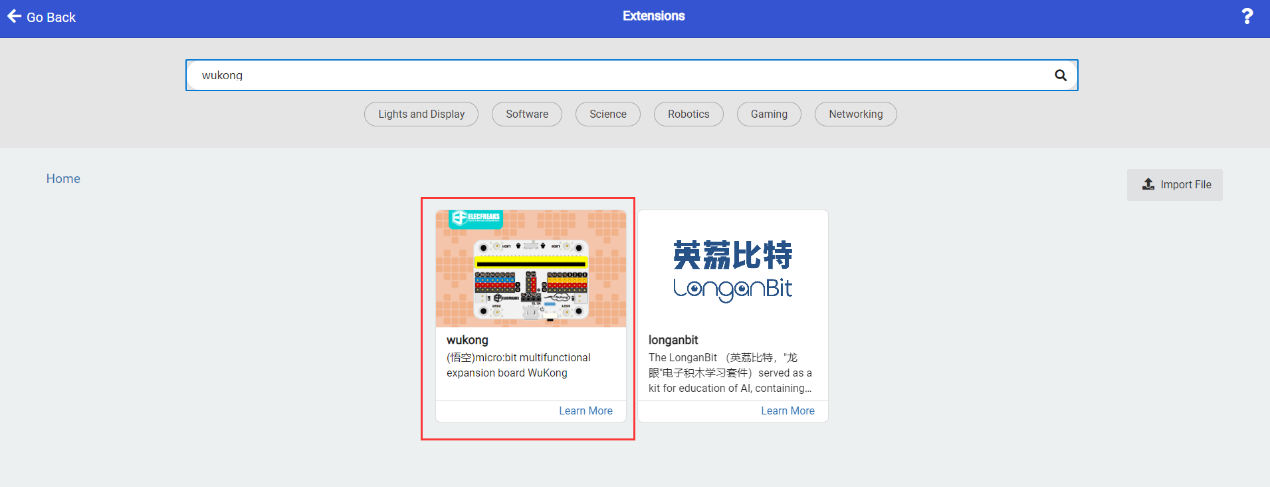
Search with “wukong” in the dialogue box and click it to add it to the drawer.
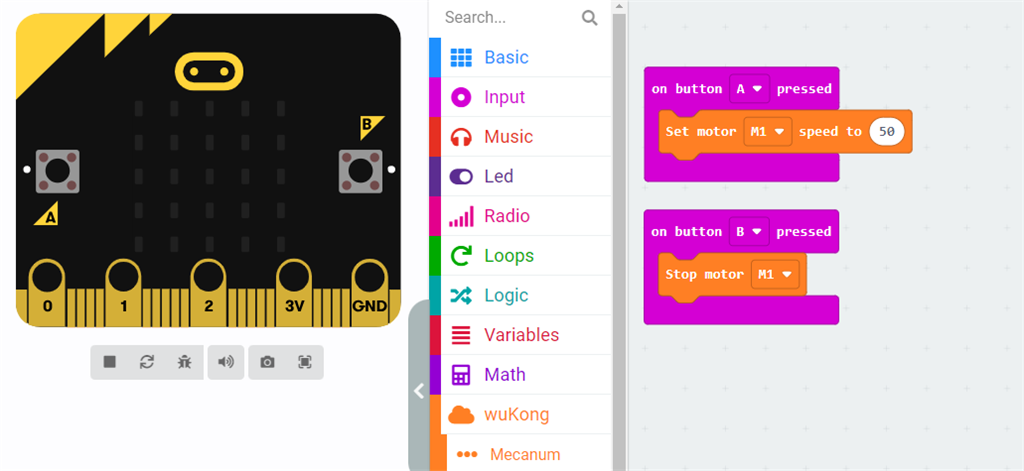
We start programming by dragging the programming block. Then we find the block “Set motor M1 speed to 100%” in the software library of “wukong” and drag it to the programming area to set the motor to move when button A is pressed to avoid it being too fast. Adjust the speed of the motor (M1) to 50%. When button B is pressed, the motor stops working.
You may download the whole program with the link below for your reference:
https://makecode.microbit.org/_hgkF63WRuEq7
After the equipment is powered on, press button A, the motor will drive the gear, the gear drives the cylinder pulley, the cylinder pulley collides with the outer beam of the swing. Thus the swing is shown in front of our eyes. When button B is pressed, the motor stops and the show stops. What other interesting building examples do you have, let’s explore them together!


