

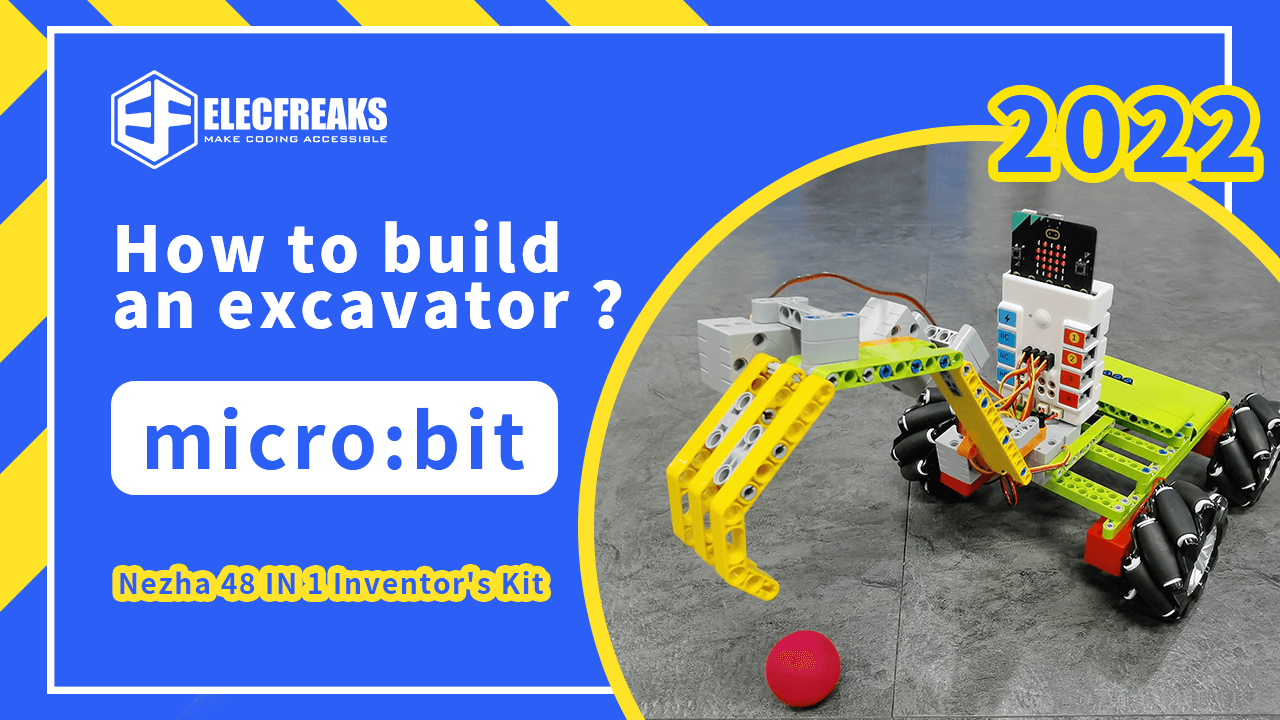
In our daily life, we often see excavators working on construction sites. The large excavators work very flexibly, making a great contribution to the construction of our cities. So can we use the tools around us to make an excavator? The answer is yes, using ELECFREAKS micro:bit Nezha 48 IN 1 Inventor’s Kit, you can do it.
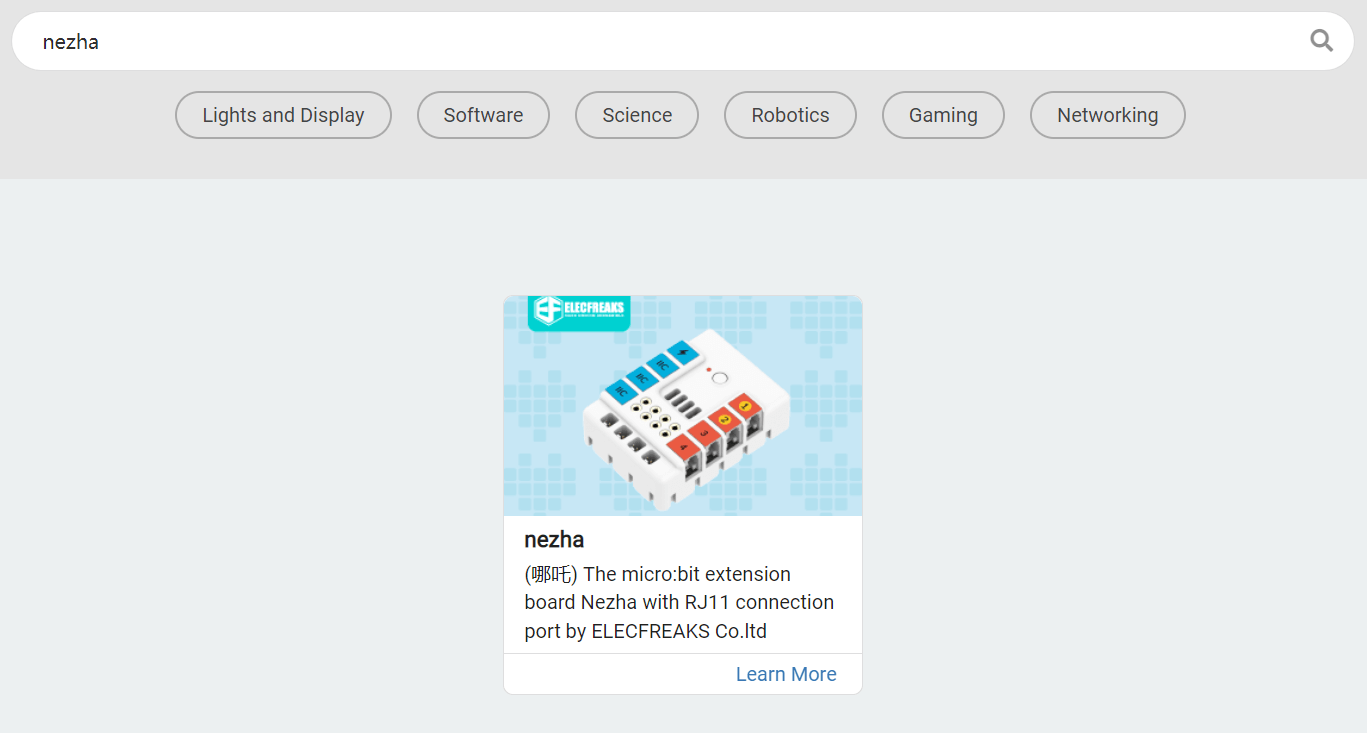
ELECFREAKS Nezha Breakout Board *1

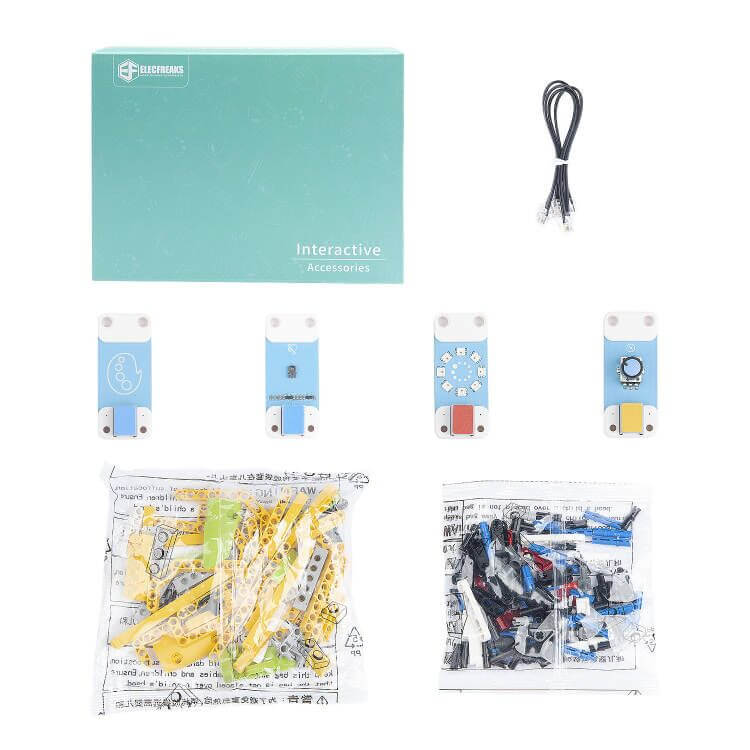
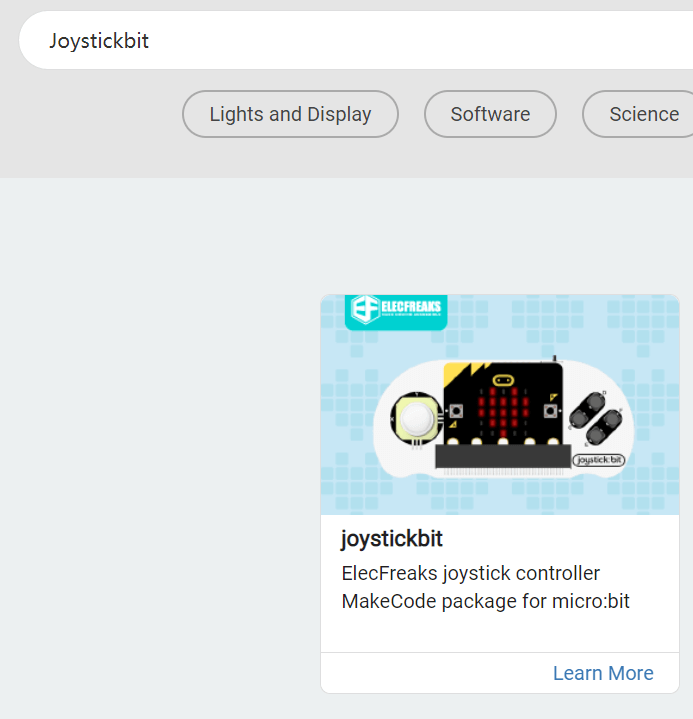
ELECFREAKS micro:bit Joystick:bit V2 Kit *1

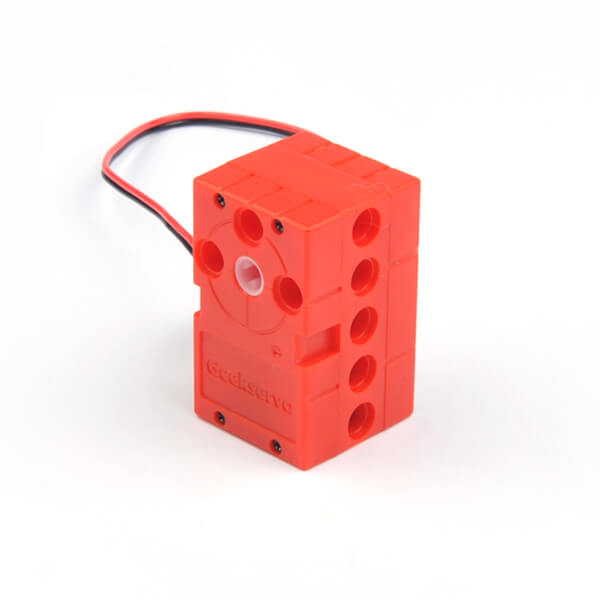
ELECFREAKS 360 Degrees Building Blocks Servo *4

ELECFREAKS High-Speed Building Blocks Motor *4
ELECFREAKS BBC micro:bit V2.2 *2

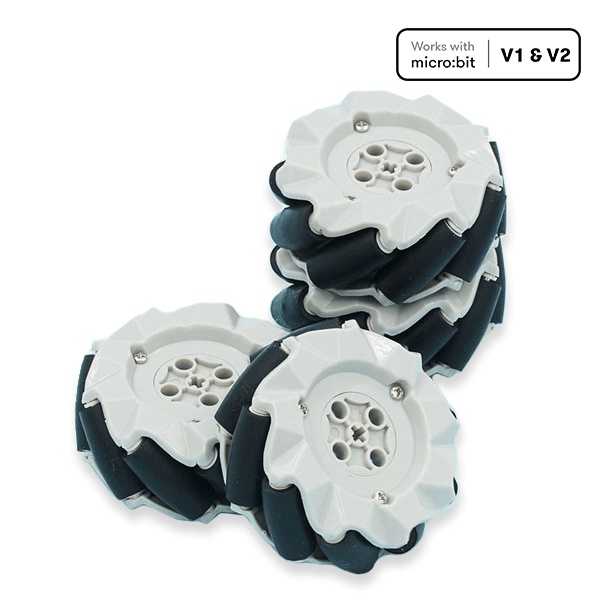
ELECFREAKS 64mm x 4 Mecanum Wheels *4
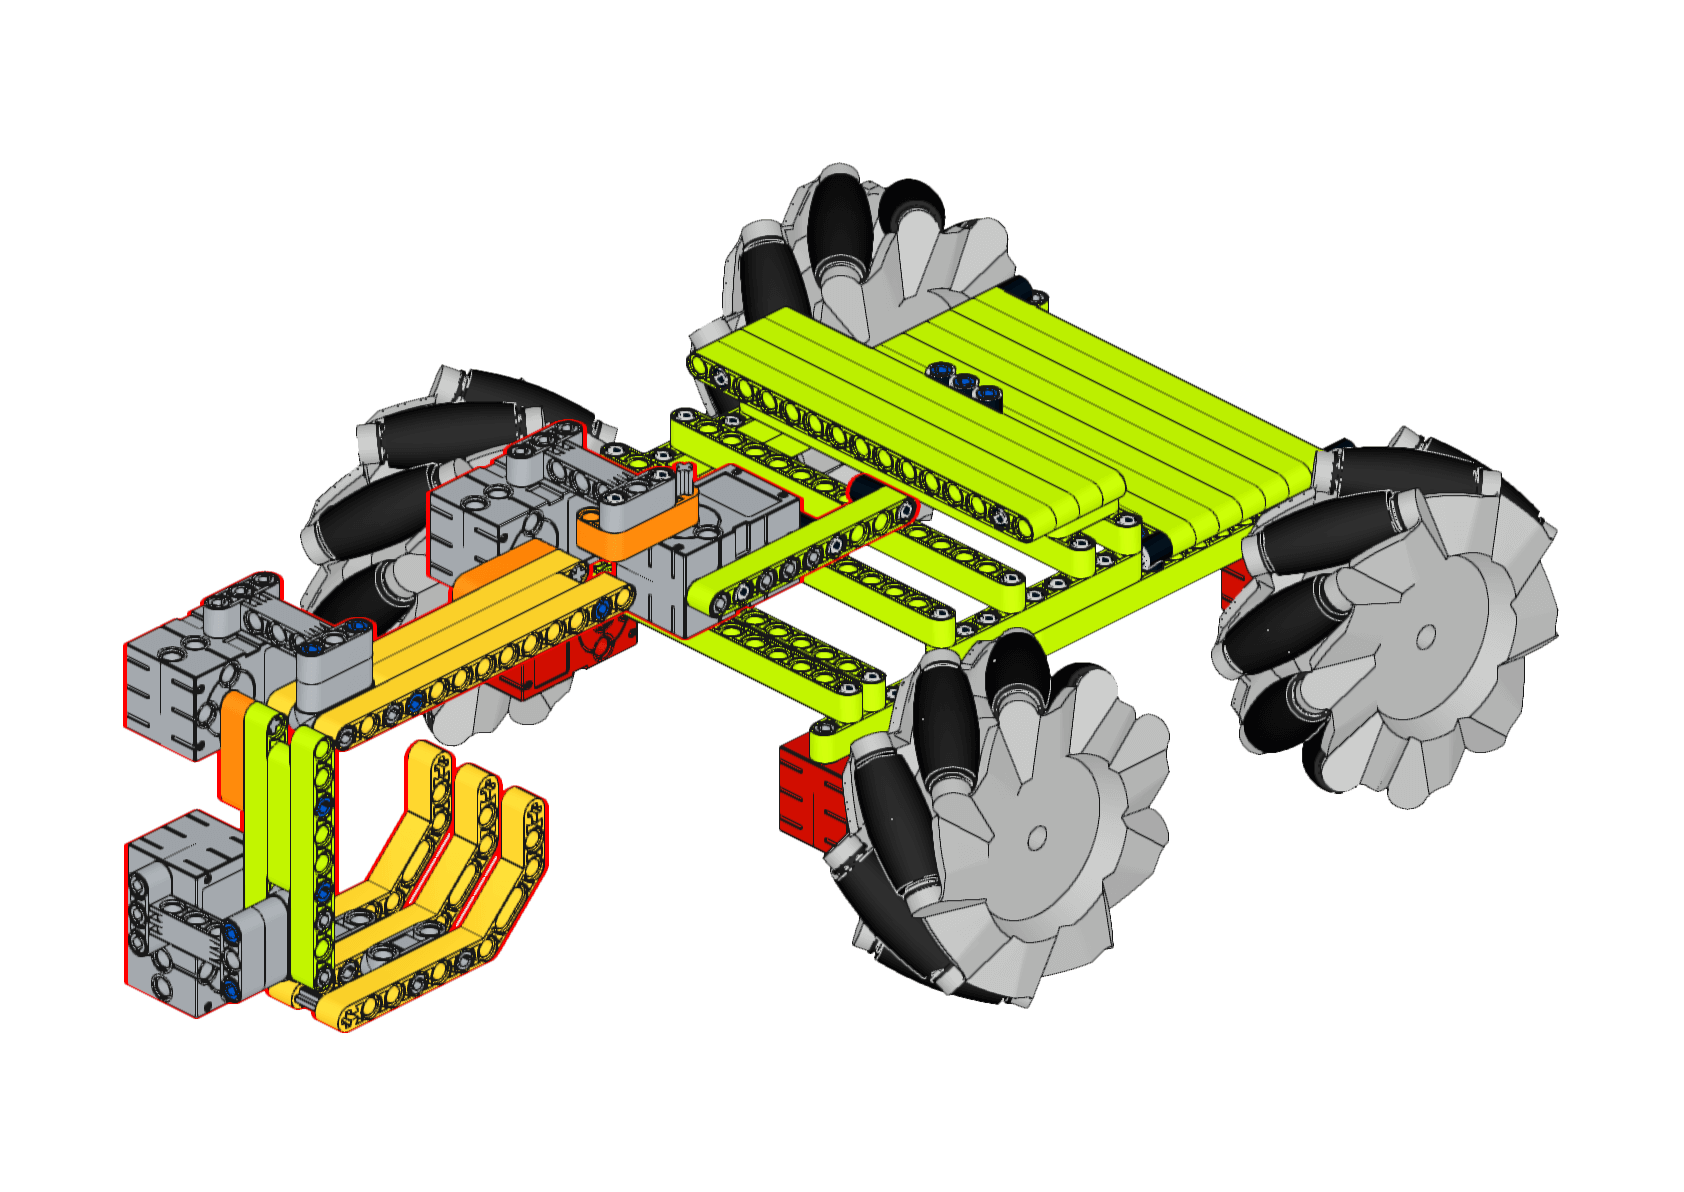
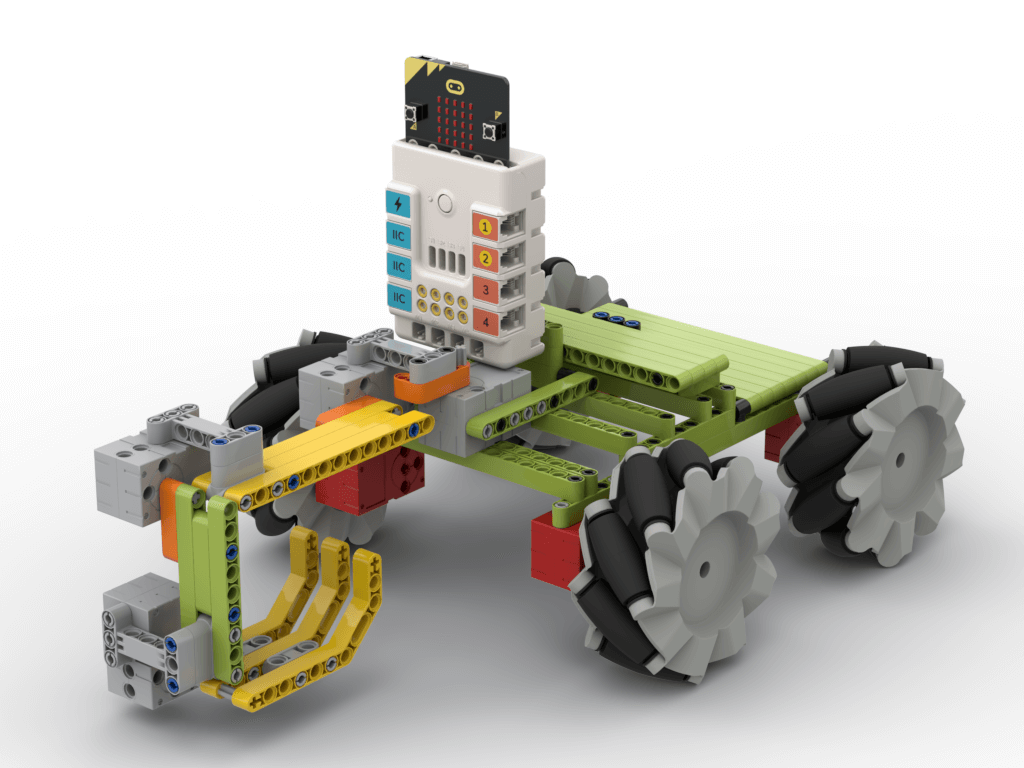
The excavator we made this time consists of a large chassis and a flexible mechanical arm. The excavator is controlled by a Nezha Breakout Board to move and wave the mechanical arm, and then the excavator is controlled by remote control handle to perform various actions. The chassis is mainly composed of four motors, four McNamee wheels, and some blocks, which play the role of supporting the whole structure and movement of the machine. The robot arm is mainly composed of four servos and some blocks, which have three joints and can move up and down, left and right, and back and forth, allowing the claws of the robot arm to reach any point in a limited space. The remote control handles then communicate with the excavator through the wireless function of micro:bit, thus controlling the excavator to execute various commands.
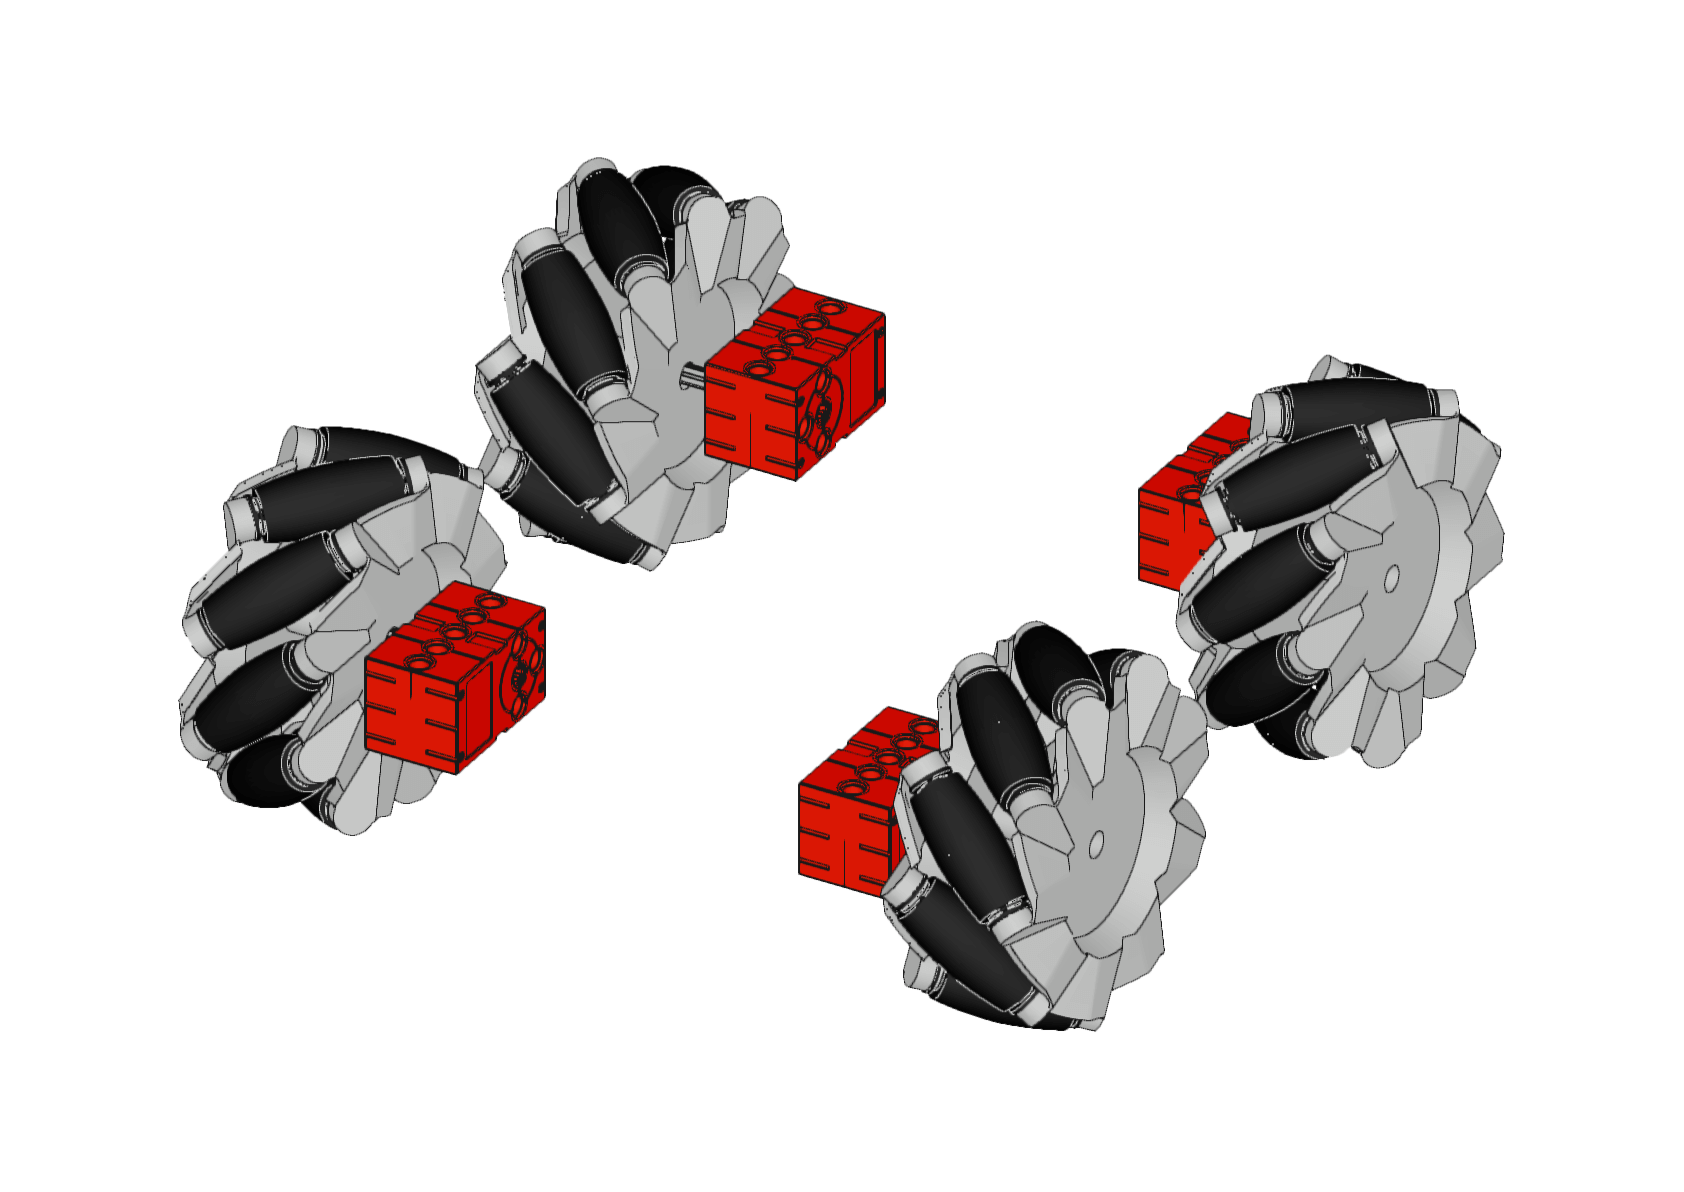
1、First of all, the four wheels are connected to the motor, and the connections are installed on the motor. The motor we choose is a DC motor, this motor is simple to control and has a high output efficiency, its role is to drive the wheels to rotate so that the chassis moves.
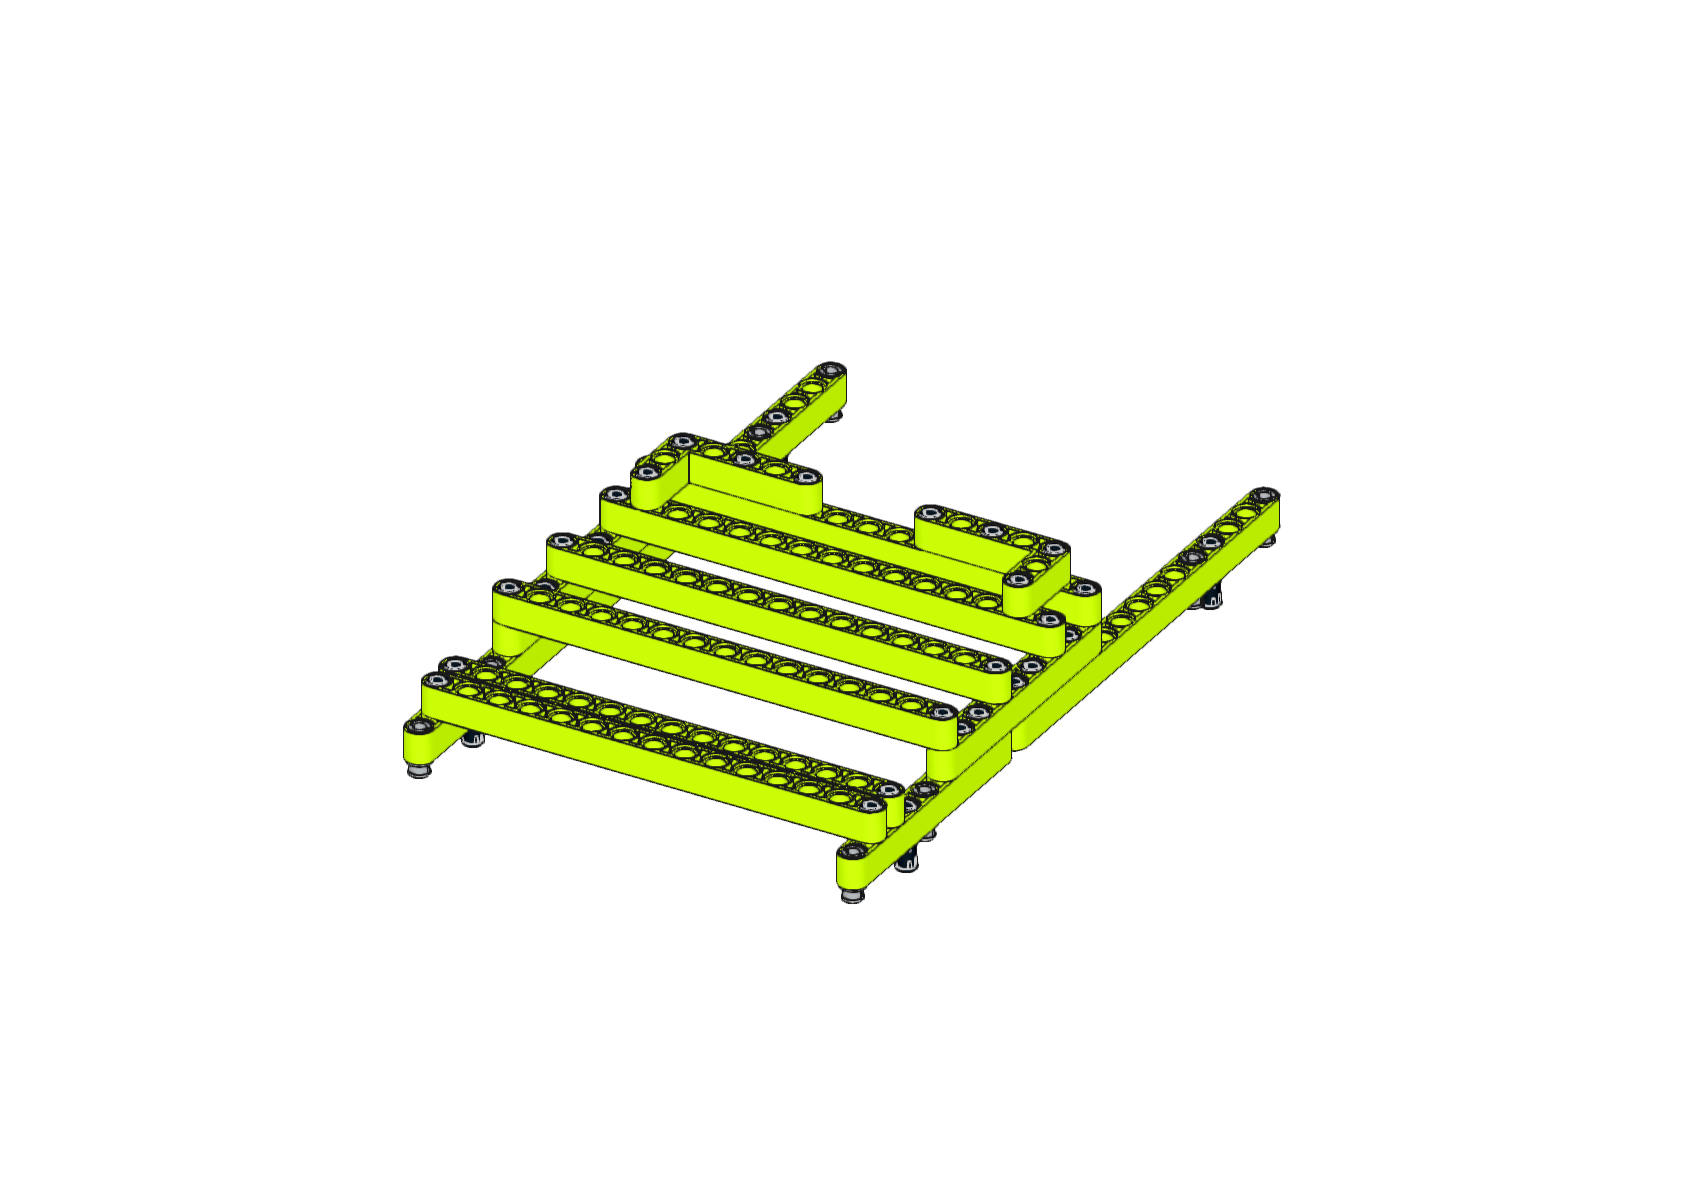
2、Build the excavator chassis, used to support the entire structure, note that all blocks must be pressed solid, otherwise it will affect the stability of the excavator.
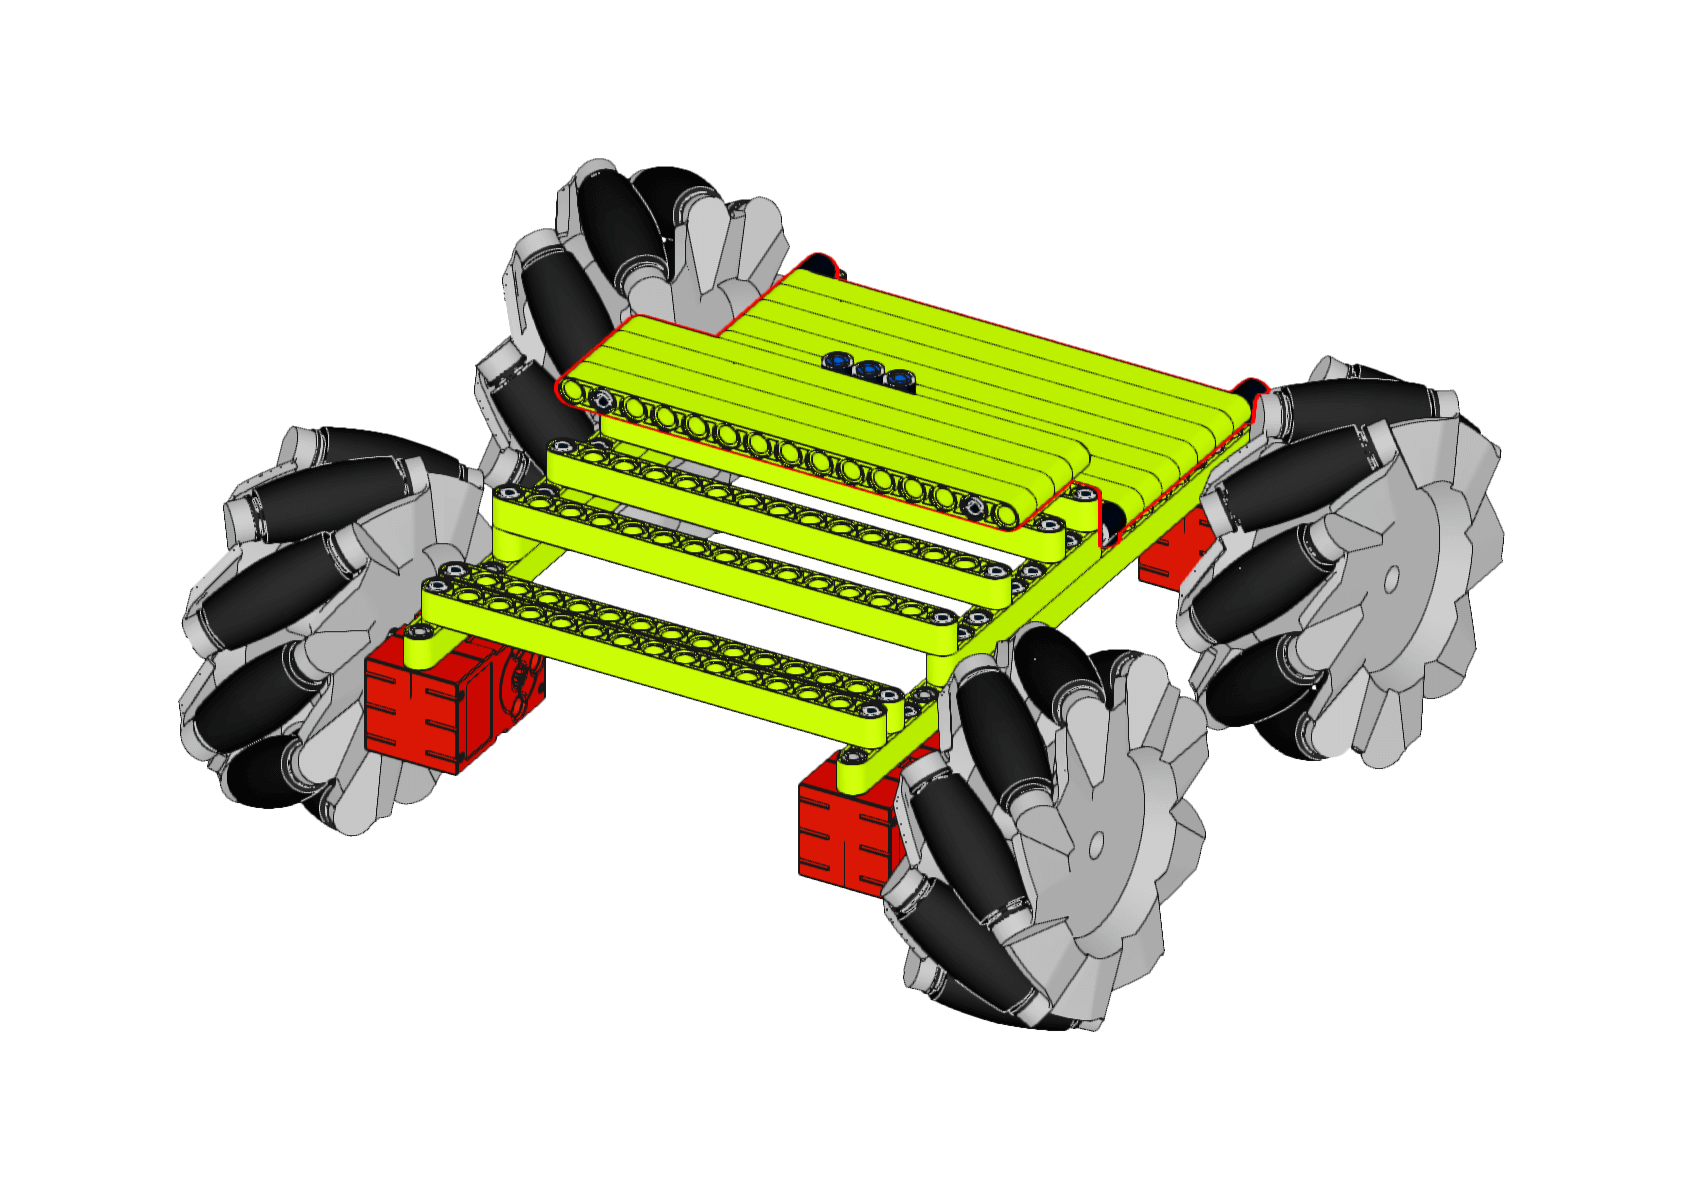
3、Mount the motor and the wheel on the chassis, noting that all motors must be mounted on the top corners of the chassis, which enables the entire excavator to have a larger footprint and improves the stability and balance of the excavator.

4、Build a car cover so that the chassis becomes more solid and more beautiful, the cover part can be used to imagine the freedom to change, as long as the two spindles can be connected to the chassis.
5、Install the mechanical claw and rear arm and connect the servo. The servo we choose is a 360-degree servo, and the servo is controlled by PWM
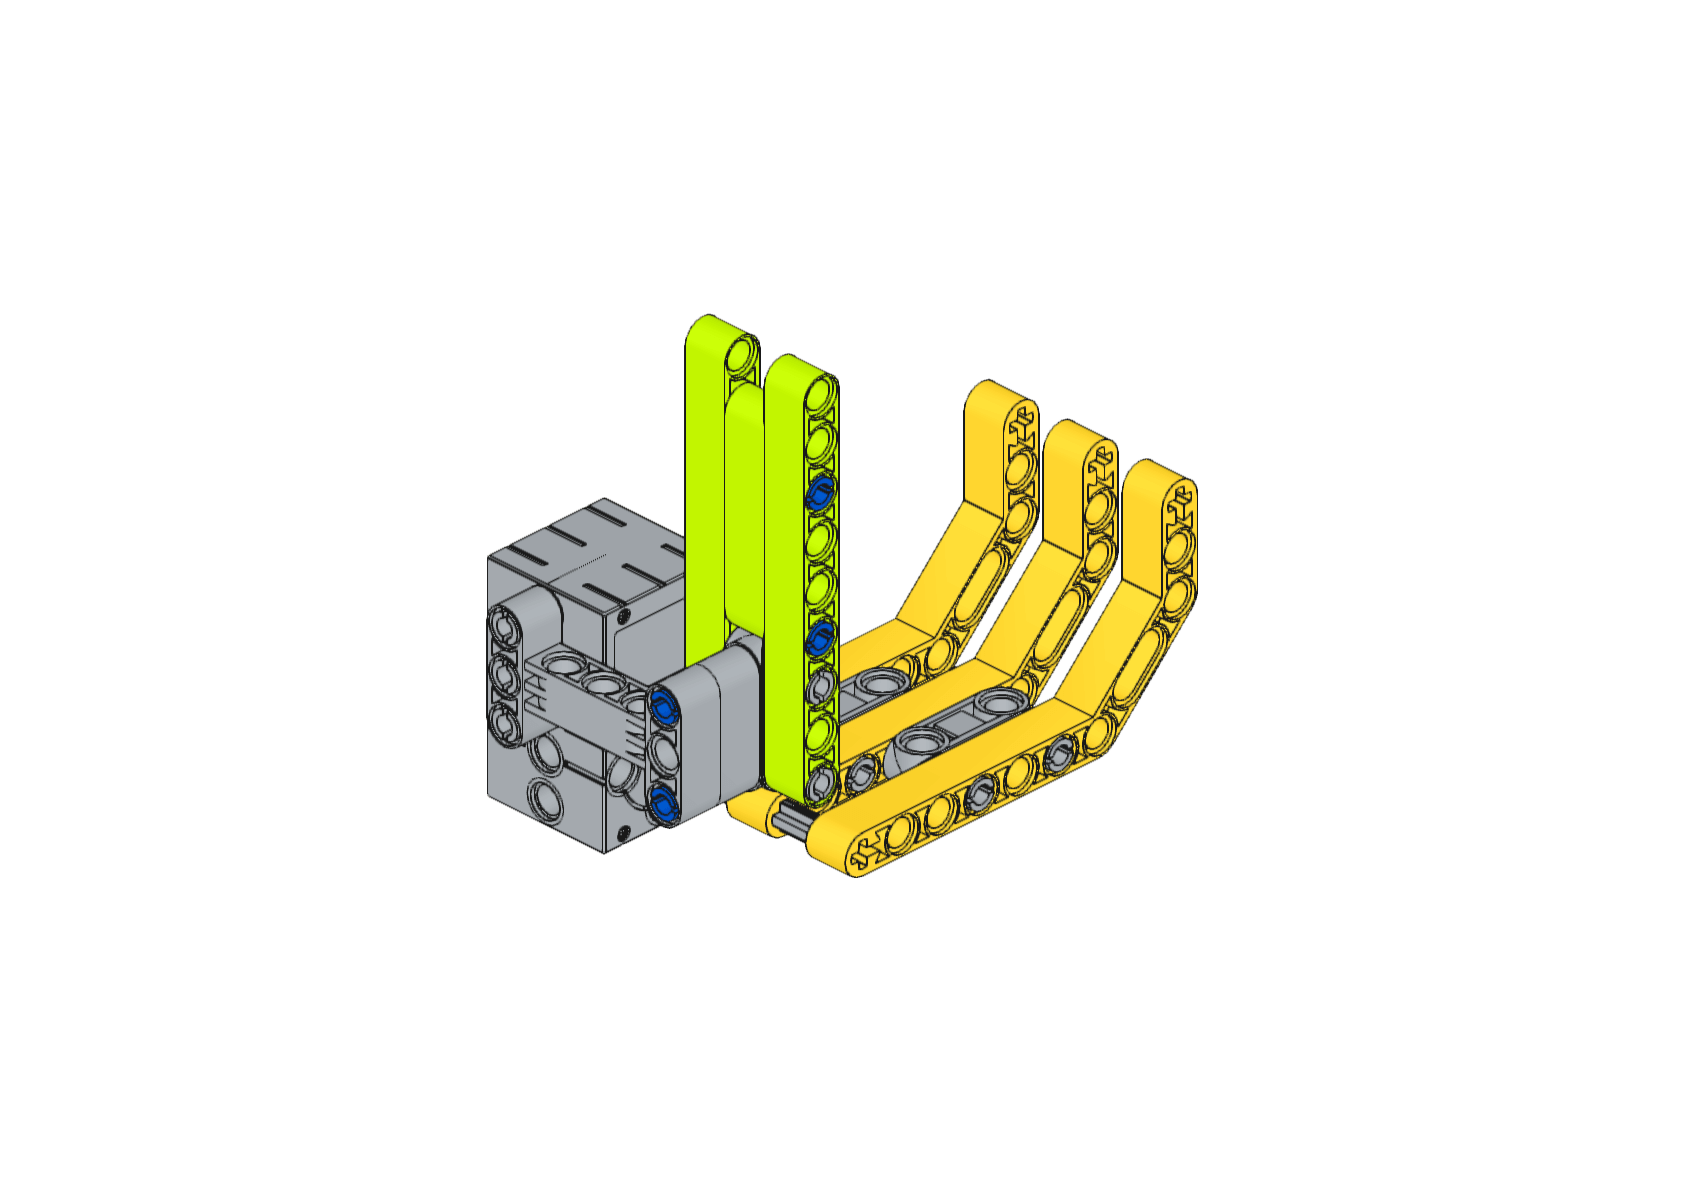
6、Angle, which is used to drive the robot arm joints to rotate to a specified angle. Before installing the servo you need to rotate the servo to 180 degrees, we can connect the servo to the Nezha expansion board and then program the micro:bit to rotate the servo to 180 degrees.
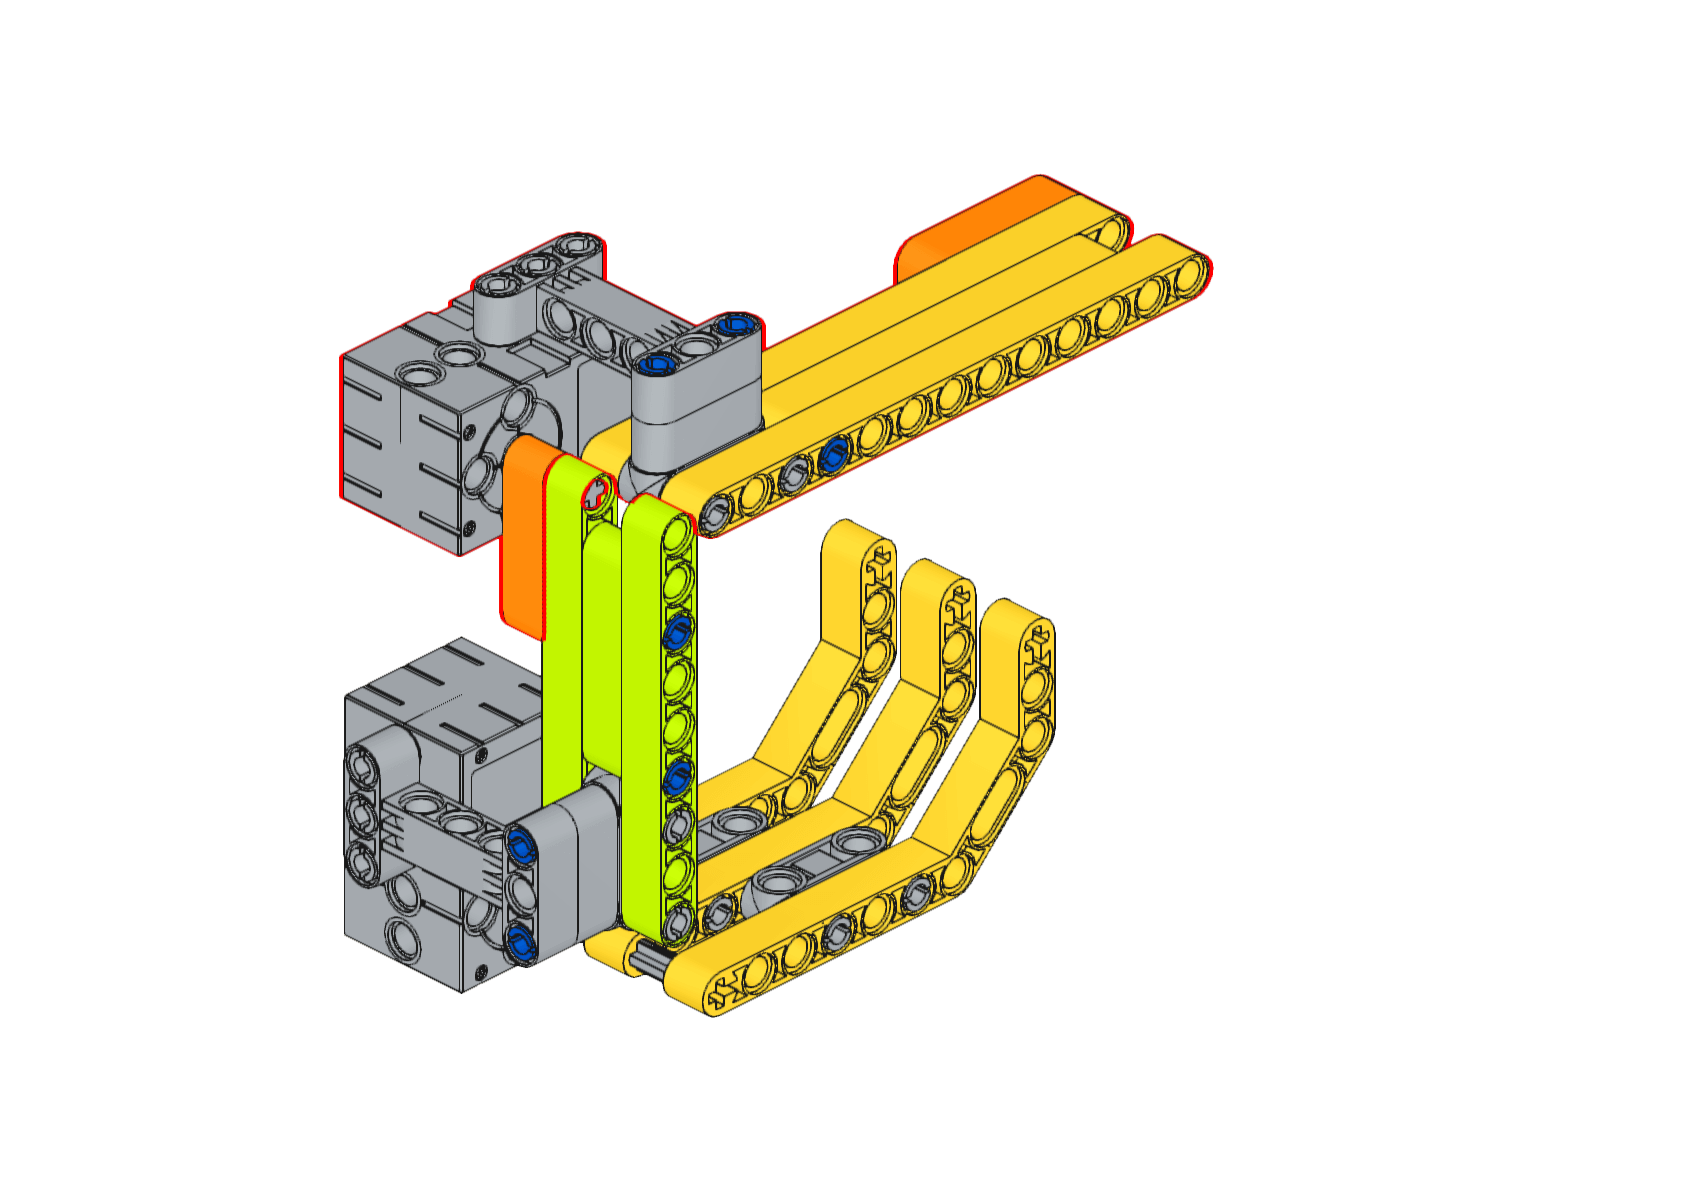
7、Install the front arm and connect it with the back arm through the servo. The two servos act as the joints of the robot arm, making the robot arm more flexible so that it can achieve some complex movements.
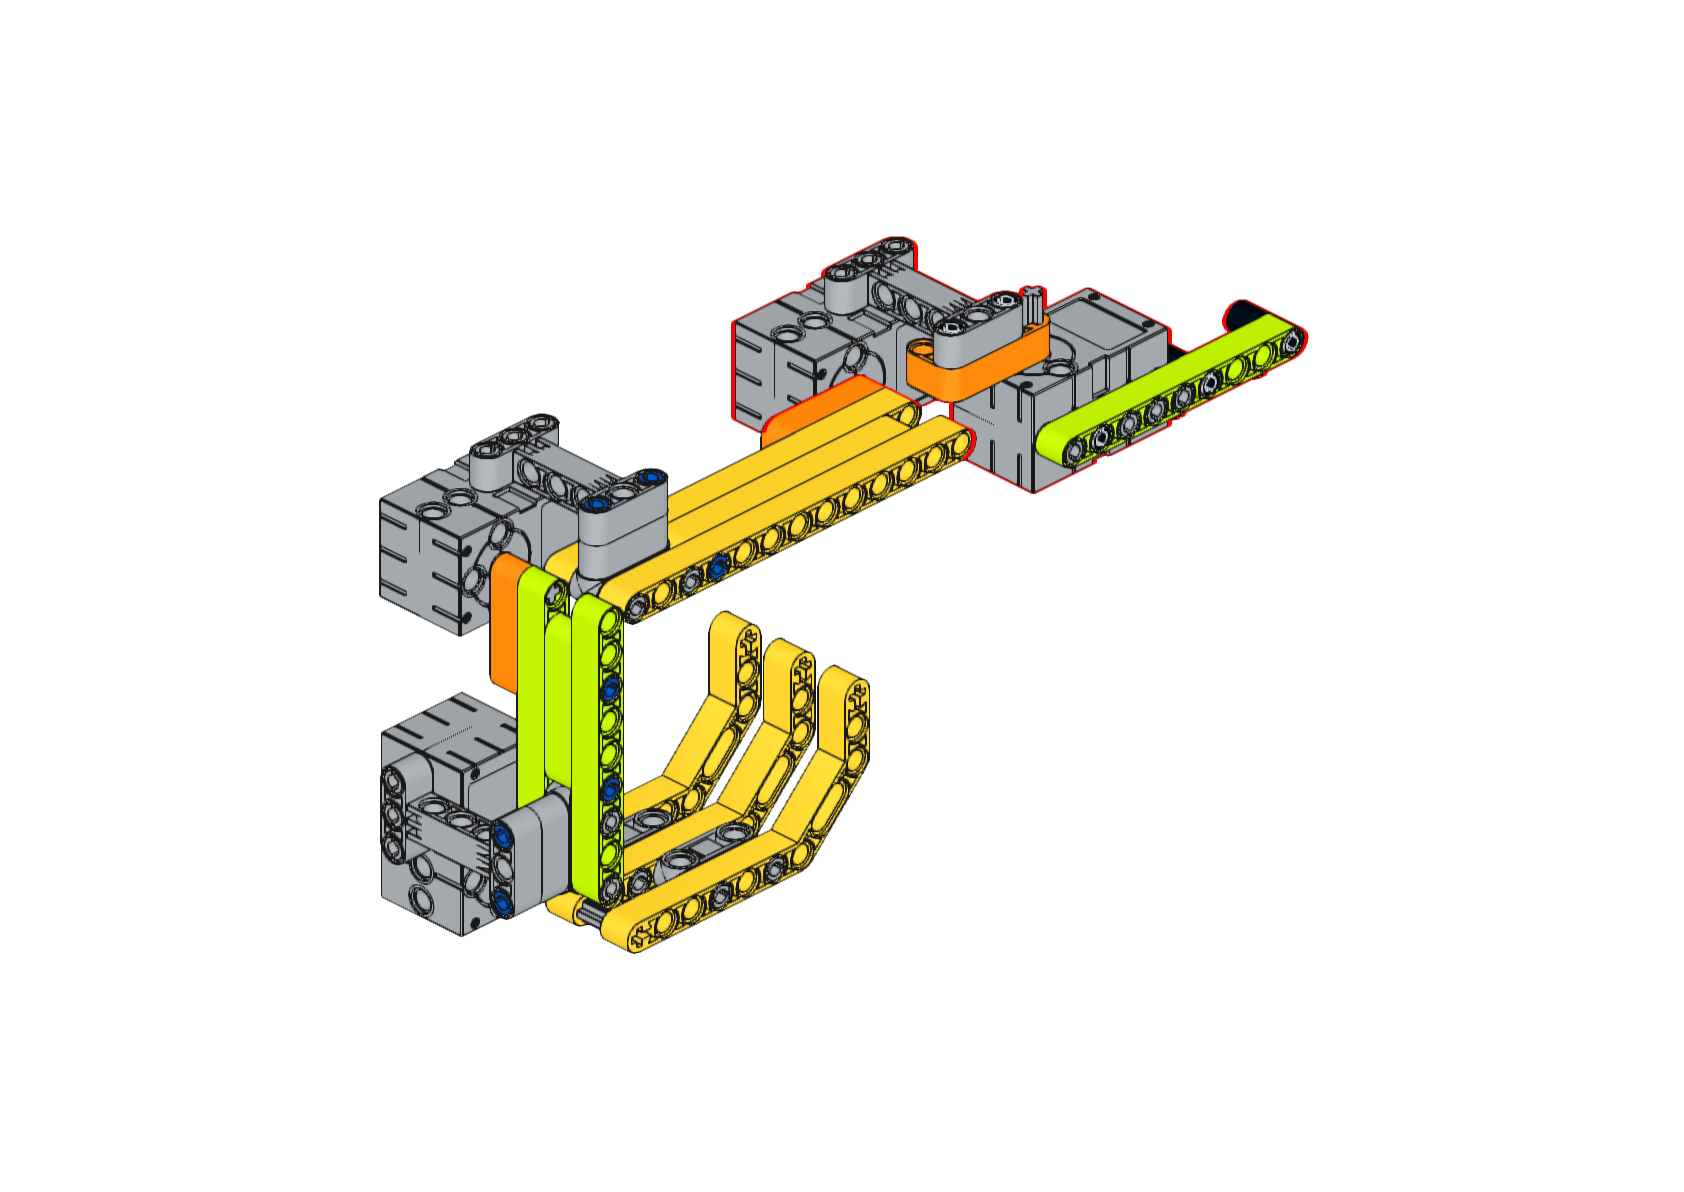
8、Install the rotating servo at the bottom of the robot arm, the role of these two servos is to make the robot arm achieve the left and right and up and down two dimensions of swing, and to provide support points for the robot arm.
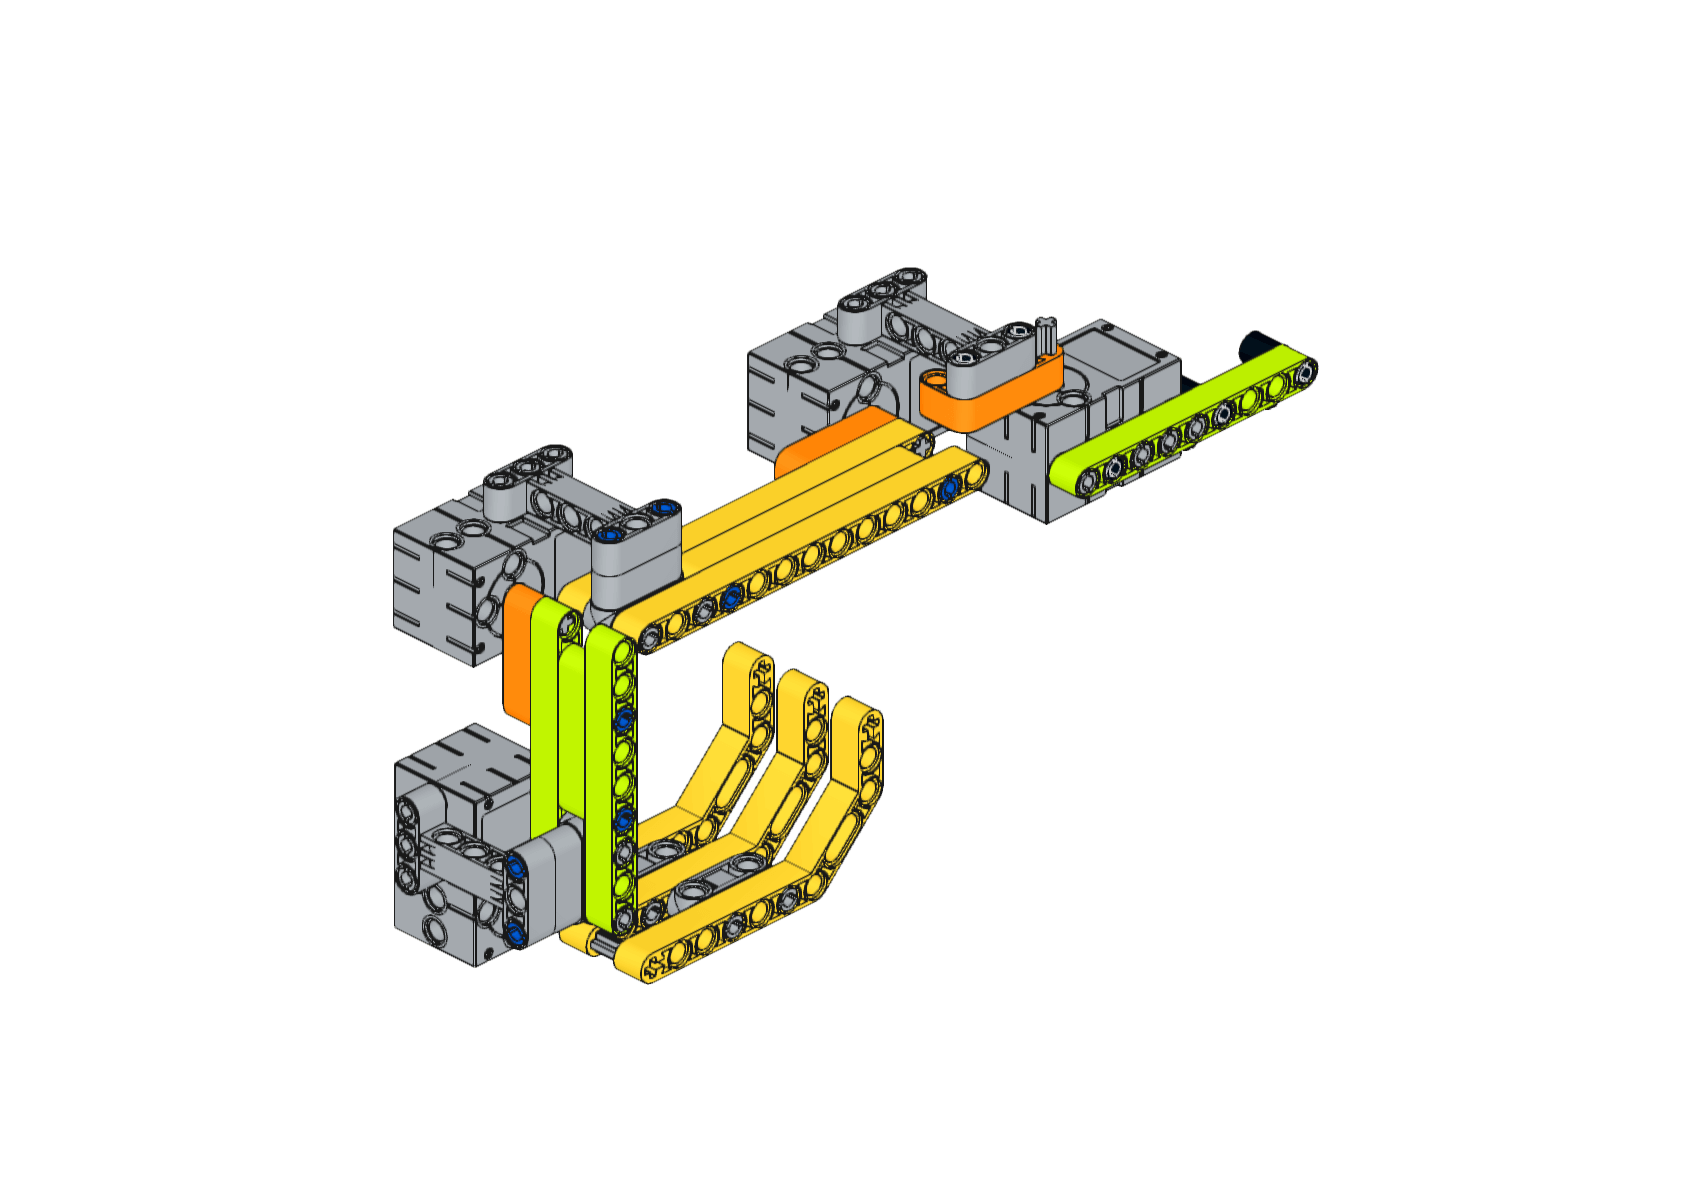
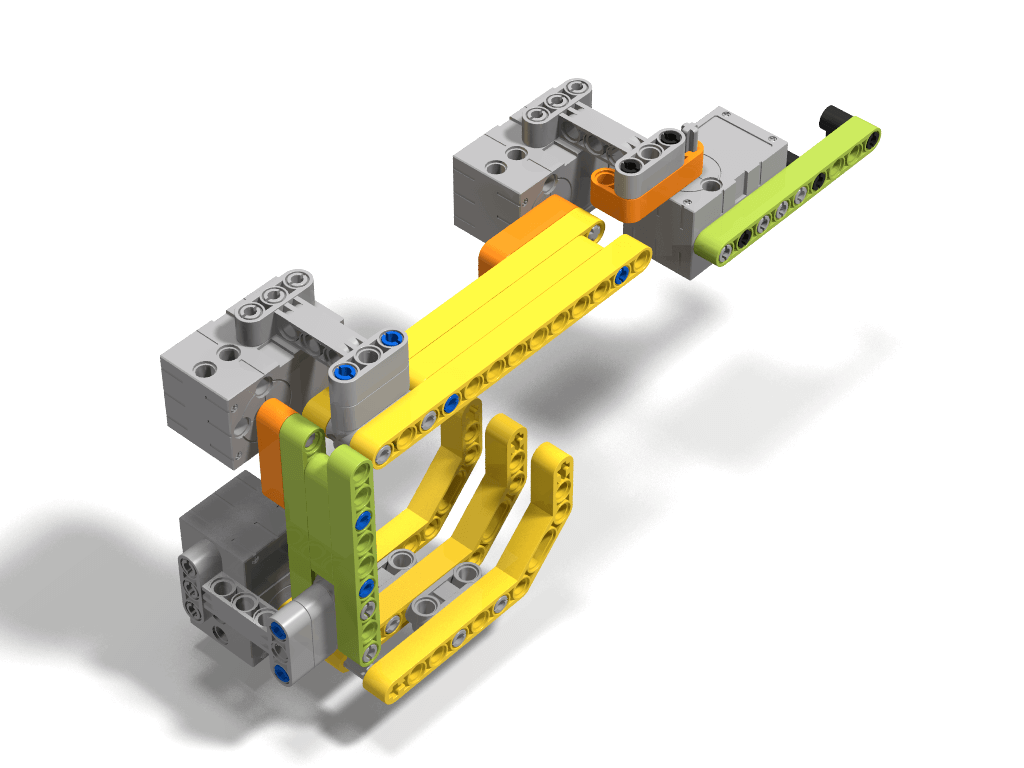
9、So far, the entire robot arm is installed, the robot arm of each servo to control the rotation of a dimension, so that the joint four servos together to rotate, you can let the mechanical claw reach any point in a limited space.
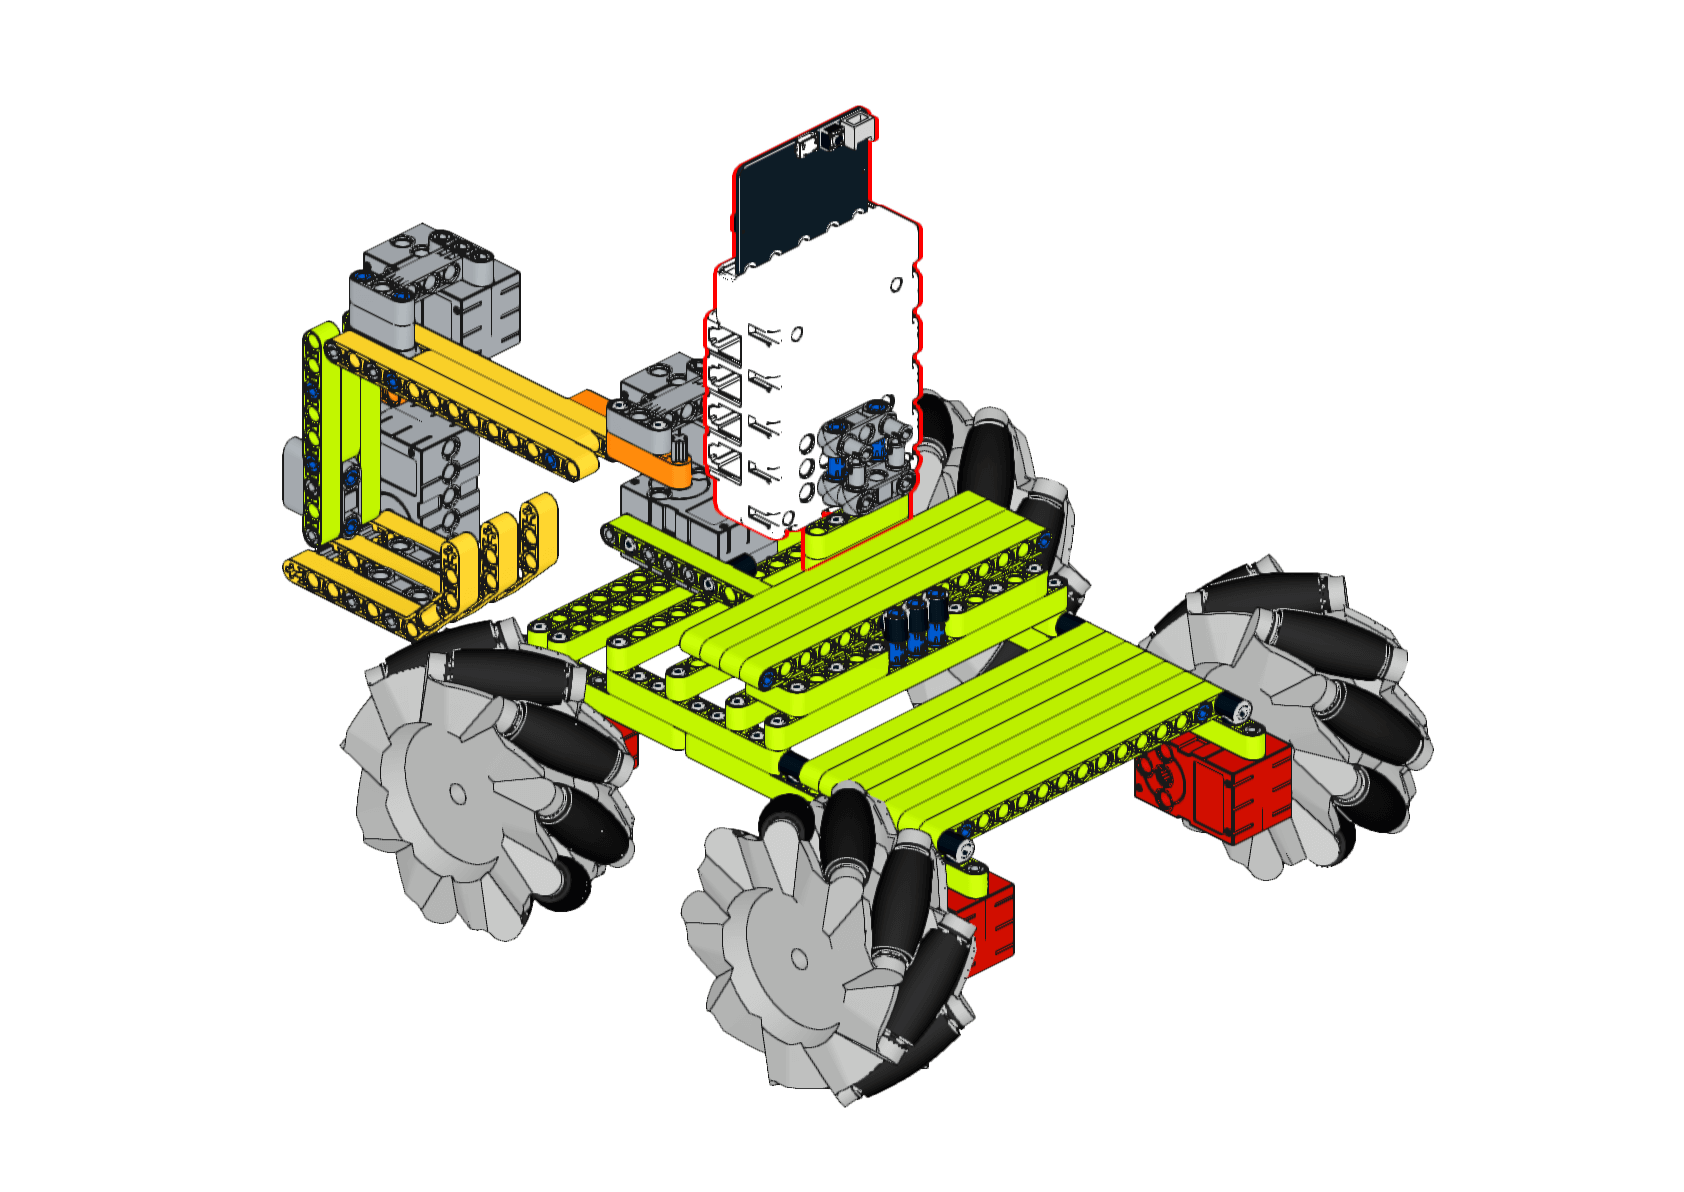
10、Next we will install the mechanical arm on the excavator chassis, note that the mechanical arm must be installed in the middle of the chassis position, so that when the mechanical arm rotation can maintain the balance of the entire excavator to prevent rollover.3
11、Then we need to install the connecting blocks on the Nezha Expansion Board for mounting the Nezha Breakout Board on the chassis.
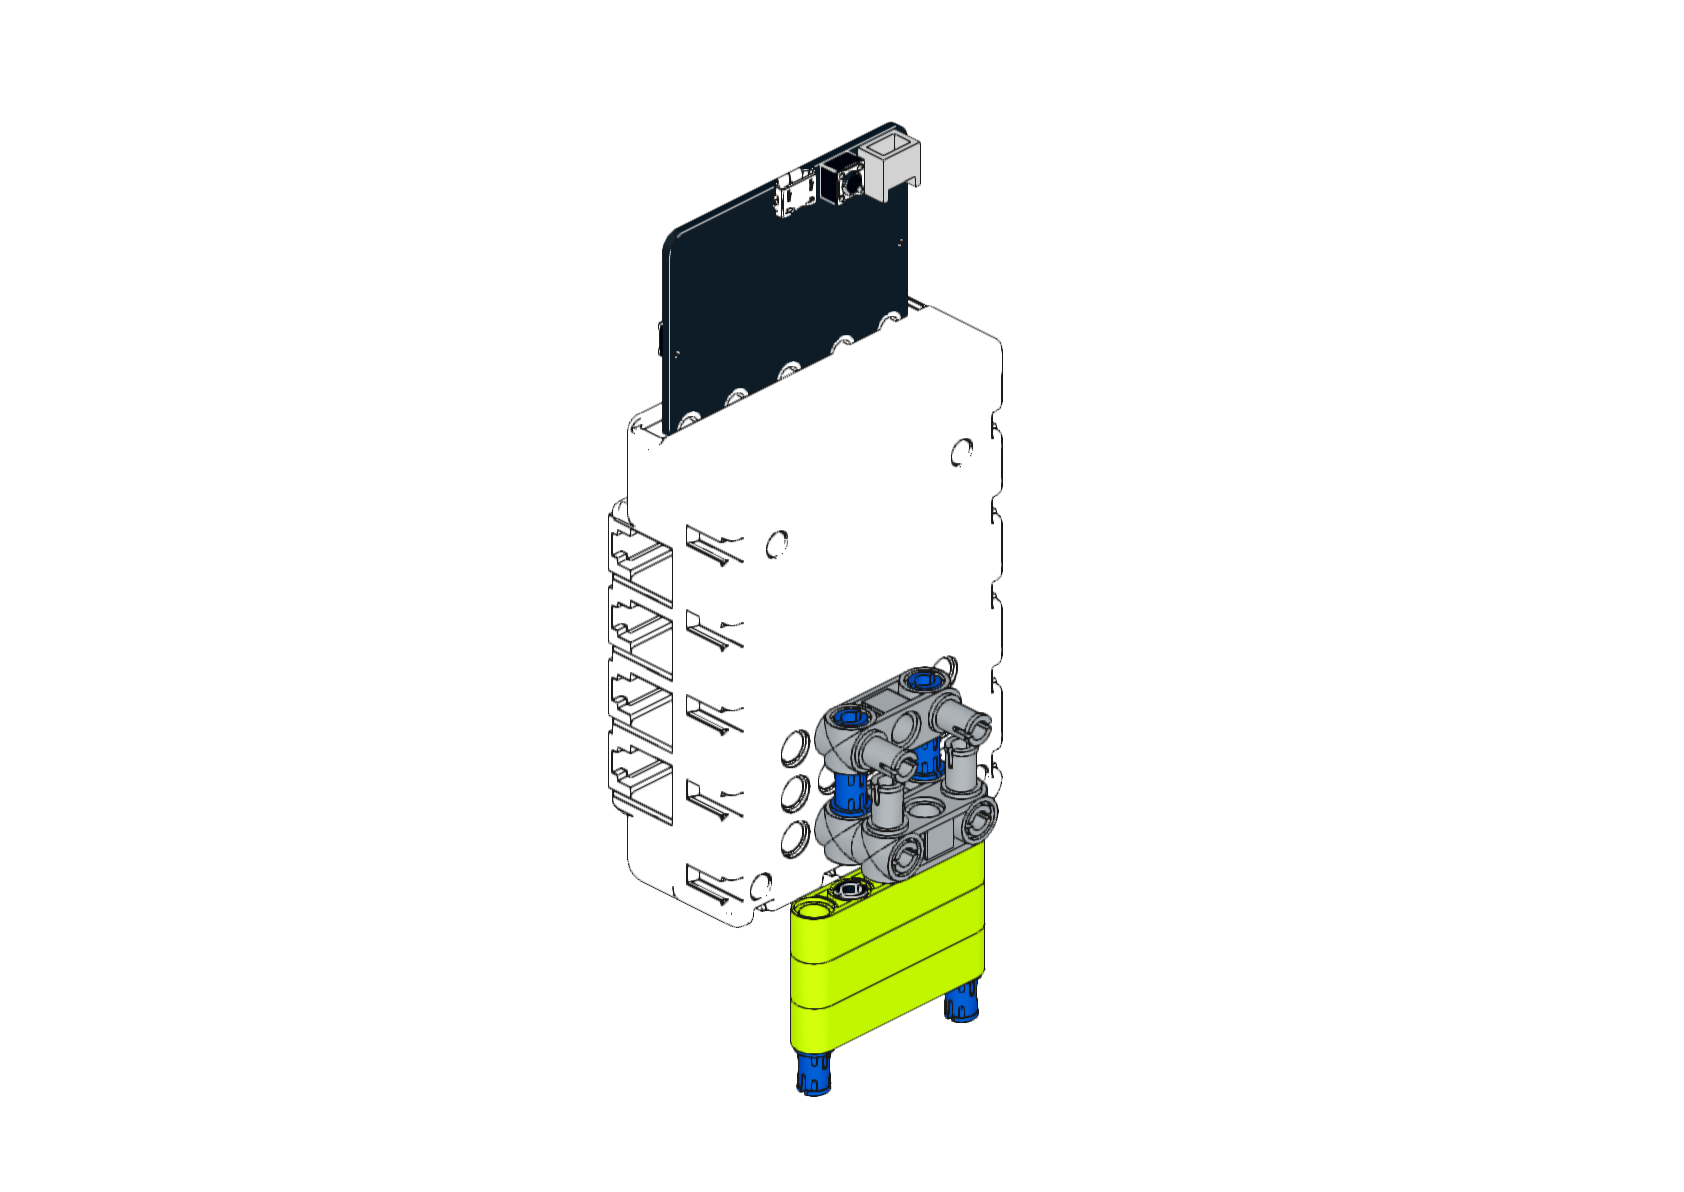
12、Connect Nezha Breakout Board to the excavator chassis so that the whole excavator’s overall structure is complete.
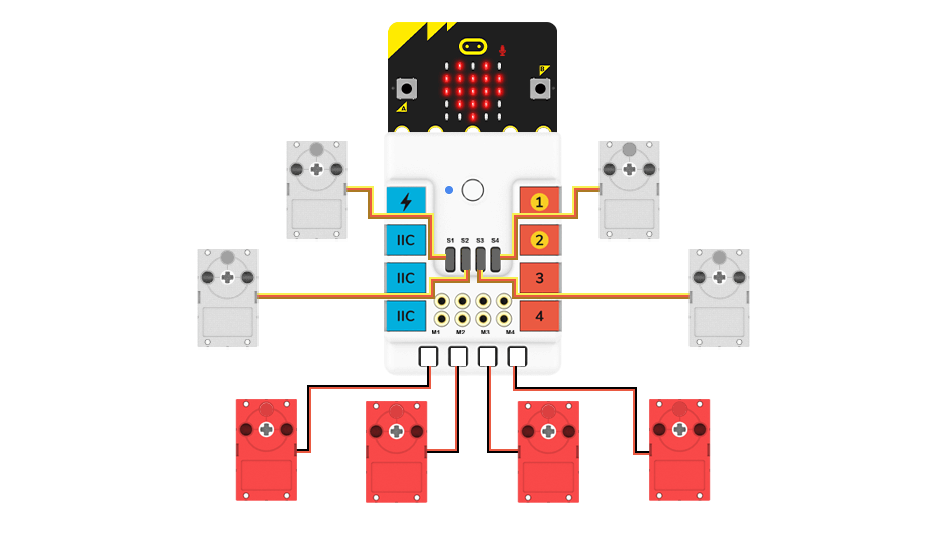
13、Finally, connect the motor and the servo to Nezha Breakout Board. Note the motor connection locations: M1, M2, M3, and M4 from left to right, and the servos are numbered S1, S2, S3, and S4 from the bottom of the arm.
14、So, the entire excavator is assembled and finished.
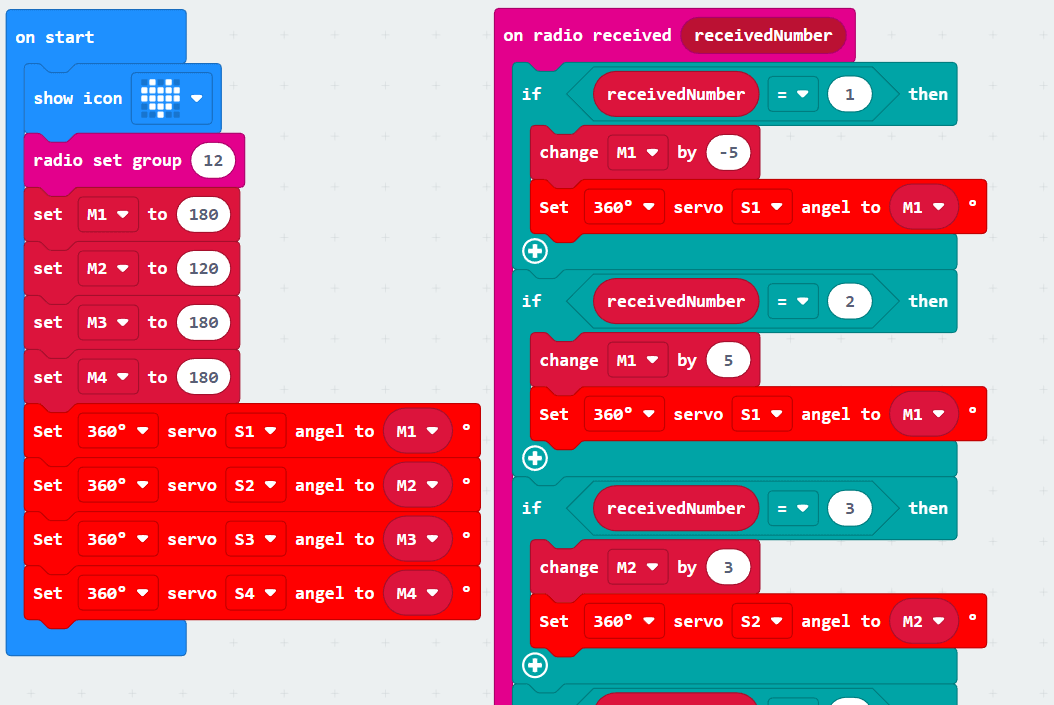
1、micro:bit program on the excavator: https://makecode.microbit.org/_Ccoi4wVcDiJT
This program records and controls the rudder angle through variables, receives signals from the remote control handle through the radio function of the micro:bit, and changes the rudder angle or moves the excavator according to the received signals. Each time it receives a signal to change the rudder, it only changes the rudder angle by a small amount, which prevents the arm from turning too much and causing the excavator to lose balance or damage the rudder.
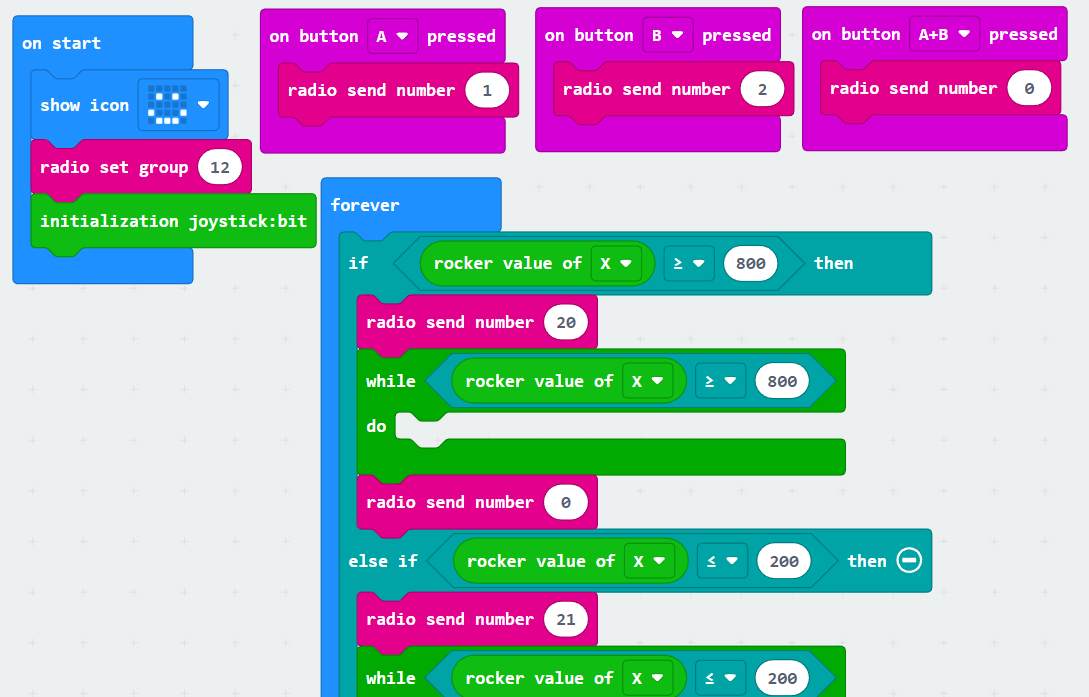
2、micro:bit program on the remote control handle: https://makecode.microbit.org/_AmKJraV270i9
This program is mainly used to send signals to the micro:bit on the excavator to control the excavator. The directional rocker on the remote control handle is used to control the movement of the excavator, while the four buttons and the AB button of the micro:bit are used to control the servo on the arm. The four buttons and the micro:bit’s AB button are used to control the servo on the arm. You need to wait for the button to be released after each check of the button press, which prevents the remote control handle from sending commands repeatedly.
Through this case we learned how to build an excavator, and also learned to control the motor and the servo through Nezha Breakout Board, and let the servo and motor joint drive to achieve flexible control of the excavator, do not think this Nezha Breakout Board is very powerful, he can also achieve more complex control Oh, come and try it.


