


Pull-ups sometimes referred to as pull-ups, are hanging exercises that rely on one’s own strength to overcome one’s own body weight and work upwards. It is a multi-joint compound exercise and is a good way to exercise the upper limbs, as it tests the development of upper limb muscle strength, as well as arm and waist strength. The pull-ups require uncomplicated and uncomplicated equipment, no specific practice area or equipment, just the vertical drape of the body, a variety of practice locations, easy-to-find practice areas, and no additional costs.
Today, we will work together to build a pull-up robot using block pellets and Goku extension plates.
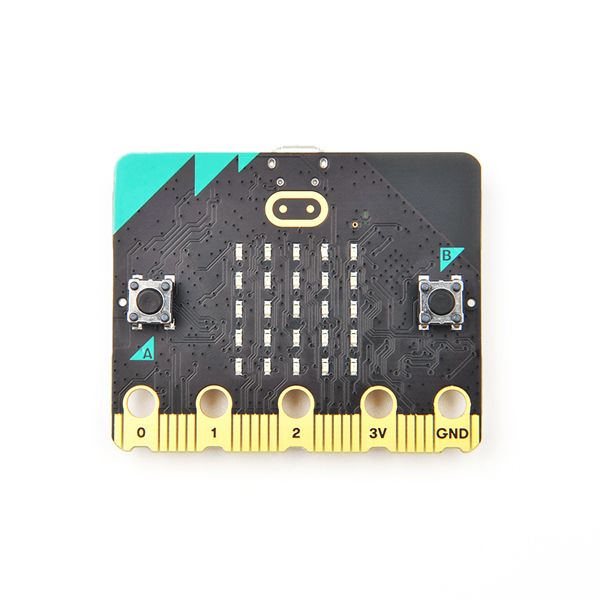
ELECFREAKS BBC micro:bit V2.2 *1
Some blocks
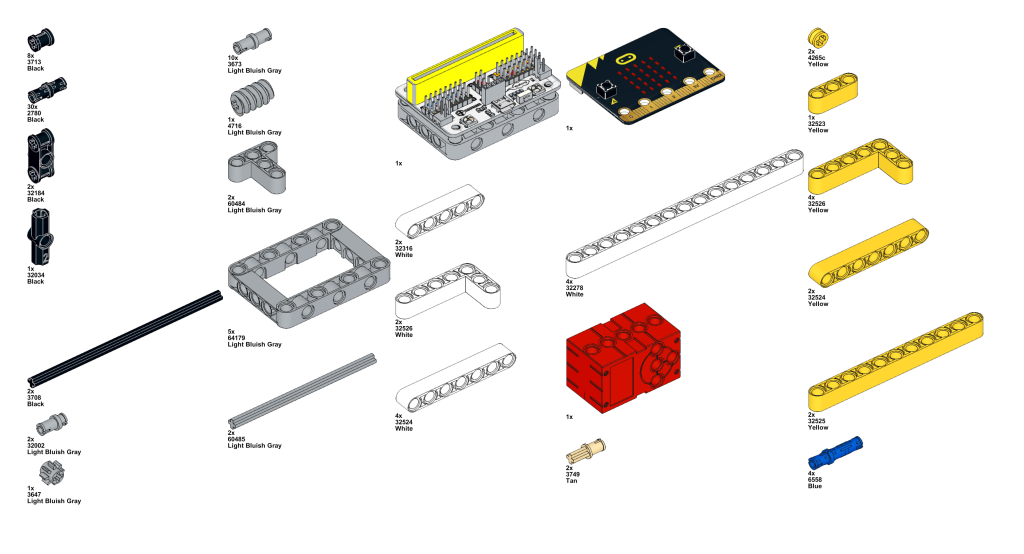
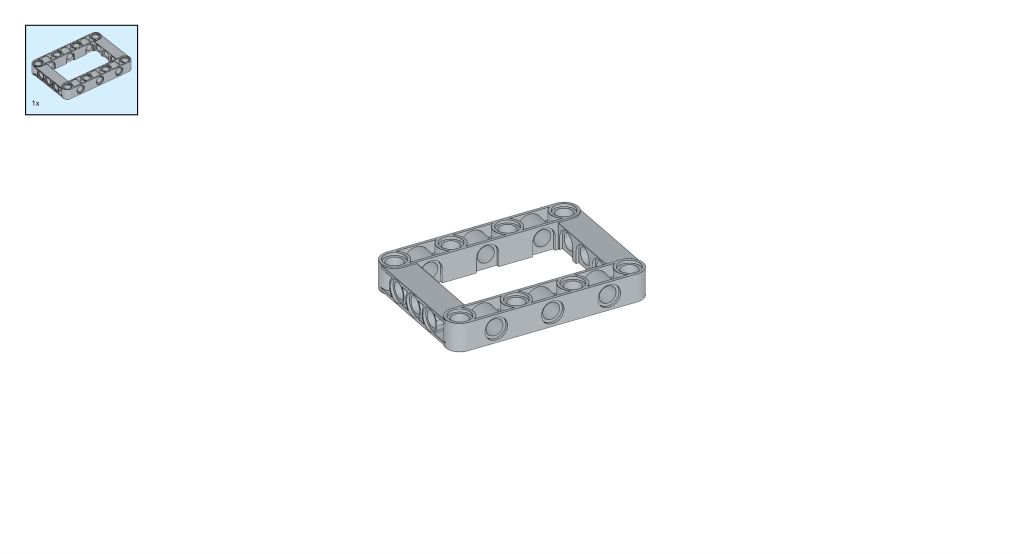
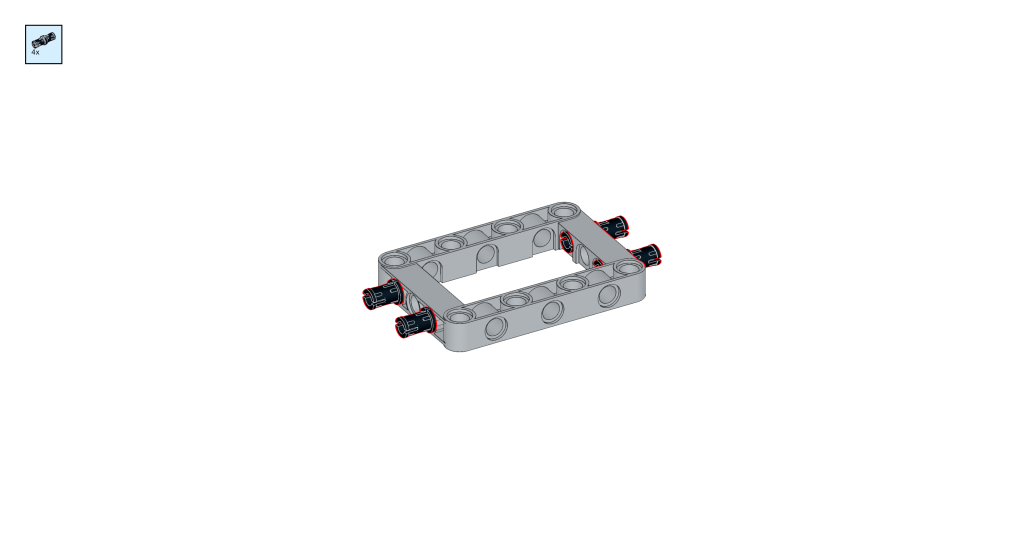
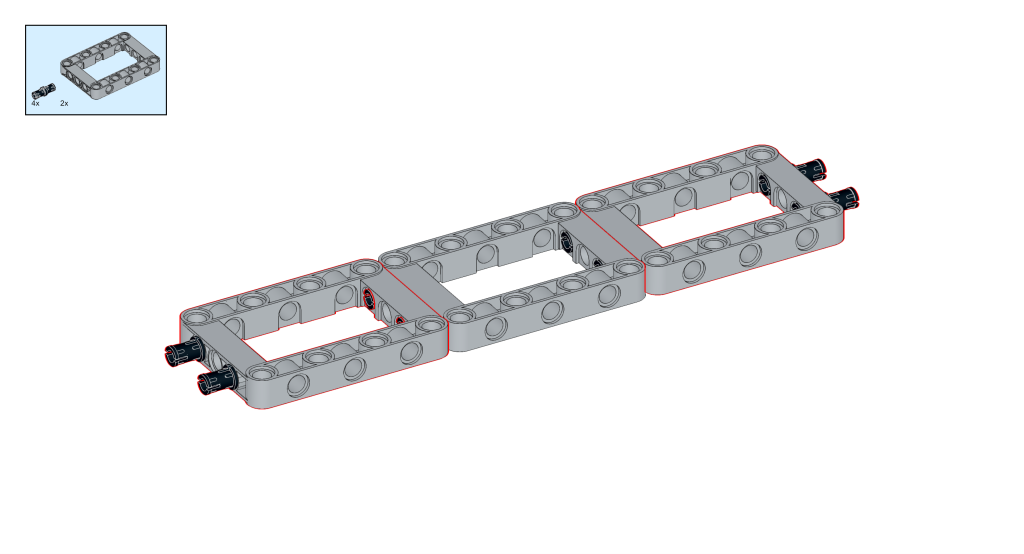
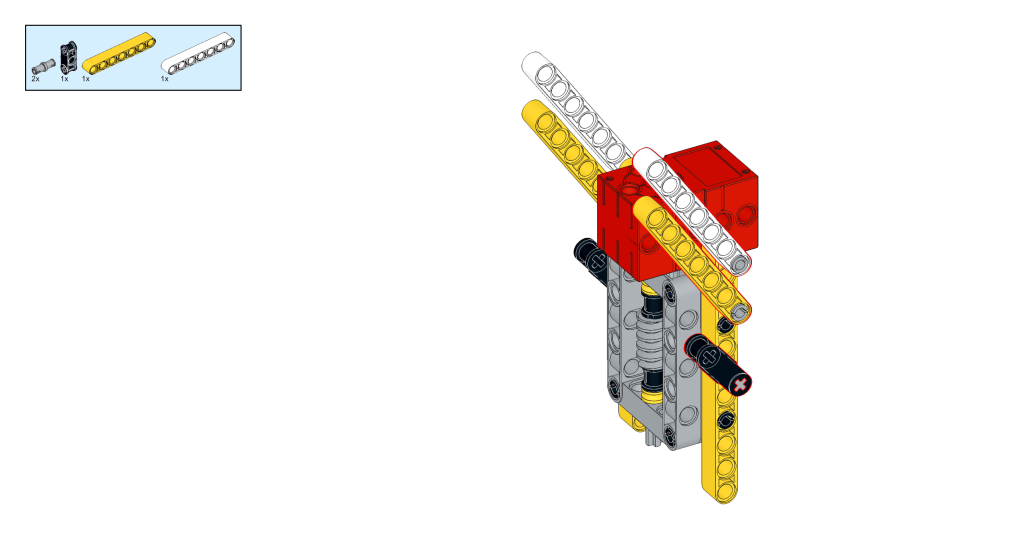
Use 3 square box blocks with two black pins on each of the short sides of each box, i.e. use 4 black pins for one box.
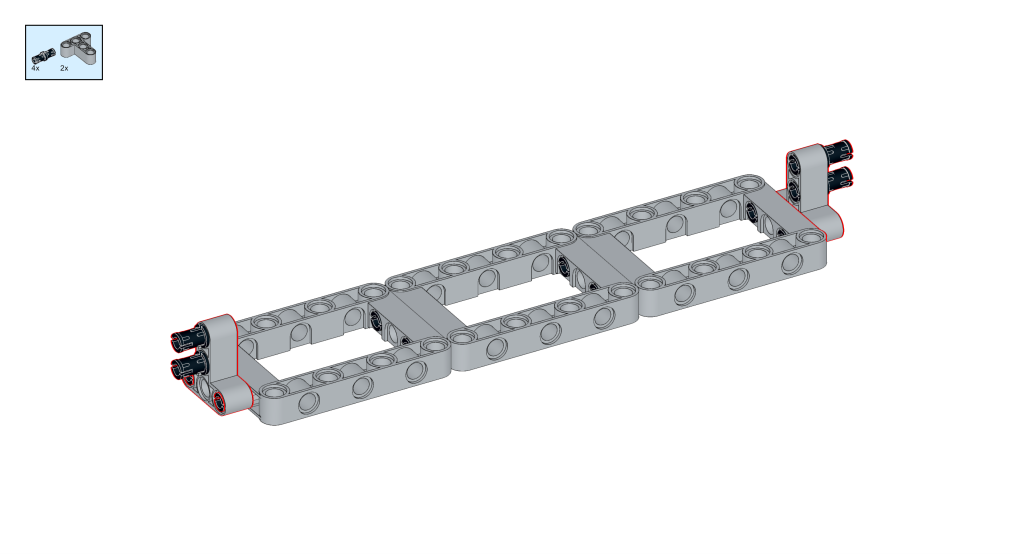
Insert 1 T-shaped block piece at each end, then use two black pins.
Insert 1 long block piece with 15 holes at each end, then insert two black pins in the position as shown.
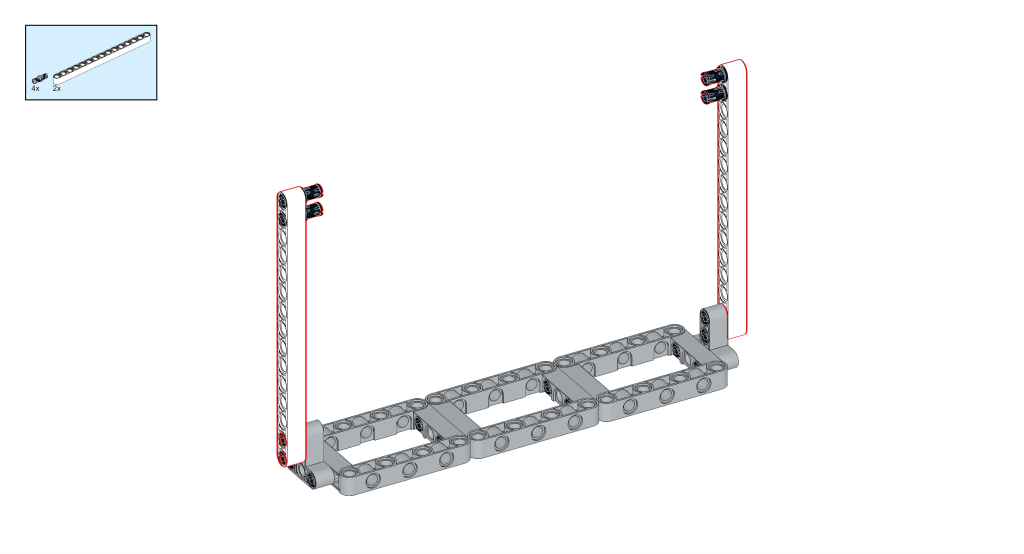
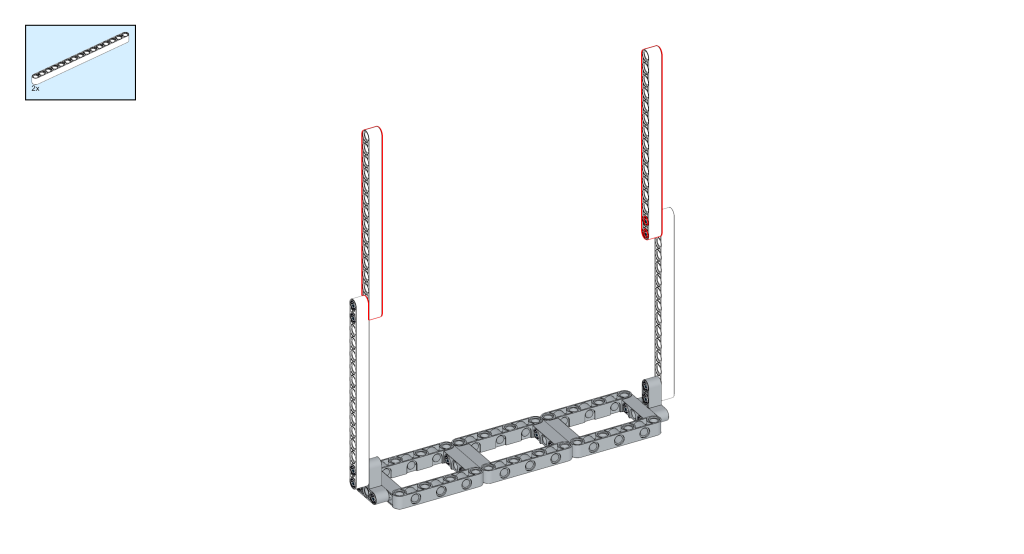
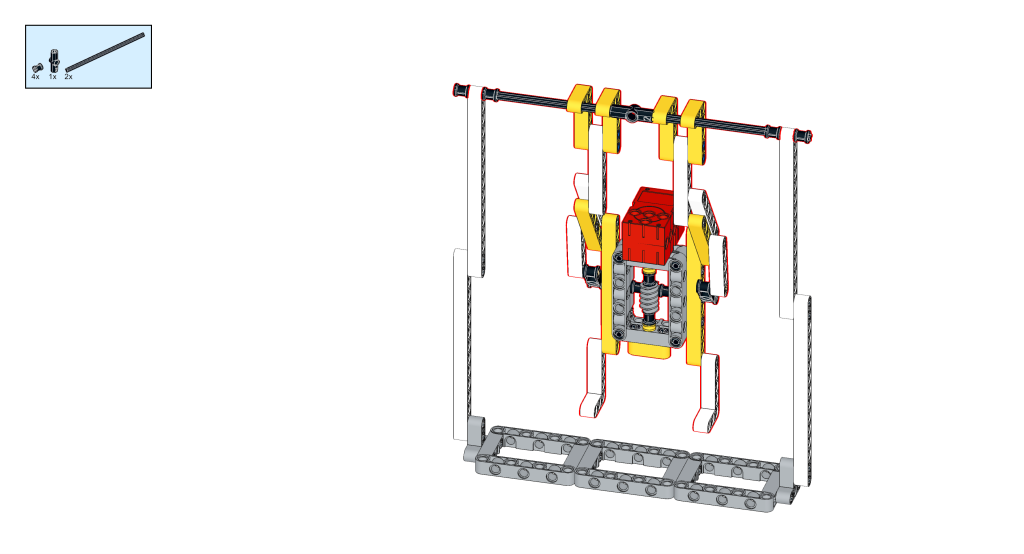
Immediately afterward, insert two 15-hole long blocks upwards respectively. We are almost done with the single-bar sector. Next, we will start building the robot.
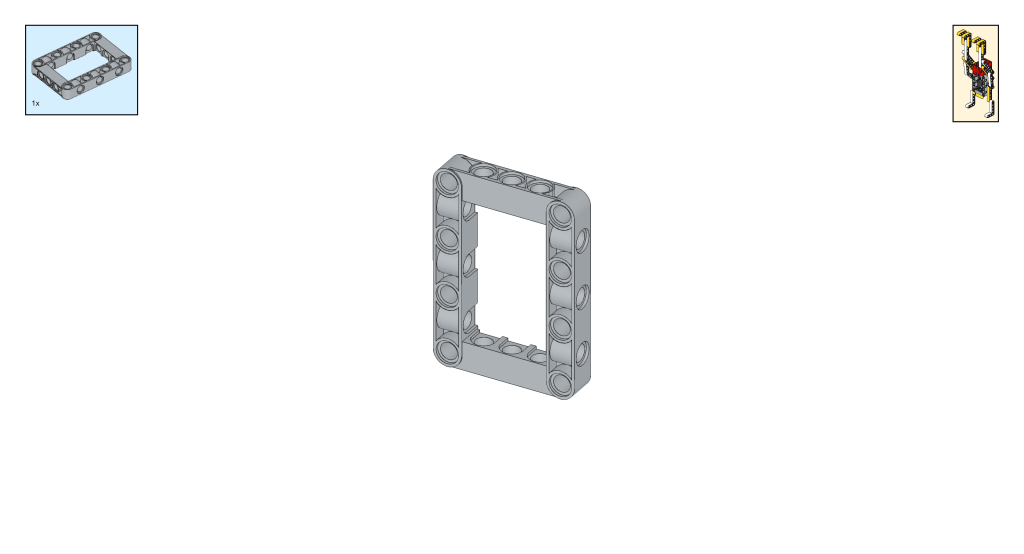
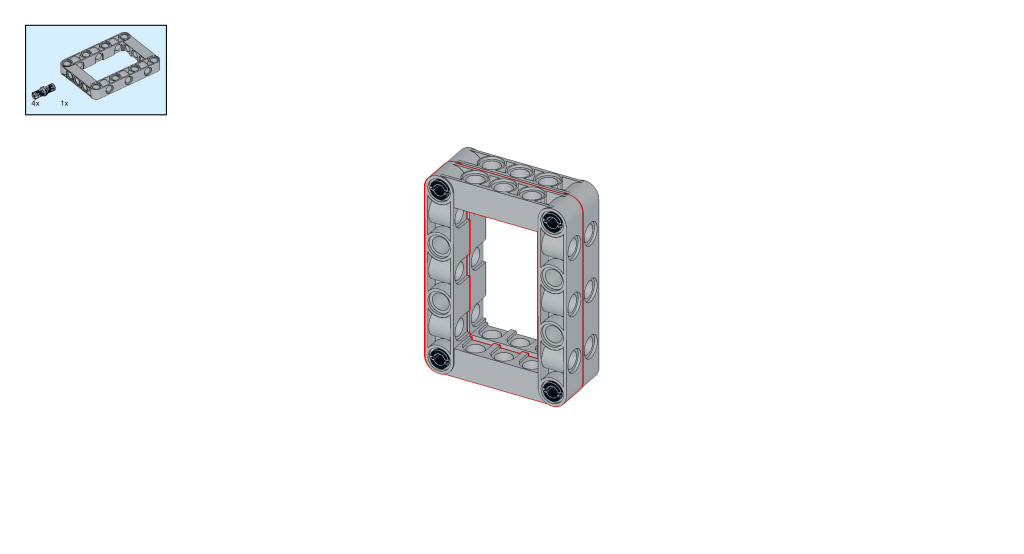
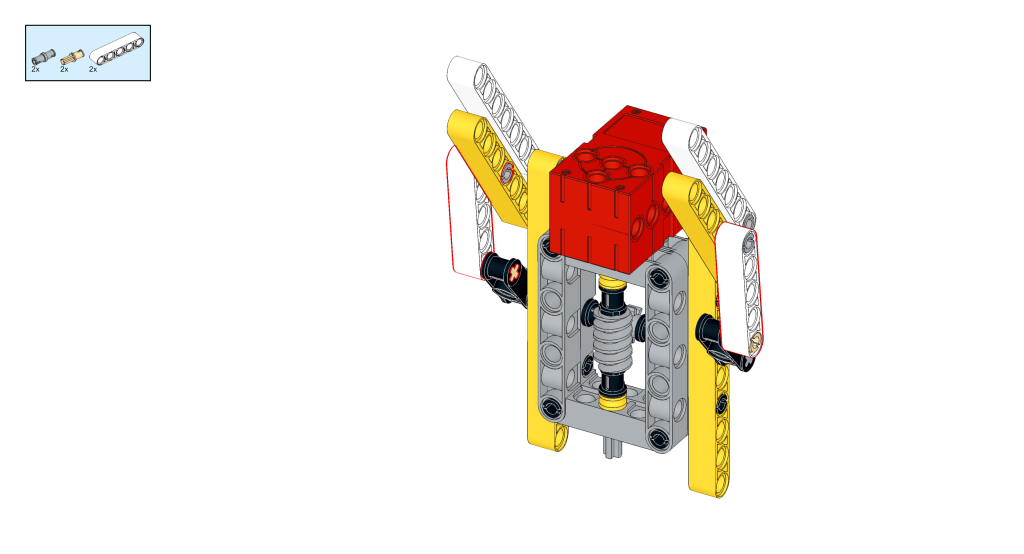
Use two square boxes with each of the 4 vertices joined by a black pin.
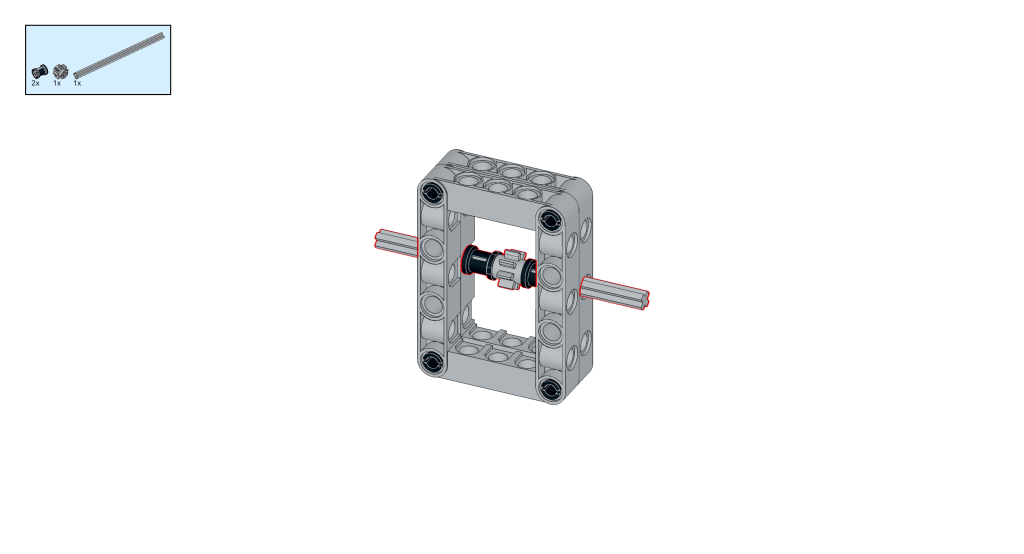
Next, find a long shaft and thread it through the middle, with two bushings and a pinion in the middle for fixing.
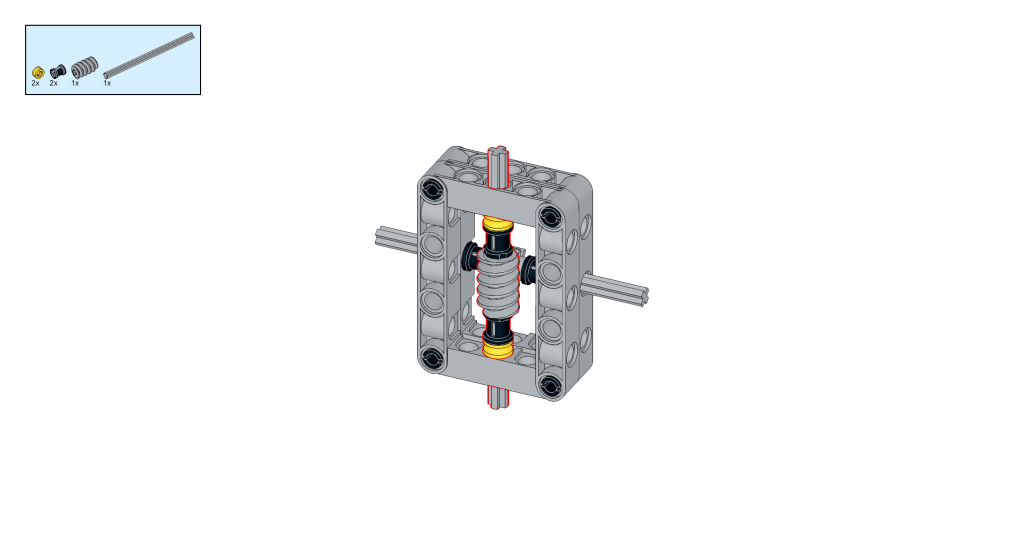
Then a long shaft is threaded vertically into the square frame, the middle ends are fixed with two yellow bushings and black bushings respectively, and the most central place is the rotating gear.
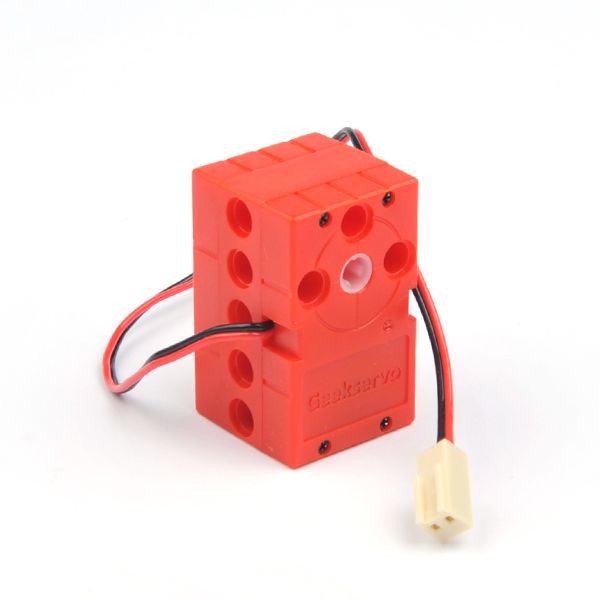
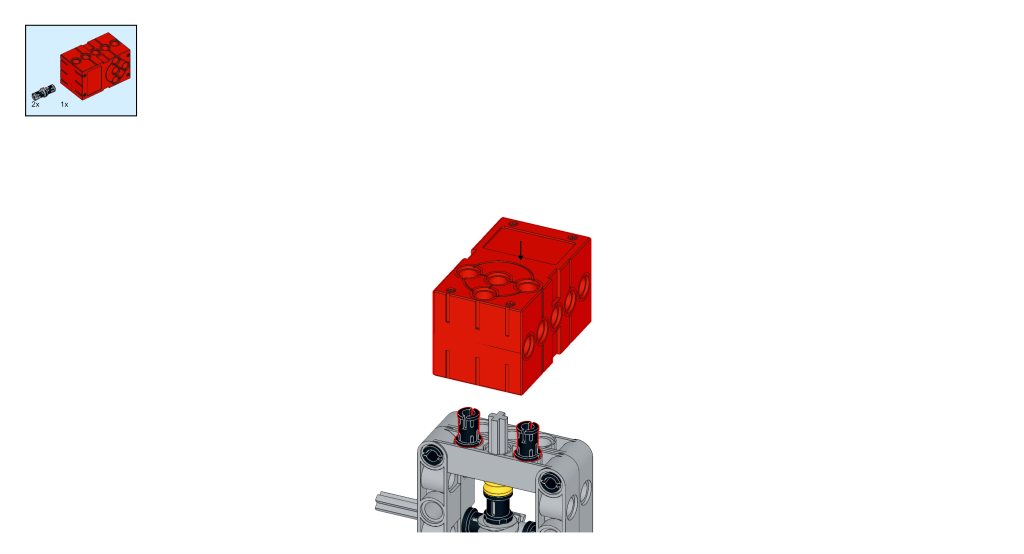
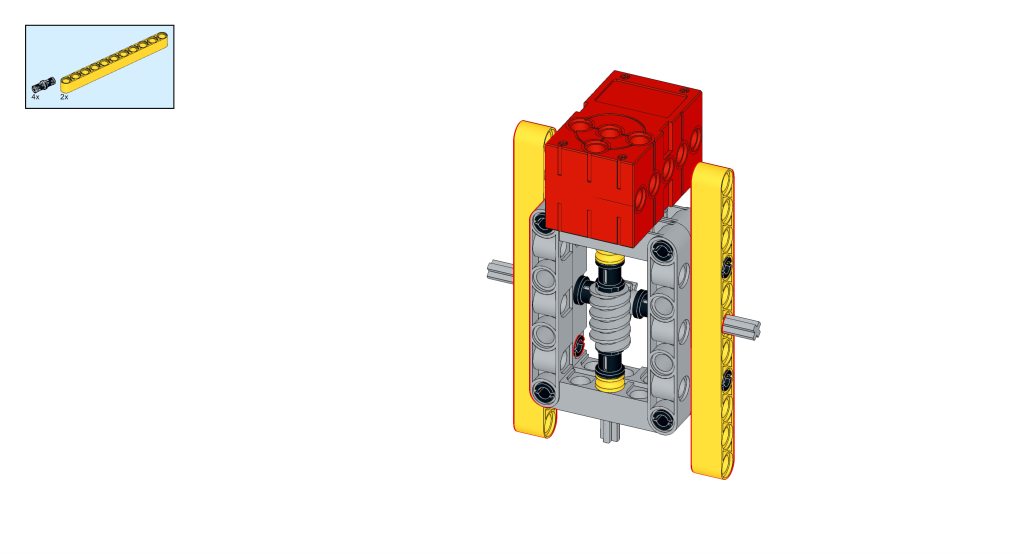
Insert the red motor at the top and secure it with the black pin. Insert the long 12-hole blocks on either side to gradually complete the prototype robot body.
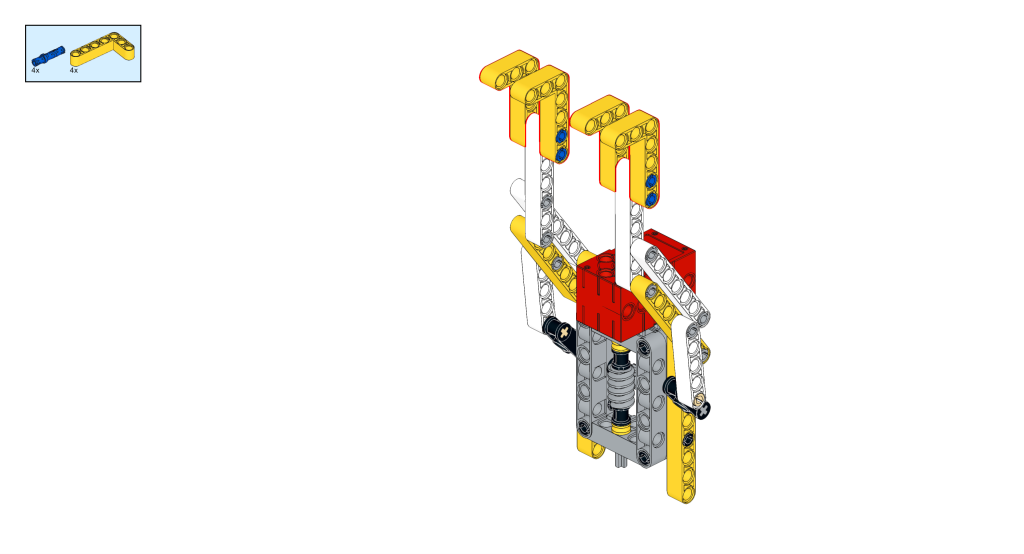
Next, we will build the sides of the robot’s body. Use two 7-hole long strips to insert into the 2nd and 4th holes of the 12-hole beam, and the 1×3 orthogonal twin-axis hole coupling to insert into the penultimate sixth hole. The steps are the same for the left and right sides.

Find two 7-hole beams to build as shown, which can be fixed with short pins.
Next, build the robot’s palm using 4 L-shaped beams and 4 long pins.
Insert the 3-hole beam and the 2 black pins into the bottom of the robot body to make it look complete.

Finally, build the robot’s feet using the 7-hole L-shaped beam.
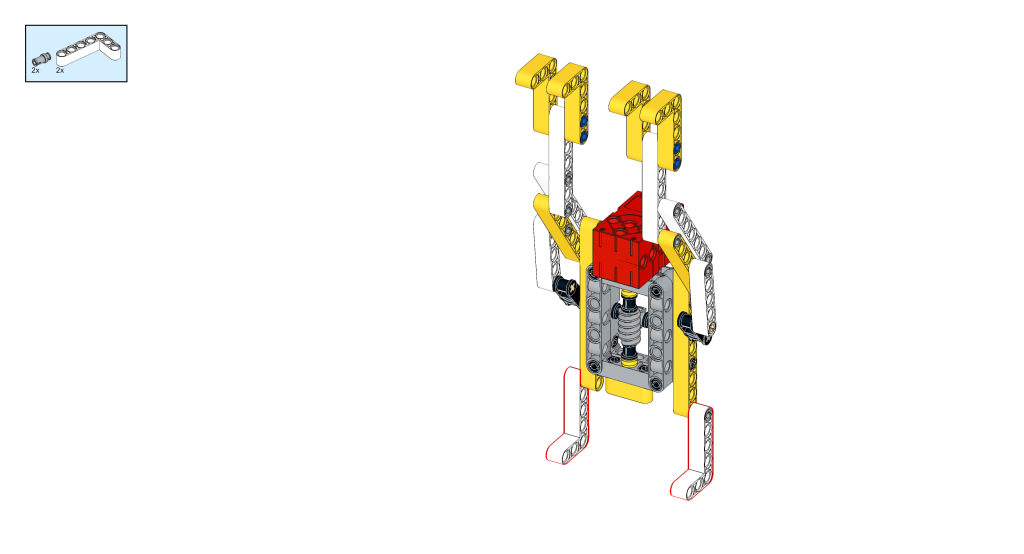
Don’t forget to perfect the monopod by building it with two long shafts on the stand you have just made, with the robot’s hand going through the boom.
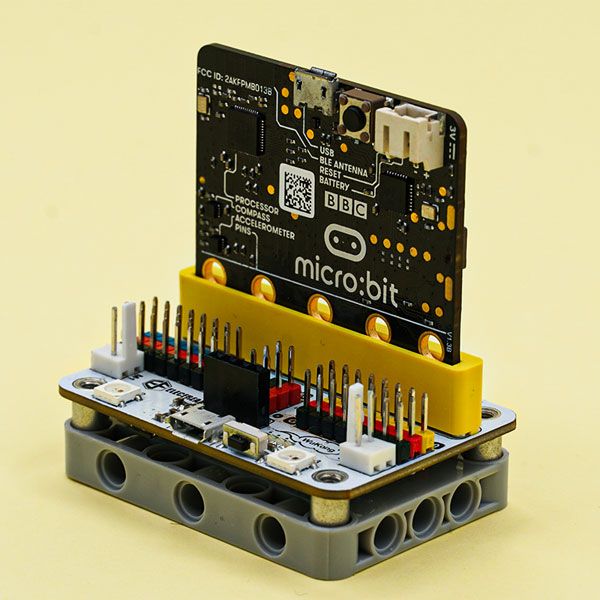
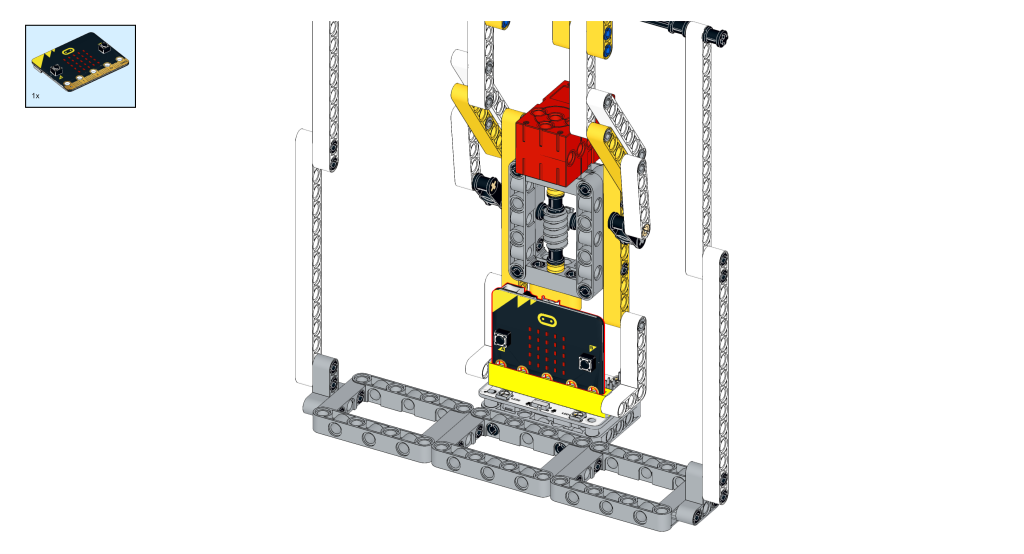
Finally, install the Wukong expansion board at the bottom.

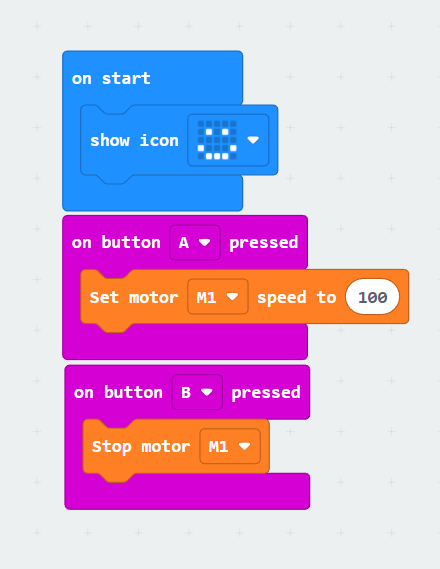
Next, we simply program the micro:bit board to control the rotation of the servos to drive the arms to lift and lower, and the pull-up robot is complete.
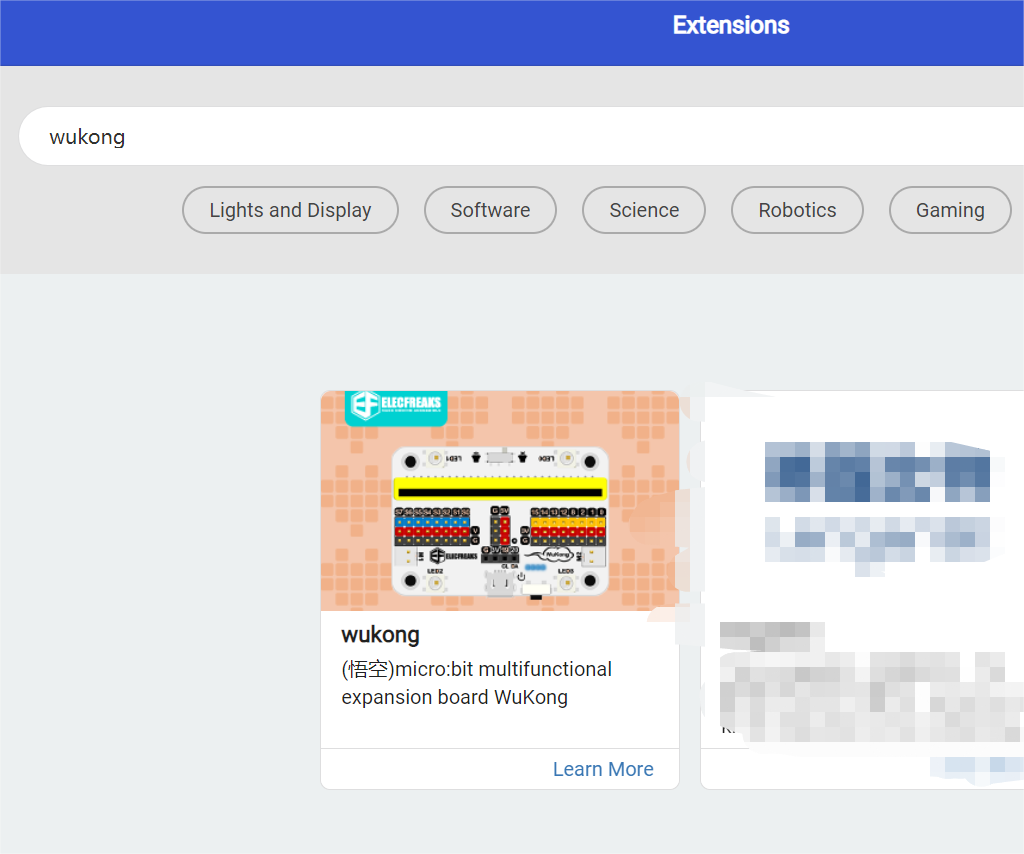
First, click “Extension”, and search for “wukong” in the search box, and click Add after seeing the first picture.
Next, when we press the A button on the organizer, we set the speed of the motor to 100. when the B button is pressed, the motor stops turning.
Programming link:
https://makecode.microbit.org/_XJp0fqghoe44
Such an easy-to-follow example, perfect for children who are new to graphical programming!


