


Micro:bit has integrated a compass on the board. Today, we are going to learn how to use BBC micro:bit to make a simple wearable compass device and display directions on the LED screen.
1 x ELECFREAKS Power:bit For Micro:bit
1 x BBC Micro:bit Board for Coding & Programming
1 x Acrylic Base Board 1 x Watch Strap 7 x 3*5 Screws
Firstly, we have to fix micro:bit onto power:bit. 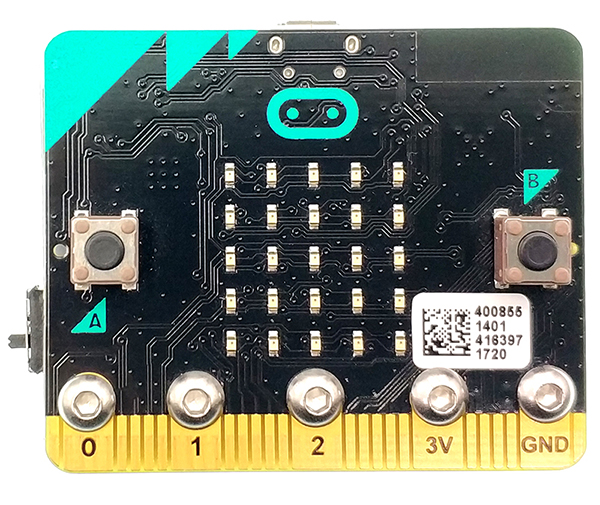
 Then, fix the acrylic board onto power:bit with 2 screws.

Click to open Microsoft Makecode, write your code in the editor. Click Edit on the top right corner to edit your program, then click Downloadto save your code directly into your micro:bit.
Here we use “N” to stand for north, “S” for south, “W” for west and “E” for east. The data “0” read by micro:bit compass represents the north, so within 45 degrees in the left or right, micro:bit will display “N”.  From 45 degree to 135 degree, micro:bit displays an E on its LED screen, while from 135 degree to 225 degree, micro:bit displays an S, and from 225 degree to 315 degree is a W.
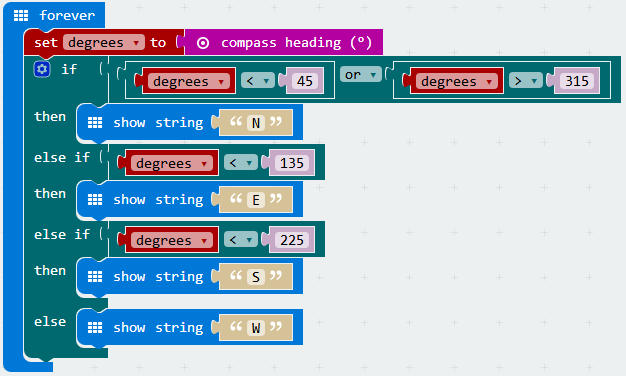
Once we have completed code download, we can see “DRAW A CIRCLE” displayed on micro:bit screen. Then there is a light spot on the screen center. Rotate micro:bit for a circle to calibrate your compass. After you finished your circle movement, a smily face will be shown on the screen, which indicates that you have successfully done the calibration.  Next, we can see that micro:bit is able to show the current direction.
 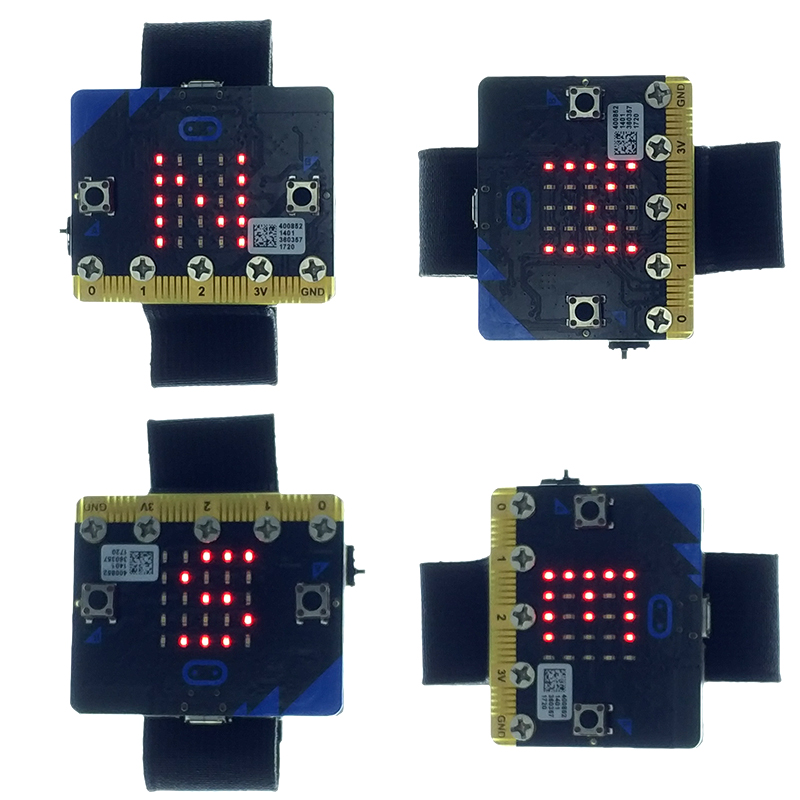 Now just move your micro:bit and see which direction it points to!


