

micro:bit x 1
Nezha Expansion board x 1
Planet X series- Rainbow Led x 1
Planet X series- Color sensor x 1
RJ11 wire x 2
Bricks x N
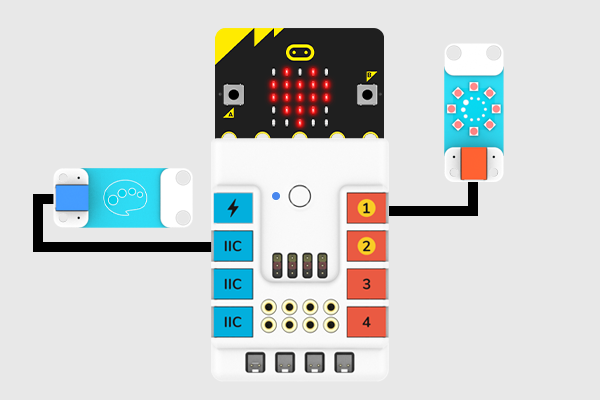
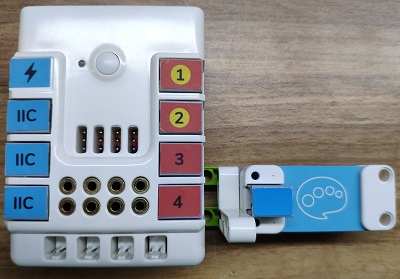
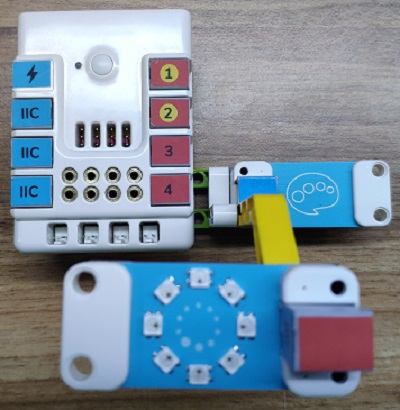
Connect the micro:bit to Nezha expansion board, then connect the color sensor and rainbow led to the IIC port and J1 connections accordingly as the picture shows.
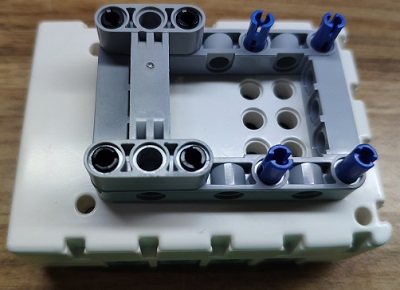
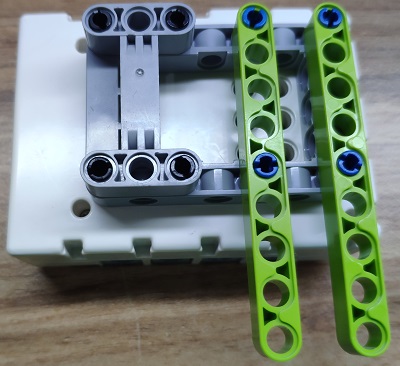
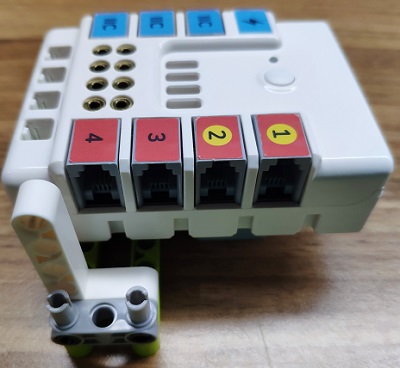
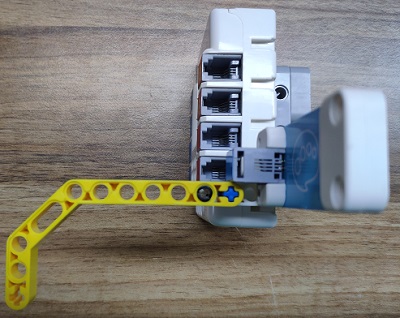
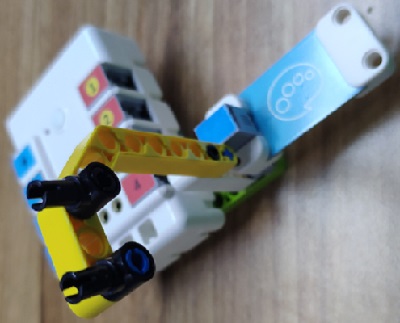
Build a structure as the below:
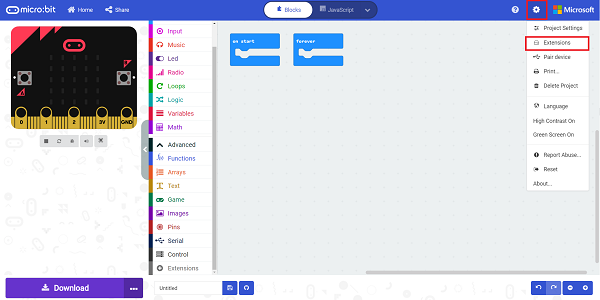
Add Planet X extension into the package, click extension in the settings menu on the right upper side.
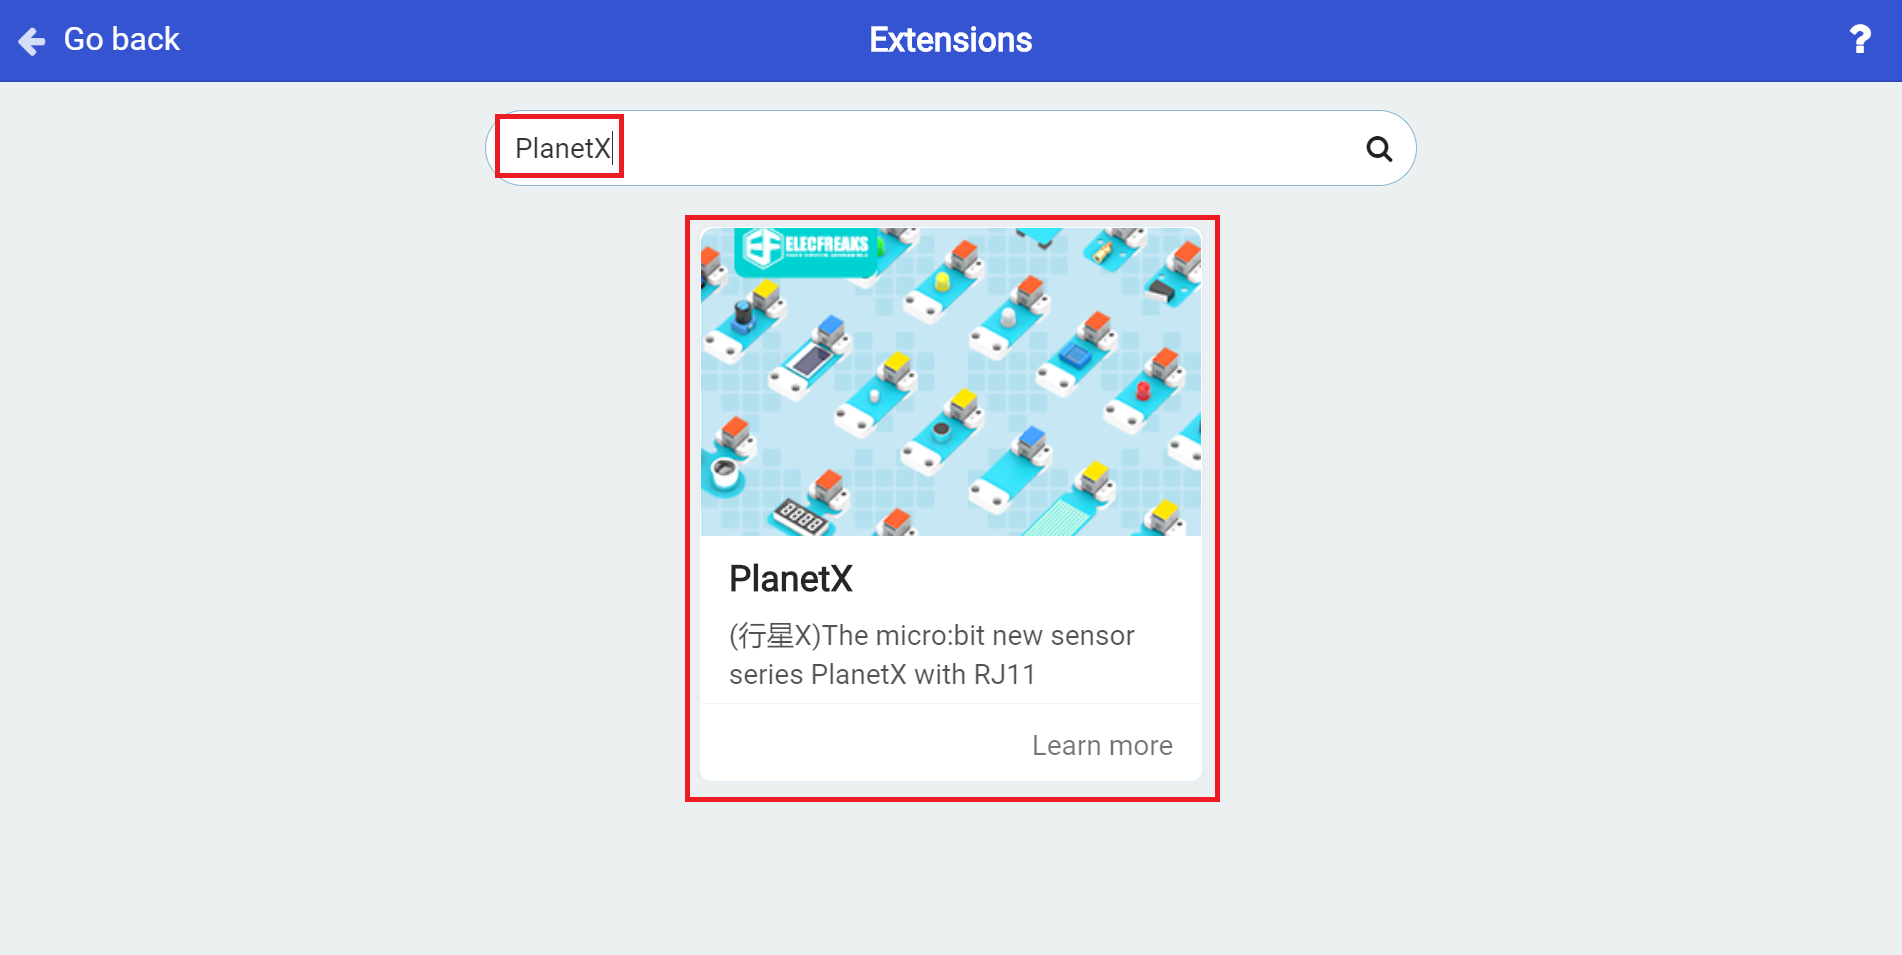
Search with Planet X in the dialogue box and add it to the package.
Now we go to the coding page:
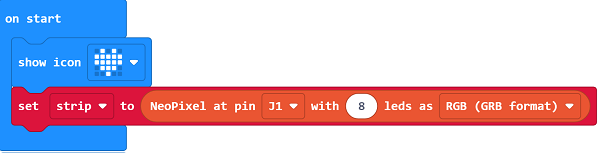
Choose the show icon brick in the on start brick and set to connect the rainbow led to J1 with 8 leds.
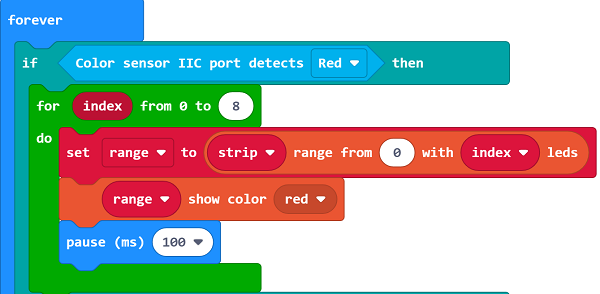
Judge if the color detected is red, if yes, set the value of index from 0-8, and add by 1 to excute the commands. Then drag the brick of setting range to strip from 0 with the index leds; set the color of the range in red and pause for 100ms as the picture indicates.
Program in the same method for the color sensor when blue, green and yellow are detected.
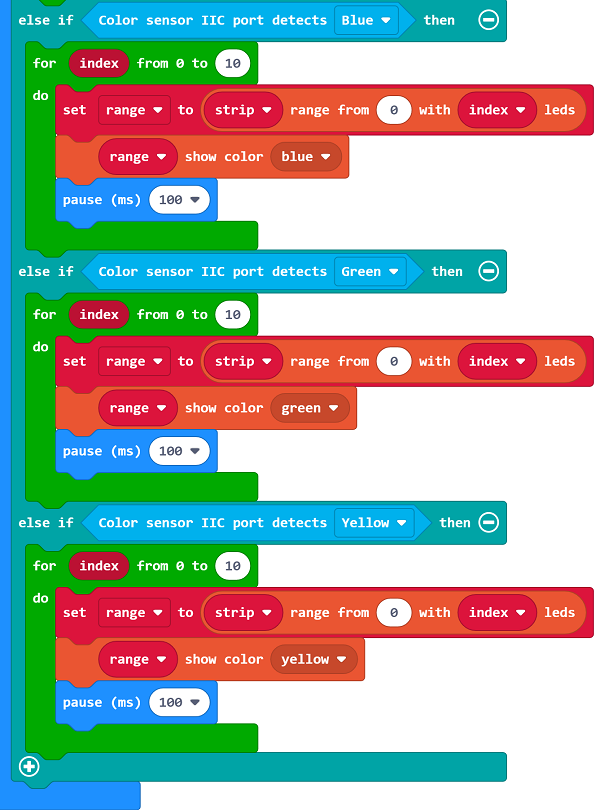
All of the code will be these:

Link:https://makecode.microbit.org/_h2E3HURJmcyd
This device is able to adjust the color of the leds with the color detected by the sensor. (Red, blue, green, yellow)


