

Do you like constallations or zodiac signs?
Most people like constallations very much. They like to keep track of every update news or posts about constallations, especially their own constallations. It provide a good path for them to know themselves better, including their characters, tempers and fortune. Reading articles about constallations can release them from busy work and get some guidance for their lives. Although astrology can be called a kind of superstition and mostly is not true, I like constallation too. It is very interesting.
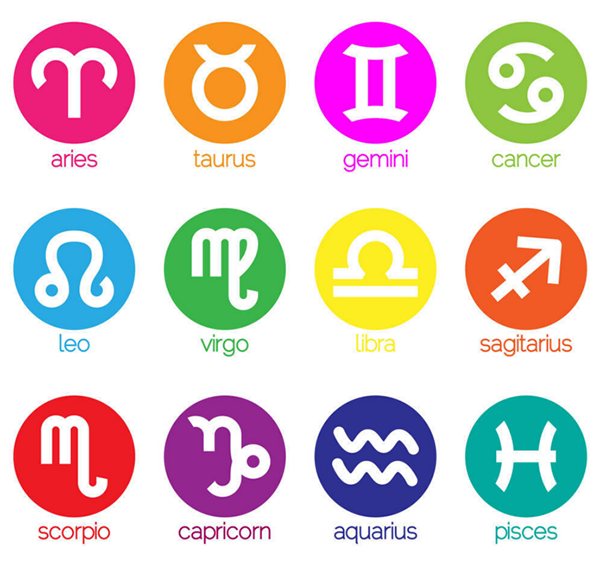
12 Constallations/Zodiac Signs
Today I am going to show my first program that I made with BBC micro:bit. Actually I am not a technician nor someone who has a technique background. I am just a starter, a young green-hand in programming study. You might wonder how I make it. With BBC micro:bit, program becomes much easier. In the following, I am going to make zodiac signs displayed on micro:bit screen. Want to see how I make it? Let’s just take a look!
Firstly, I have gethered a piece of micro:bit and a USB cable, which are borrowed from one of my friends. I connect micro:bit to my computer with USB cable. Quite easy to be done!

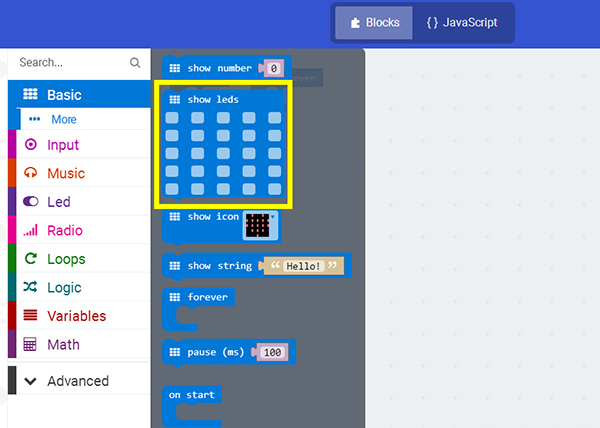
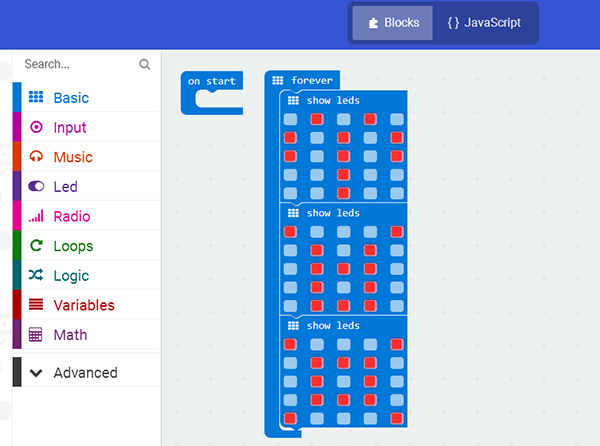
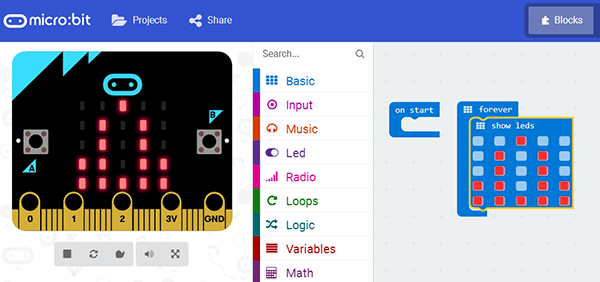
Then, I search for MakeCode on my website browser and open it. You can see there are many options on the code drawer. I choose show leds from Basic and place it under the forever block in the code editor area.
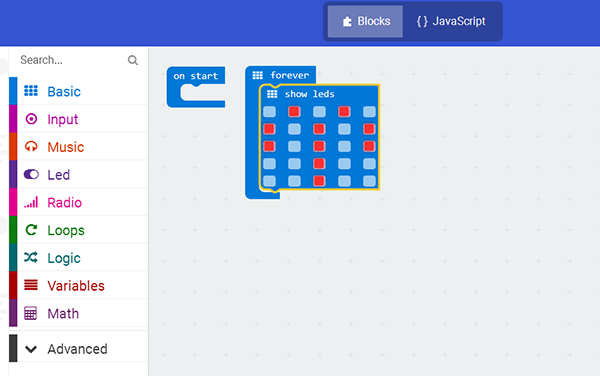
I click on the blue dots on the block show leds and make it become red to form the sign of aries.
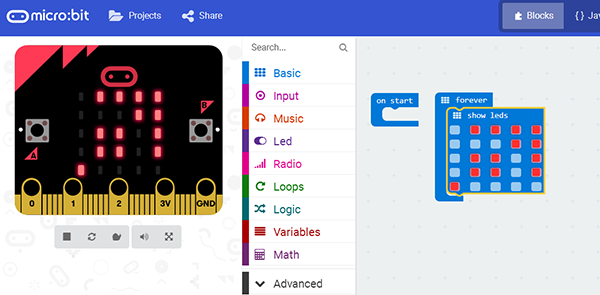
Next, I continue to make two more signs for tauros and gemini.
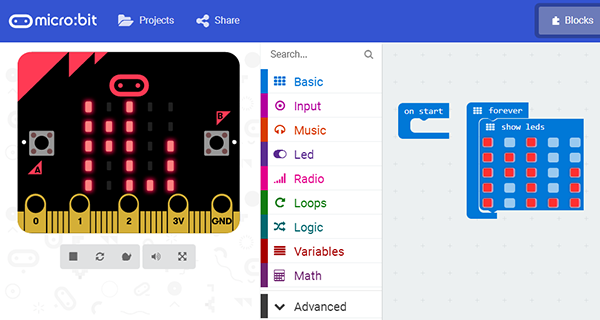
The left program viewer starts to flash the three signs I made just now. Their flash speed is too fast. I want to slow down a little bit. So I look into the code drawer of Basic again and find the block pause(ms).
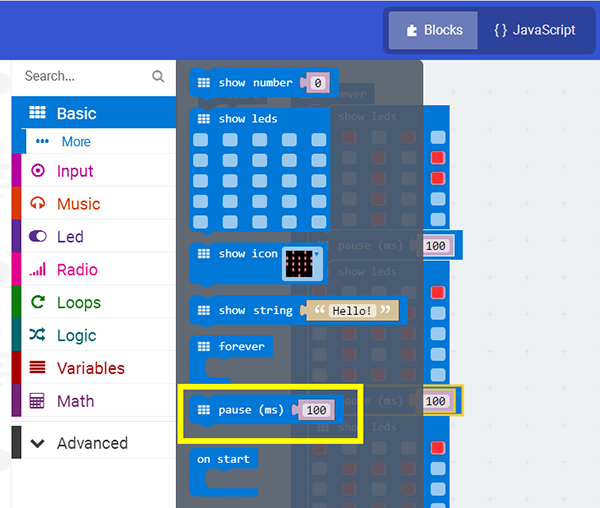
I add this block beneath the sign aries and tauros. The flash speed become much slower.
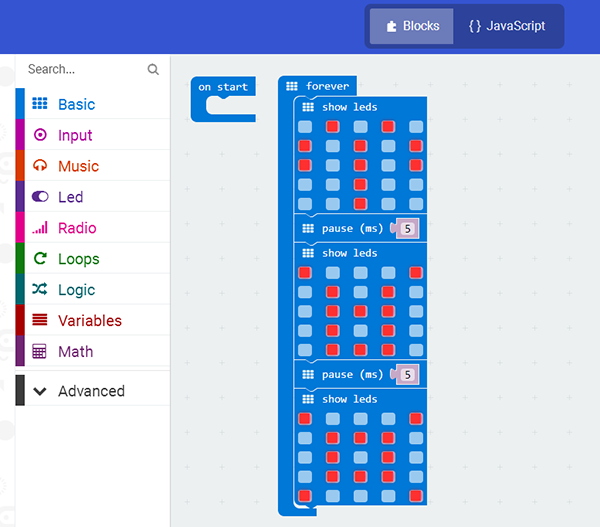
I modify the default pause value 100 to 5 and make the speed not too fast nor too slow.
Till this tep, my program is done. Next, I have to save my program into micro:bit.
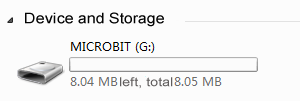
Click download in the left bottom area of MakeCode page, then store the program into MICRO:BIT.
After several minutes, we can see these signs starts to flash on micro:bit screen. Quite amazing, right?
https://www.youtube.com/watch?v=GBuAkdyNovE
Here I have made three more signs for your reference.
Libra
Sagitarius
Scorpio
This little program is quite simple. You can also do it too. Just have a try, you can make it!
Our Facebook:https://www.facebook.com/ElecFreaksTech/?ref=bookmarks
Twitter:https://twitter.com/elecfreaks


