

Introduction
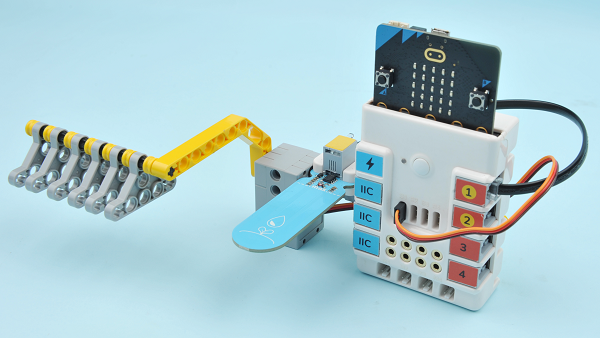
Build an automatic laundry rack with a micro:bit.
Quick to Start
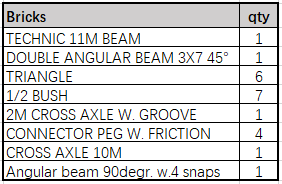
Materails
micro:bit V2 x 1
360°servo x 1
Bricks x n
Bricks details

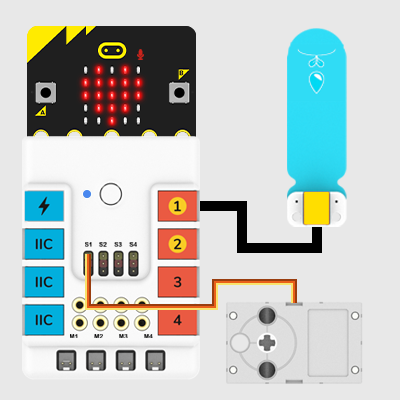
Connections Diagram
YConnect the micro:bit with the Nezha expansion board, connect the servo to S1 port and the soil moisture sensor to J1 port on Nezha expansion board.
Assembly
Assemble it as the pictures suggest:


Video reference:
MakeCode Programming
Step 1
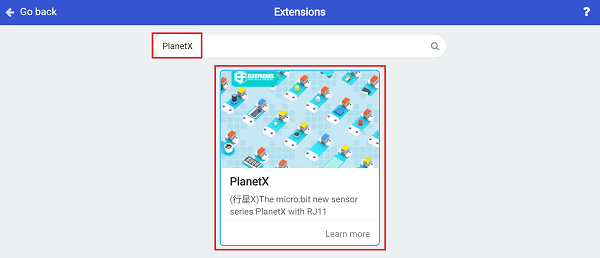
Click “Advanced” in the MakeCode drawer to see more choices

We need to add a package for programming. Click “Extensions” in the bottom of the drawer and search with “PlanetX” in the dialogue box to download it.
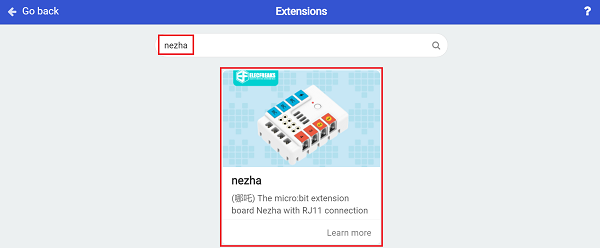
We need to add a package for programming. Click “Extensions” in the bottom of the drawer and search with “Nezha” in the dialogue box to download it.
Note: If you met a tip indicating that the codebase will be deleted due to incompatibility, you may continue as the tips say or build a new project in the menu.
Step 2
Programme as the picture shows:

Link:https://makecode.microbit.org/_2Ub6zkdT8RbY
Result
While rainning, the detected value from the soil moisture sensor is over the setting point, the laundry rack folds back in case of the clothes getting wet; while the sun comes out, the the detected value from the soil moisture sensor is below the setting point, and the the laundry rack stretches out to dry the clothes.


