

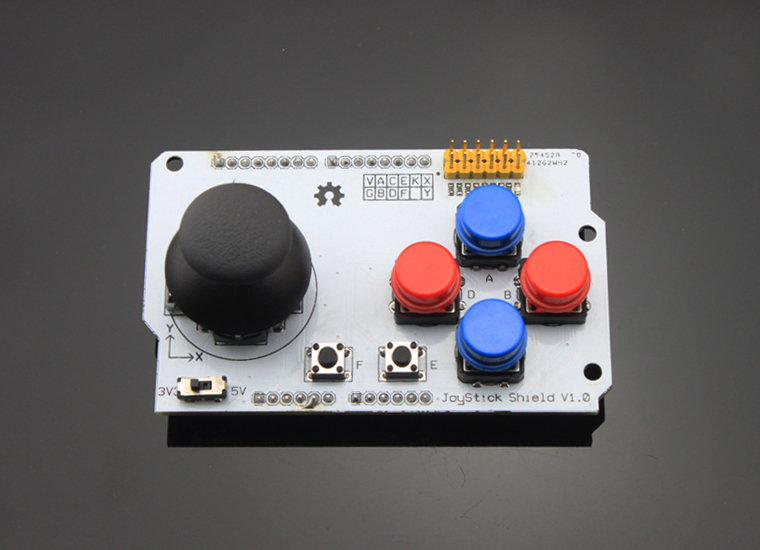
Joystick Shield Quickstart Guide
January 12, 2019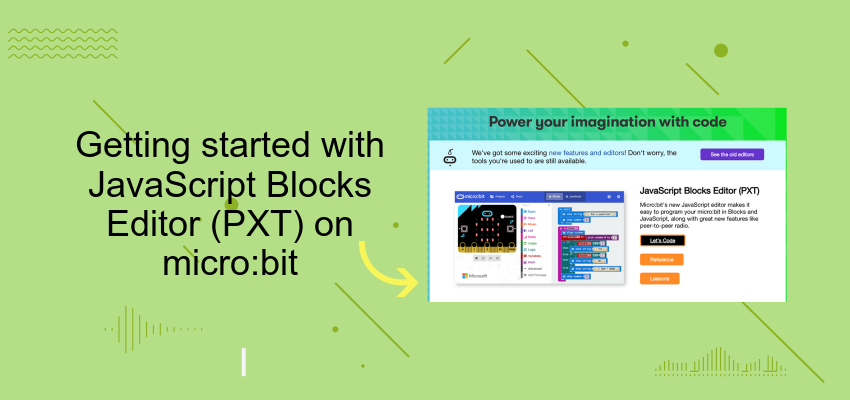
Getting started with JavaScript Blocks Editor (PXT) on Micro:Bit
December 27, 2019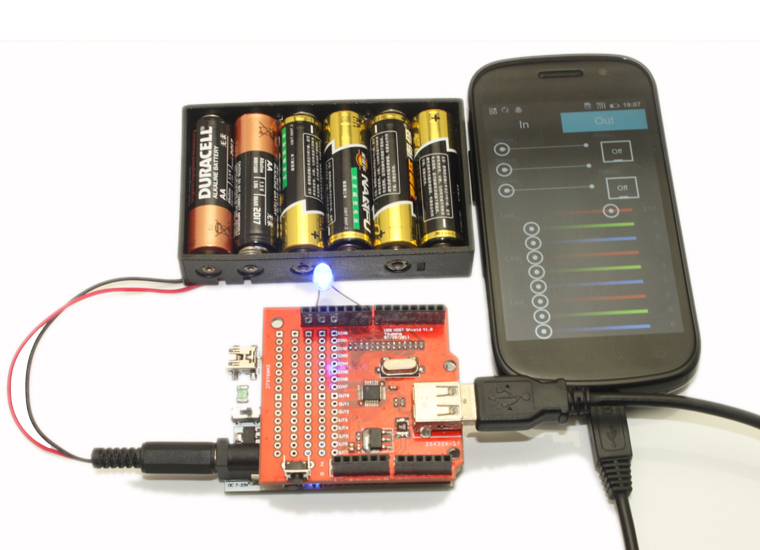
If you are interested in Google’ ADK(Android Open Accessory Development Kit), but Feeling ADK Developer Mage2560 is too expensive.
The USB host Shield is you best choice. It’s compatible with almost Arduinos – not only UNO and Duemilanove, but also big Mega and Mega 2560 work with Standard variant of this shield out of the box. No more SPI re-wiring and code modifications – just solder included stackable connectors (2×3 ICSP connector’s female side should be facing down), plug and play! We recommend assemble with our Freaduino v1.0 with ATMega328(100% Arduino compatible).
What’s the USB Host Shield could do ??
USB Host Shield is an add-on board for Arduino development platform and contains all of the digital logic and analog circuitry necessary to implement a full-speed USB peripheral/host controller with your Arduino. This means you could use your Arduino to interface with and control any USB slave device – thumbdrives, digital cameras, bluetooth dongles, keyboards, mice, joysticks, MIDI, and much more!
A simple demo of Control LED with Android and USB Host
Step one:
Material preparation. There are a Android of v2.3.4 or above(we used Nexus S), USB Host Shield, Arduino main board(we used Freaduino v1.0 with ATMega328(100% Arduino compatible), a 5mm Blue LED and a Power Supply.

Step two:
The ADK package contains the firmware for the ADK board and hardware design files for the ADK board and shield. Need you put “AndroidAccessory” and “USB_Host_Shield” library to x\arduino-0022\libraries\.
Note the USB_Host_Shile library in adk_release_0512.zip just suit for Mage2560, If you use such as Arduino Duemilanove or UNO, you need the modified library for it. Get the USB-Host-Shield-Library from USB Host Shield Library 1.0 or USB Host Shield Library 2.0. Here we just used the v1.0 library for test. And then install the APP of DemoKit to Android, the patth is “..\ADK_release_0512\app\bin\DemoKitLaunch.apk”. Then connect the material.

Step three:
Connect the Android phone to USB=Host, the DemoKit will skip to the menu as below, and then check the “OUT” button

Step four: By the first of Slider Button to control the LED. 
The following code was created by stripping down demokit.pde sample ADK sketch from non-essential code. It’s just for test the USB Host whether work all right and control a LED.
[cce_cpp]
#include <Max3421e.h>
#include <Usb.h>
#include <AndroidAccessory.h>

#define  LED      8

AndroidAccessory acc("Google, Inc.",
		     "DemoKit",
		     "DemoKit Arduino Board",
		     "1.0",
		     "http://www.android.com",
		     "0000000012345678");

void setup()
{
	Serial.begin(115200);
	Serial.print("\r\nStart");

	acc.powerOn();

        pinMode(LED, OUTPUT);
        digitalWrite(LED, 0);
}

void loop()
{
        byte msg[3];

	if (acc.isConnected()) {
                Serial.print("Accessory connected. ");
		int len = acc.read(msg, sizeof(msg), 1);
                Serial.print("Message length: ");
                Serial.println(len, DEC);

                if (len > 0) {
			// assumes only one command per packet
			if (msg[0] == 0x2) {
				if (msg[1] == 0x0)
					analogWrite(LED, msg[2]);
                        }
            }
        }

	delay(100);
}
[/cce_cpp]