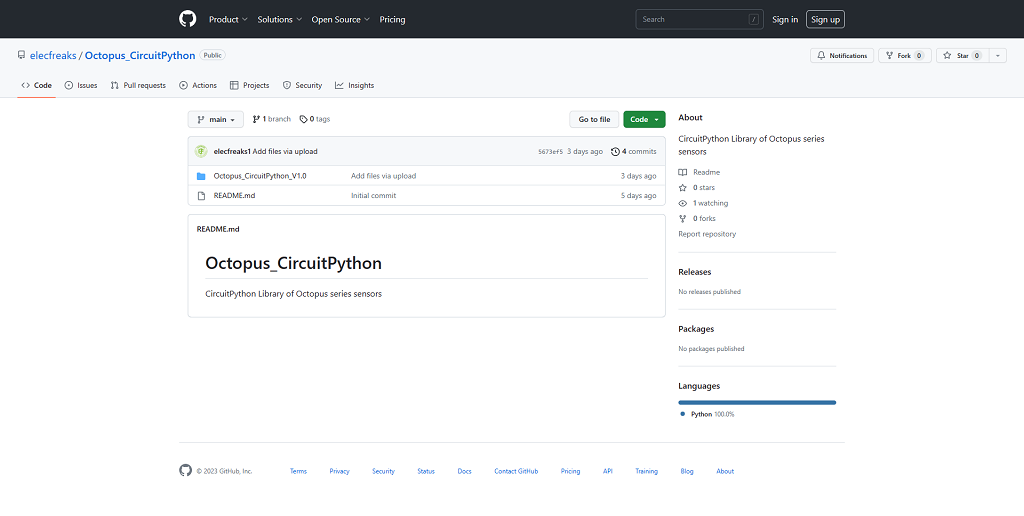
Get the CircuitPython library of WuKong 2040 Breakout Board
Link: https://github.com/elecfreaks/Octopus_CircuitPython
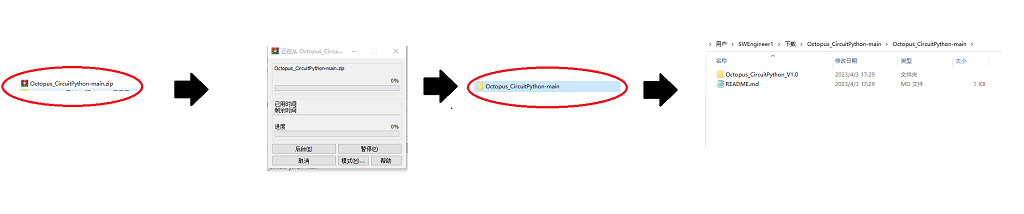
Download the corresponding resource file.
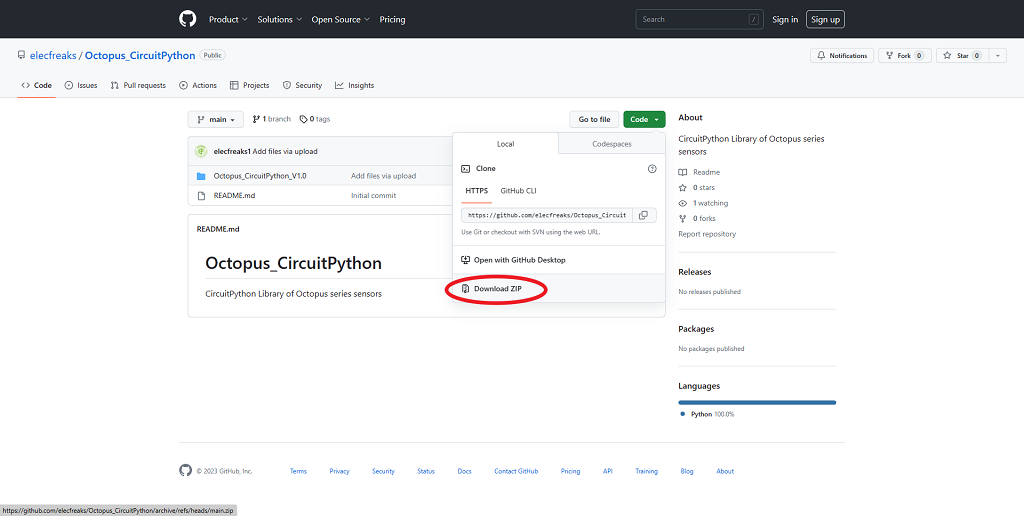
Unzip the file.
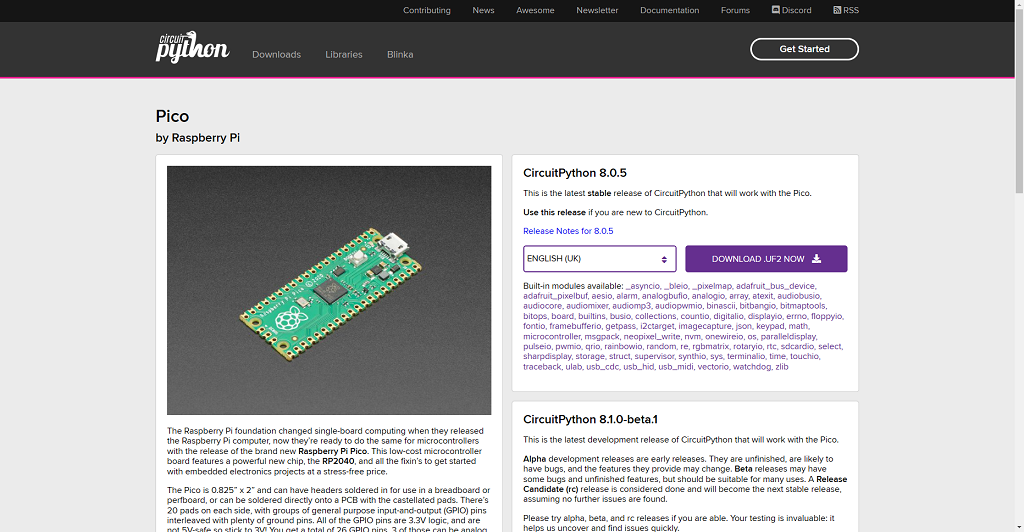
CircuitPython firmware uses “CircuitPython”
Download link: https://circuitpython.org/board/raspberry_pi_pico/
Operation steps for detailed reference
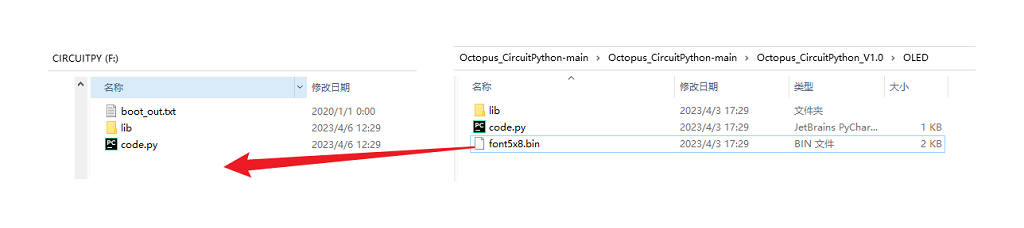
If there is no lib folder and “code.py” file in Pico, you must create the corresponding folder and file yourself, as shown below.

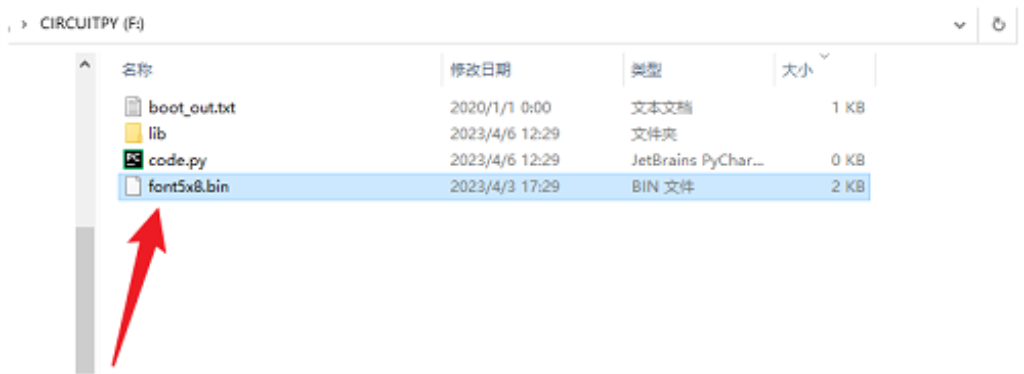
The companion files are stored in Pico and the font5x8.bin file is copied.
The effect is shown in the figure below:
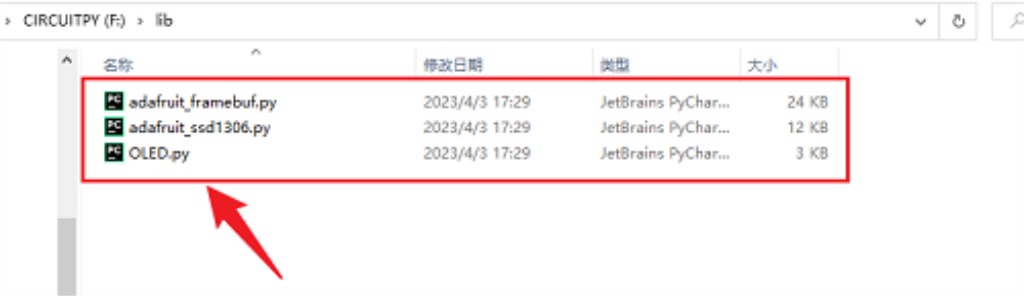
Copy the contents of the companion lib folder into the lib folder of the board.
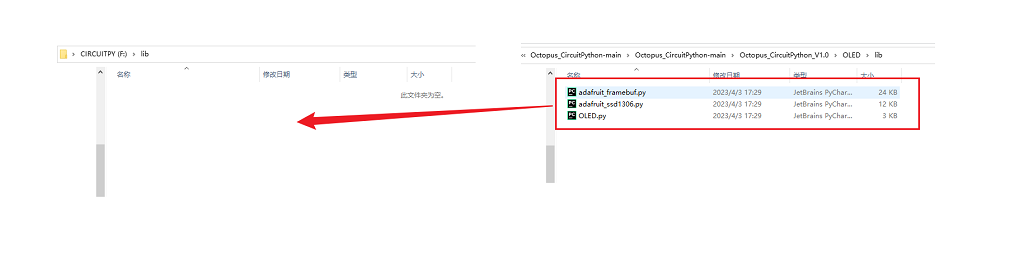
The effect is shown in the figure below.
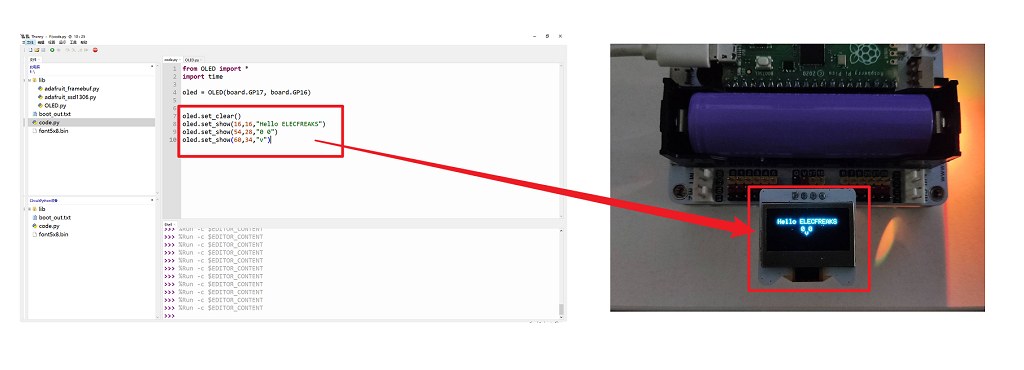
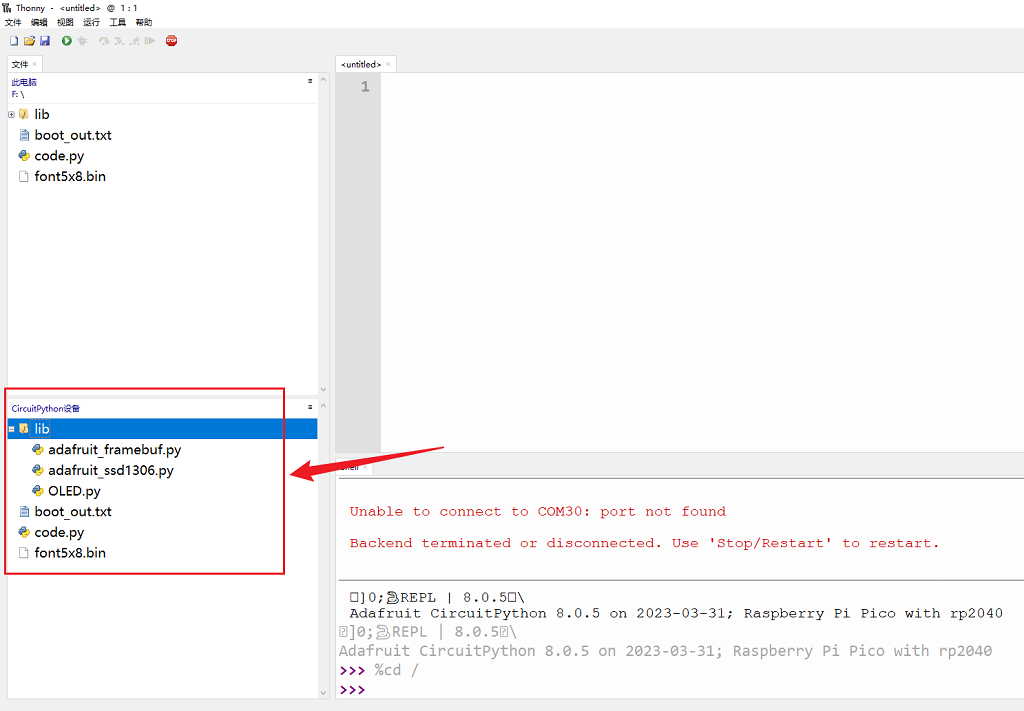
The effect of porting the companion file and opening it in Thonny is shown in the following image.
If your display uses an I2C connection to the board, you will first need to initialize the I2C bus. First import the necessary modules:
Python
from OLED import *
import time
Now, for either board, run the following command to create an I2C instance using the default SCL and SDA pins (if using a Feather or similar Adafruit board, this will be marked on the board pins):
Python
OLED(board.GP17, board.GP16)
After initializing the firmware’s I2C interface as described above, you can create an instance of the SSD1306 I2C driver by running the following command:
Python
oled = OLED(board.GP17, board.GP16)
Please note that the first two parameters of the SSD1306_I2C class initial value setting item are the display width and height in pixels. Be sure to use the correct values for the display you are using!
Note: 128 x 64 size OLED (or change I2C address)
If you are using a 128×64 display, the I2C address may be different (), unless you change it by soldering some jumpers: 0x3C.
Plain Text
class OLED():
    def __init__(self, pinScl, pinSda):
        self.pinScl = pinScl
        self.pinSda = pinSda
        i2c = busio.I2C(self.pinScl, self.pinSda)
        pinReset = DigitalInOut(board.GP5)
        self.display = adafruit_ssd1306.SSD1306_I2C(
            128, 64, i2c, addr=0x3C, reset=pinReset)
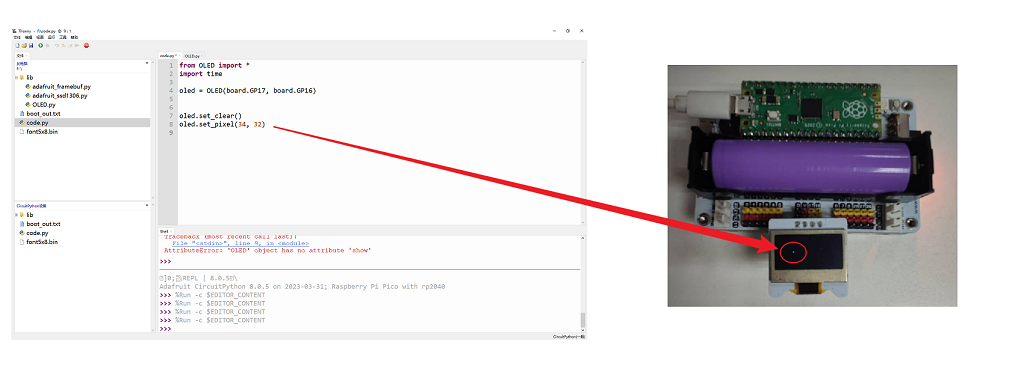
Light up OLED display pixel dots.
Java
from OLED import *
import time

oled = OLED(board.GP17, board.GP16)

oled.set_clear()
oled.set_pixel(34, 32)
The effect is shown in the figure below.
Python
draw_line(self, x1Line, y1Line, x2Line, y2Line)

oled = OLED(board.GP17, board.GP16)

oled.set_clear()
oled.set_pixel(34, 32)
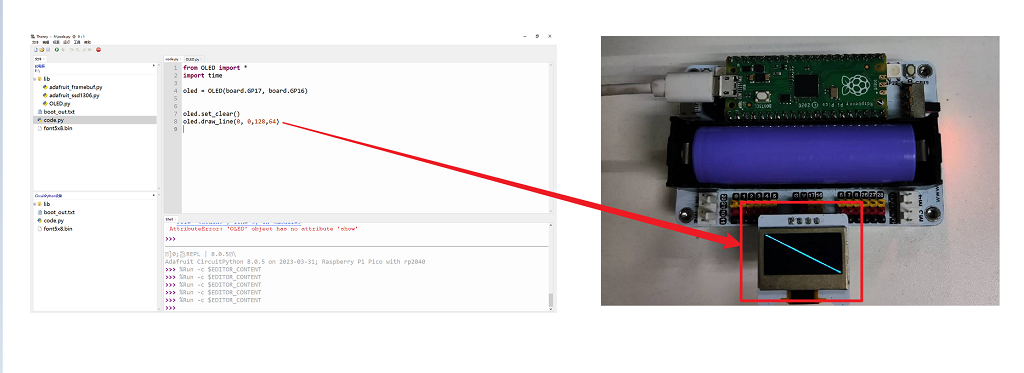
According to the content of the code, set the starting point (x1,y1) and the ending point (x2,y2) of a line segment to draw a straight line on the OLED display.
Java
from OLED import *
import time

oled = OLED(board.GP17, board.GP16)

oled.set_clear()
oled.draw_line(0, 0,128,64)
Python
def draw_rectangle(self, xRectangle, yRectangle, wRectangle, hRectangle, fill)
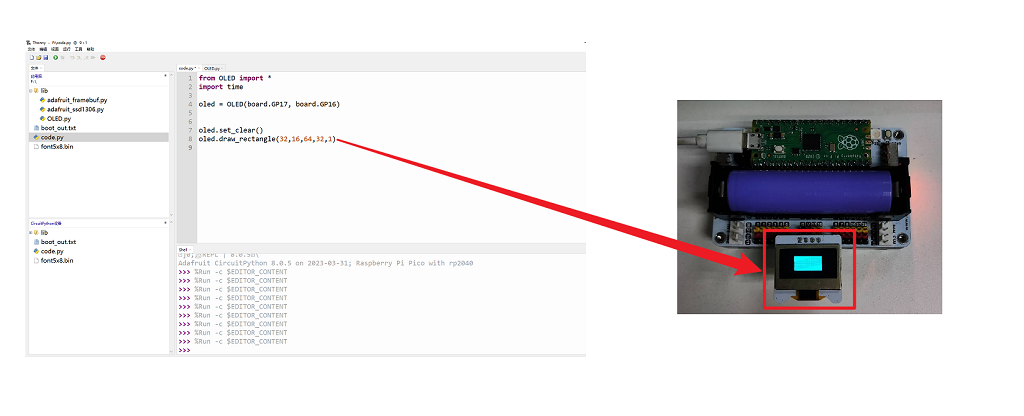
According to the code content, set the top left corner (x1,y1) and bottom right corner (x2,y2) of a rectangle and whether to fill the rectangle, draw a filled rectangle on the OLED screen.
Java
from OLED import *
import time

oled = OLED(board.GP17, board.GP16)

oled.set_clear()
oled.draw_rectangle(32,16,64,32,1)
The effect is shown in the figure below:
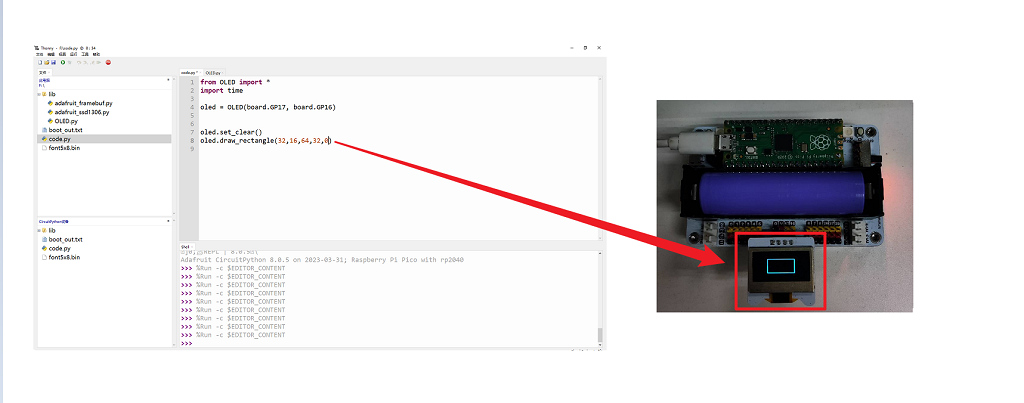
According to the code content, set the top left corner (x1,y1) and bottom right corner (x2,y2) of a rectangle and whether to fill the rectangle, draw a non-filled rectangle in the OLED screen.
Java
from OLED import *
import time

oled = OLED(board.GP17, board.GP16)

oled.set_clear()
oled.draw_rectangle(32,16,64,32,0)
The effect is shown in the figure below:
Python
def set_show(self, xStr, yStr, userStr):
According to the code content, set the text start position and display the input string and number.
Java
from OLED import *
import time

oled = OLED(board.GP17, board.GP16)


oled.set_clear()
oled.set_show(16,16,"Hello ELECFREAKS")
oled.set_show(54,28,"0 0")
oled.set_show(60,34,"v")