


Flexible 64 RGB LED 8*8 Rainbow Gradient


Introduction:
Want to know how I realize the above effect? In this article, we are going to learn how to realize rainbow gradient.
Component List:
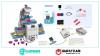
Hardware:
1 X Freaduino UNO Rev2.2 MB_EFUNO
1 X Flexible Rainbow 64 RGB 8*8 LED Matrix
3 X Jumper Cable
Software:
Arduino IDE
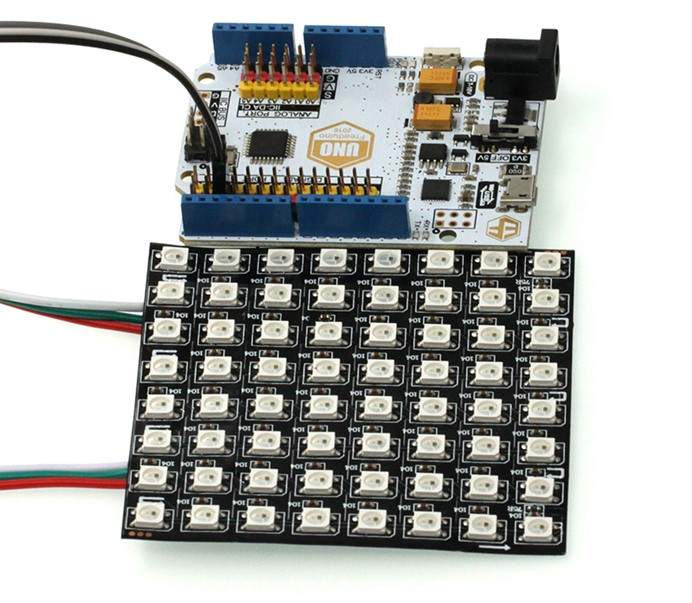
Hardware Connection Connect rainbow LED matrix to port D2.
Note: At this time, the power consumption is comparatively big, so we have to supply power by port D2.
Programming
Step 1: Display
To realize rainbow gradient, it has to go through 6 process. You can see these processes in the picture below:
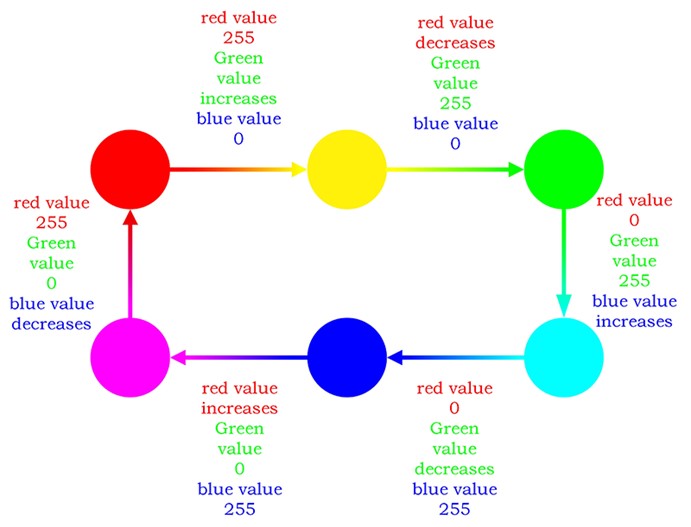
For example: In step 1, red color gradually changes into yellow color, red color value (255,0,0). Each circulation increases green color value until 255 at max, then it becomes yellow, yellow color value(255,255,0). The rest 5 processes are similar to the first gradual change.
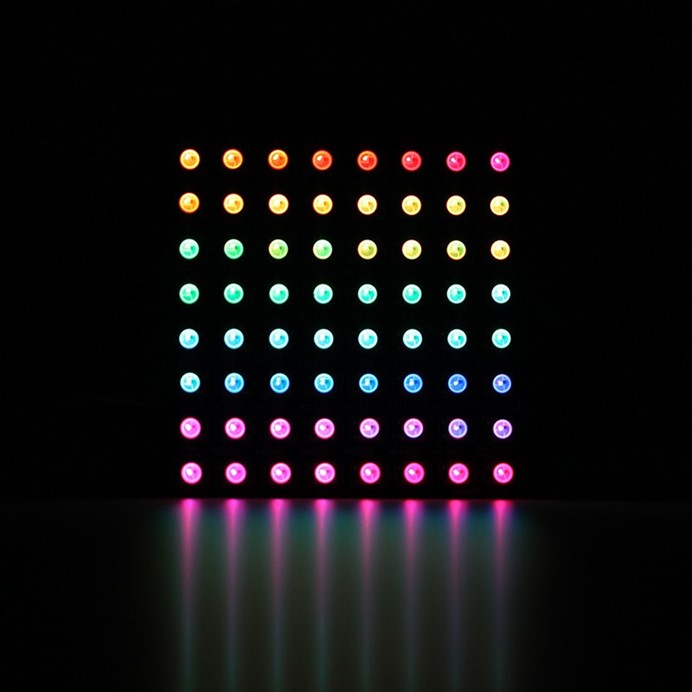
Next, we have to reflect these color values of six processes onto every pixel of Flexible 8*8 RGB Rainbow LED Matrix so as to make it display rainbow color just like the following picture showed.
Step 2: Shifting
In the former step, we have set 64 colors of rainbow color. To assign value to Flexible Rainbow 64 RGB 8*8 LED Matrix after the 64 colors shifted, it will start to display rainbow gradient effect as we desired originally.
Here you can see the code below:
[cceN_cpp theme="dawn"] #include #define PIN 2 //Output pin #define MAX_LED 64 //Quantity of bead uint32_t LEDColour; unsigned char x = 0,s=0; unsigned char Colour[3]; Adafruit_NeoPixel strip = Adafruit_NeoPixel( MAX_LED, PIN, NEO_RGB + NEO_KHZ800 ); void setup() { // put your setup code here, to run once: strip.begin(); // Send data, default the color of each point to be 0, so every point is not illuminated at the beginning. strip.show(); } void loop() { unsigned char number; x = s; for ( number = 0; number < 11; number++) { //red 255 green ++ blue 0 Colour[1] = (number + 1) * 23; Colour[0] = 255; Colour[2] = 0; LEDColour = strip.Color(Colour[1], Colour[0], Colour[2]); strip.setPixelColor(x, LEDColour); x++; if (x == 64) { x = 0; } } for (number = 0; number < 11; number++) { //red —— green 255 blue 0 Colour[1] = 255; Colour[0] = 255 - (number + 1) * 23; Colour[2] = 0; LEDColour = strip.Color(Colour[1], Colour[0], Colour[2]); strip.setPixelColor(x, LEDColour); x++; if (x == 64) { x = 0; } } for (number = 0; number < 11; number++) { //red 0 green 255 blue ++ Colour[1] = 255; Colour[0] = 0 ; Colour[2] = (number + 1) * 23; LEDColour = strip.Color(Colour[1], Colour[0], Colour[2]); strip.setPixelColor(x, LEDColour); x++; if (x == 64) { x = 0; } } for (number = 0; number < 11; number++) { //red 0 green -- blue 255 Colour[1] = 255 - (number + 1) * 23; Colour[0] = 0; Colour[2] = 255; LEDColour = strip.Color(Colour[1], Colour[0], Colour[2]); strip.setPixelColor(x, LEDColour); x++; if (x == 64) { x = 0; } } for (number = 0; number < 10; number++) { [/cceN_cpp]
Experiment Result:
We can see we have achieve our goal and make the Flexible Rainbow 64 RGB 8*8 LED Matrix realized rainbow gradient effect. It is so simple. You can try it by yourself too. For more interesting postings, don't forget to keep focusing on us!
About the Author


How to Send Micro:bit Data to ThingSpeak IoT Platform
January 11, 2018

VC0706 Camera Module DIY Guide
December 18, 2014

nRF24L01 Module Demo for Arduino
May 6, 2011


Children’s Programming Education is the Future Trend
March 20, 2024

ELECFREAKS AI Smart Lens Now Compatible with Gigo Building Blocks!
February 21, 2024


Comments