

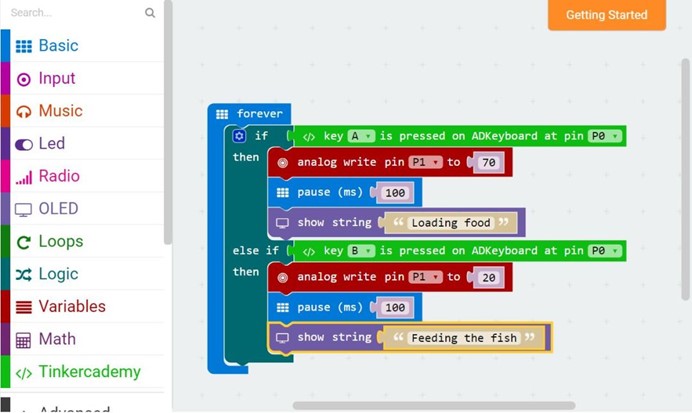
[ElecFreaks] Make a Fish Feeder by Micro:bit
January 9, 2019
Plant Humidity Monitor
January 9, 2019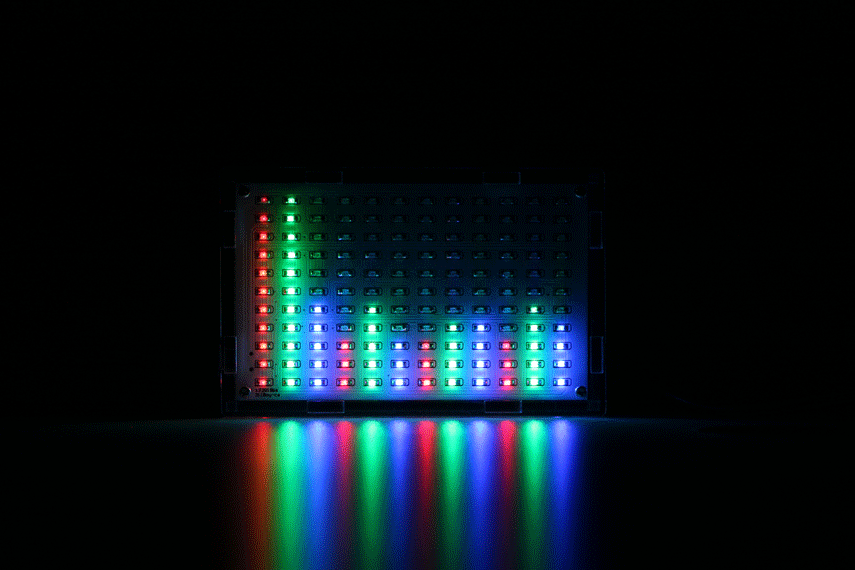
LED light is welcomed in every household for it is economic, energy-saving, environment-protect and long life span. When we shopping at night, we can see colorful LED tube hanging in the trees or placed as an advertisement board on top of a building or in front of a store, especially during festivals like Christmas. However, sometimes light is not enough to display a wonderful moment. It has to add some music. So i decided to make an invention which can combine these colorful LED light with music i want. So do you believe i can display music with light? Some of you may not think i can do it. Today, I am going to make a gadget by myself and display music with colorful LED light. Want to see what i a going to do? Let’s go! First, to make our desired gadget, we have to prepare something. So I need a set of LED Music Frequency Spectrum Display Kit. And i have made a material list for it. You can see the picture below: 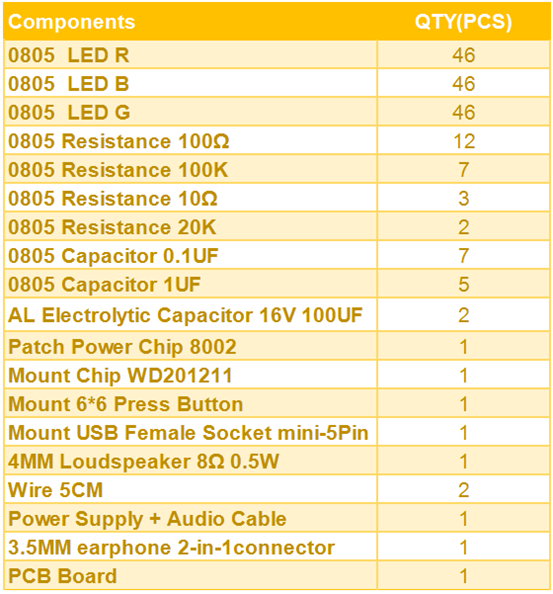
After we gathered these components, we can move on to our second step: Assembling. Here i have wrote a soldering instruction for you. So don’t worry about you cannot do it! It is very simple and easy.
Soldering Instruction
Choose 0.6 mm solder wire (bright tin content 65%) and 25W or 35W tip or blade electric soldering iron to do welding.
Below are pictures for soldering process.
Plate tin onto a welding spot on PCB board.
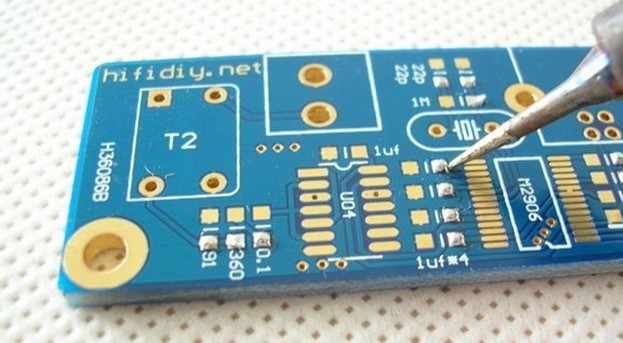
Then use a tweezer and past a capacitance onto the spot.
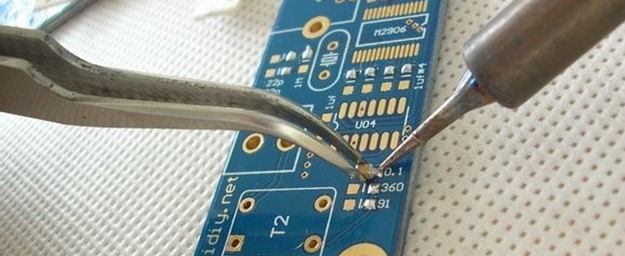
After fixed, solder the same spot in the opposite side.

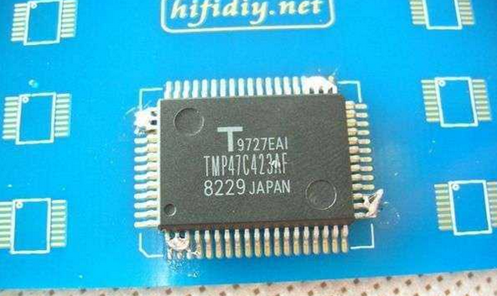
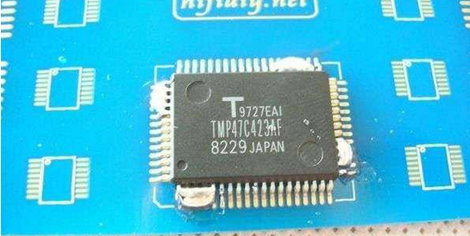
Paste IC Press IC onto the board
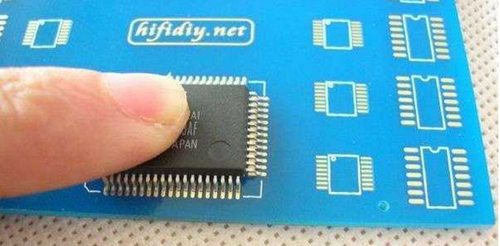
Fix IC
Weld tin onto footer.
Move soldering iron in the right direction with zig-zag movement. (You can add some resin onto it. And repeat this movement several times.) Increase soldering iron temperature and keep it within 350???span style=”font-family: Arial;”> to 400 ???/span>
The above instruction is for people without of any soldering experience or know little about it. You can practice these simple steps so that you can use soldering iron very fast and easily. If you are the one who is very familiar with soldering, you can skip the above instruction course and come to our topic: to assemble the components we prepared. You can follow my instructions in the following passages.
Step1: Solder LED Light Pay attention to the polar. The picture below showed negative point. LED bead of each color can be welded in any place.
Welding Completed:
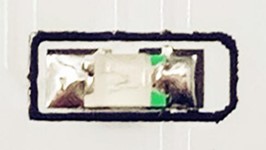
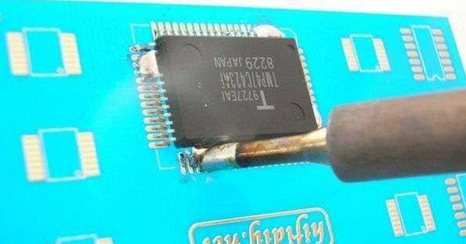
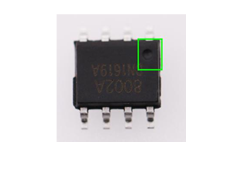
Step 2: Solder IC (The small round spot corresponds to the concave part on PCB IC welding plate.)

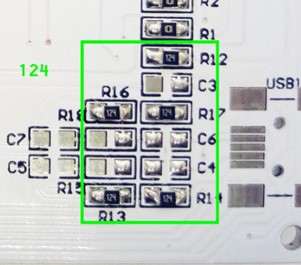
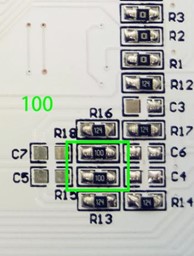
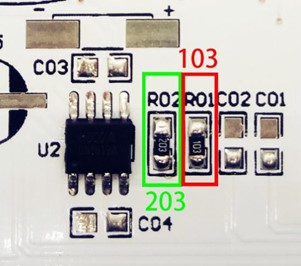
Step 3: Solder Resistance
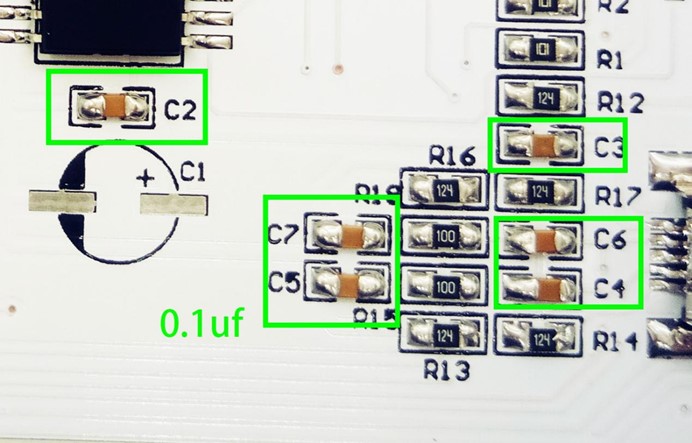
Step 4: Solder Mount Capacitor (1uf has bigger volume than 0.1uf)
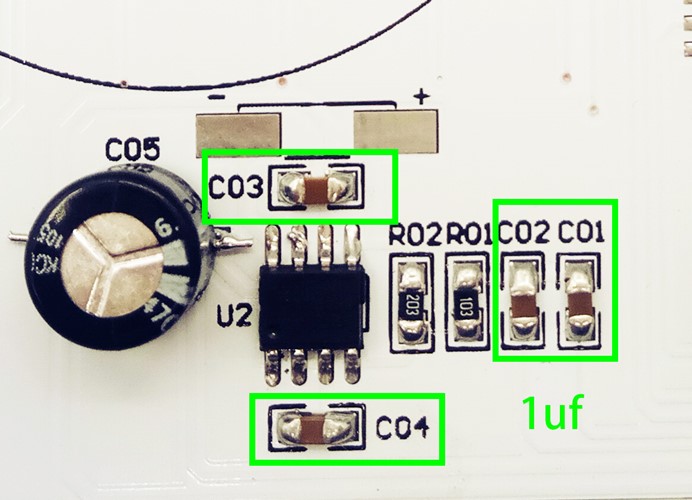
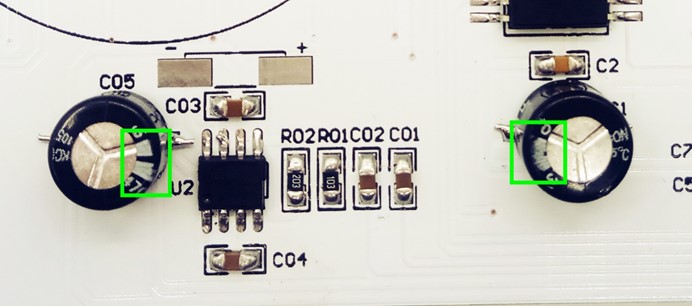
Step 5: Solder Electrolytic Capacitor
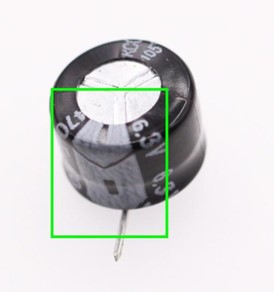
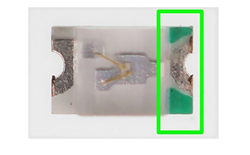
Note: Capacitor has positive and negative point. The mark in the above picture is negative point. Electrolytic capacitor has a white line. The footer is comparatively shorter.
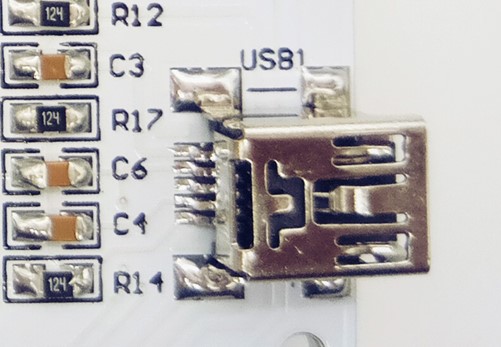
Step Six: Solder USB socket.
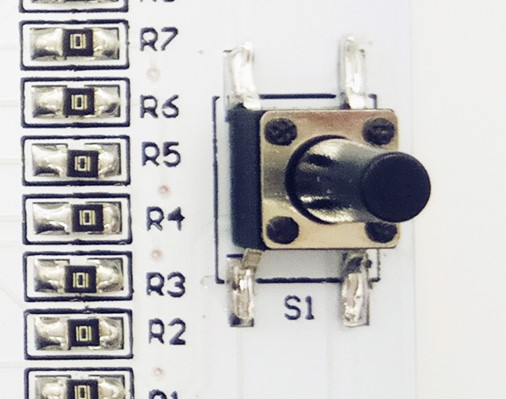
Step 7: Solder Switch (Switch has no positive or negative point)
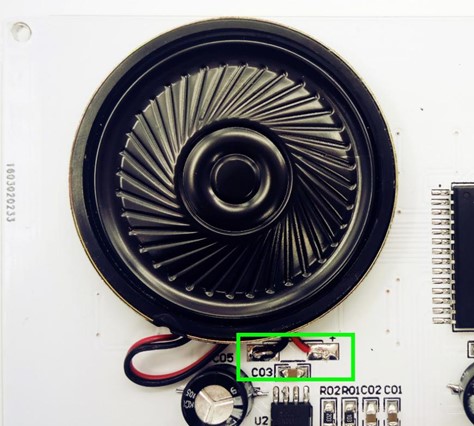
Step 8: Solder Speaker (Pay attention to positive and negative point.)
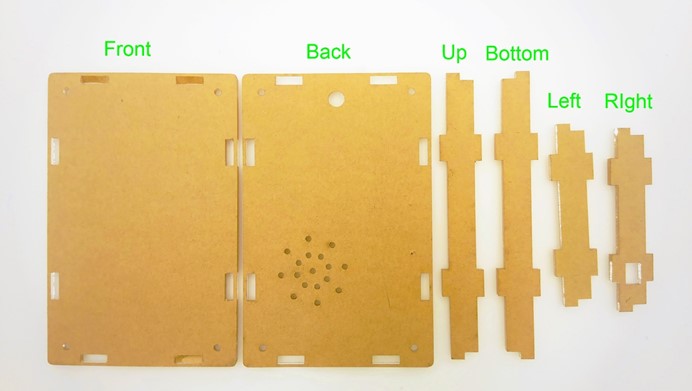
Step 9: Install shell
Completed Installation Once we completed installation, we can connect our artwork to our mobile and play a music to see what will display. We can see the LED light is dancing on the panel with the music just like the picture below. Isn’t it wonderful and amazing?

If you feel like to know how to use this gadget, you can read the instructions and its layout below. Hope it will make you more clearly about it.
Working Instructions
1. Enter working mode: Shortly press “Options” to change working mode. Users can set working mode according to their requirements.
2. Exit working mode: After setting working mode, without any operation, 5 minutes later, the chip will exit working mode selection status and enter normal working status.
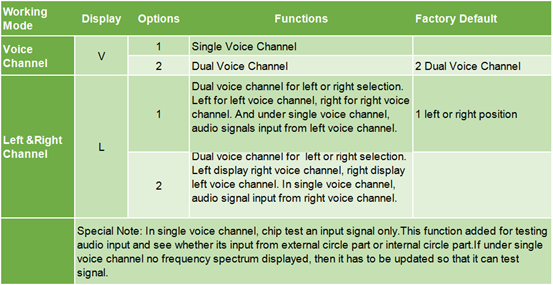
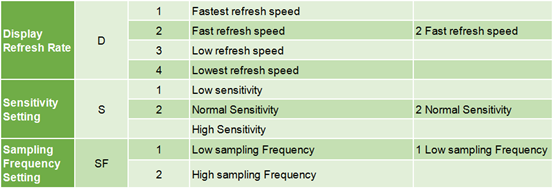
Tip: If it is connected with a loudspeaker and set to single voice channel working mode, then the display effect will be much better.
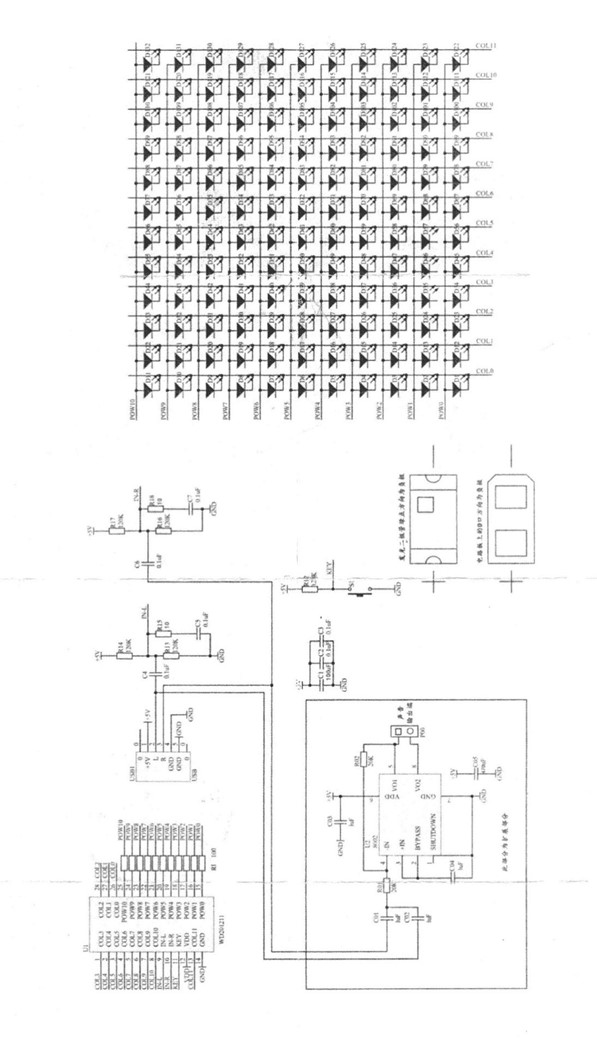
Layout
 And this is all what i want to show you today. If you want to know more interesting creation, you can follow up our blogs. We will timely update interesting invention or products for you. Besides, if you want to know more, you can leave your comments or suggestion or any good idea to us. Your feedback is always welcomed!