😊New Customer Discounts😊All Order Get 5% Off.
Menu


Purpose
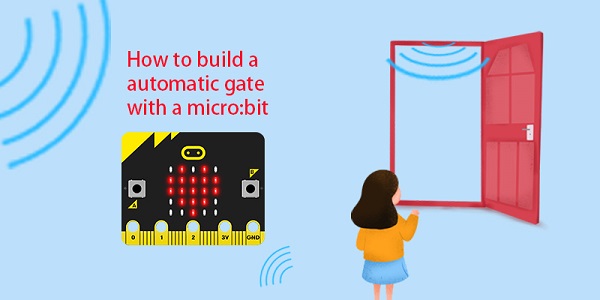
Make a gate that opens and closes automatically when a pedestrian approaches.
Materails
micro:bit x 1
360° servo x 1
Sonar:bit x 1
RJ11 wire x 1
Bricks x N
Assembly steps
As shown in the figure, construct the structure:
Hardware Connections
As shown in the figure, connect the ultrasonic sensor to the J1 port of the Nezha expansion board, and connect the 360° servo to the S1 port of the Nezha expansion board.
Software programming
Go to MakeCode editor:(https://makecode.microbit.org/#editor)Add Wukong extension from the settings on the right upper conner.
Search with nezha in the dialogue box and add it to the package.
Search with Planet X in the dialogue box and add it to the package.
Now we go to the coding page:
When the program starts, display the designated icon and set the 360° servo connected to the S1 port to 180°
Then in the loop, assign the return value of the ultrasonic sensor connected to the J1 port to the variable “i”
Determine the value of variable “i”. When this value is greater than 3 and less than 20, set the 360° servo to 240° and then pause for 5s, otherwise, set the 360° servo to 180°
Complete code
Link:https://makecode.microbit.org/_VqieaTVyeUXx
Result
When the ultrasonic detects an object within 20cm, the gate is opened for five seconds and then closed.
Stay up-to-date with our latest promotions,discounts,sales,and special offers.