


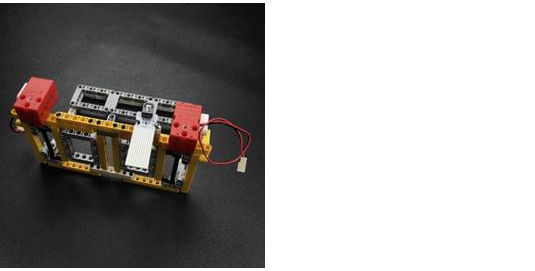
Hello, we have an indispensable common item in our daily life-drying rack. It gives us a lot of convenience: our clothes can be hung on hangers to avoid wrinkles if we don’t wear them; after washing, we use hangers to dry, and the clothes would dry quickly and make the clothes flat. Let’s make a micro:bit smart electric-drive arier today.
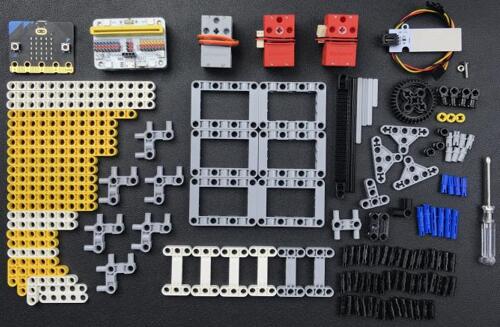
Materials required:
micro:bit x 1
Motor x 2
Bricks x N
Water level Sensor x 1
Assembly:
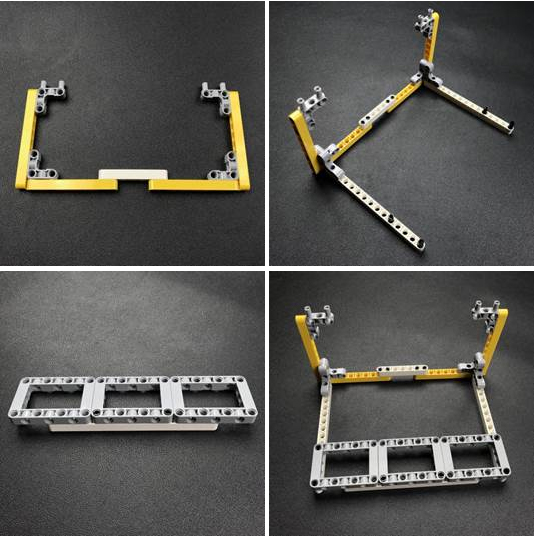
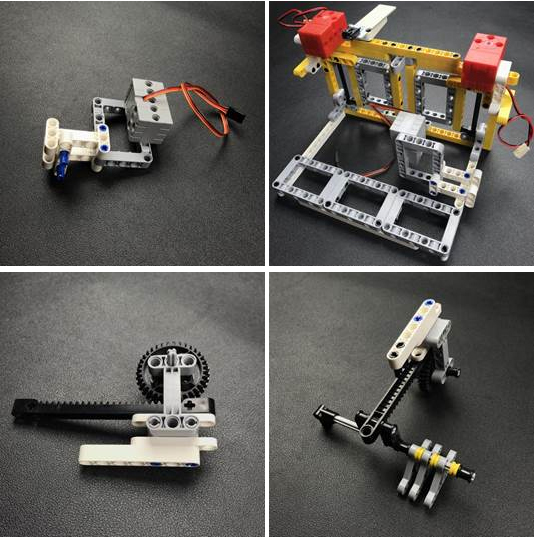
Step 1: Build a tiny window model
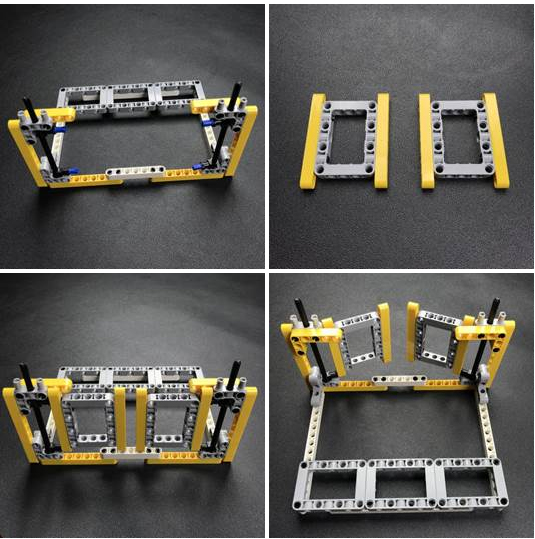
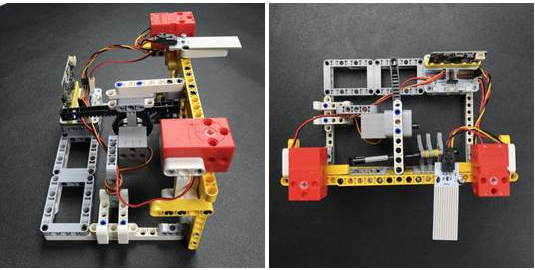
Step 2: Connect the motors and the water level sensor with the windows

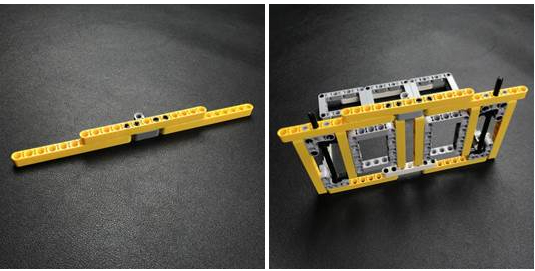
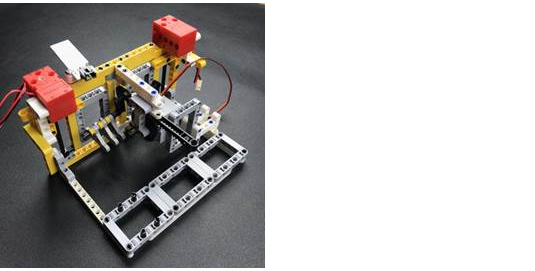
Step 3: Build the smart airer part and connect it with the model frame
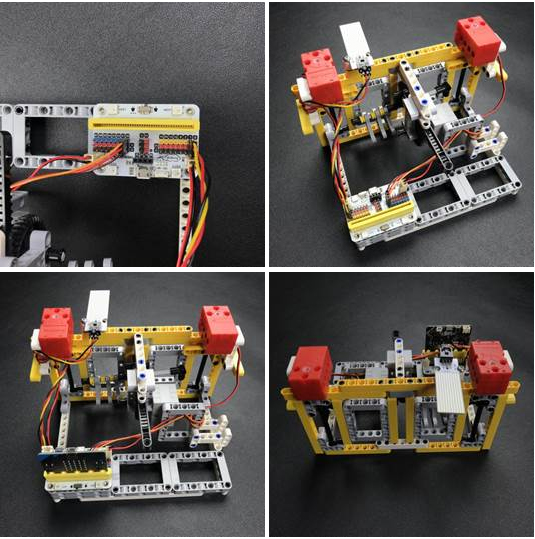
Step 4: Connect with the Wukong expansion board, insert the micro:bit and download the program
Let’s program the smart electric-drive airer to make it work next week! If you have any ideas or opinions, please feel free to contact us via [email protected].


