😊New Customer Discounts😊All Order Get 5% Off.
Menu


Materials
micro:bit x 1
Servo x 1
Bricks x N
Hardware Connections
Insert the micro:bit and connect the servos to S0 port to Wukong expansion board.

Bricks build-up
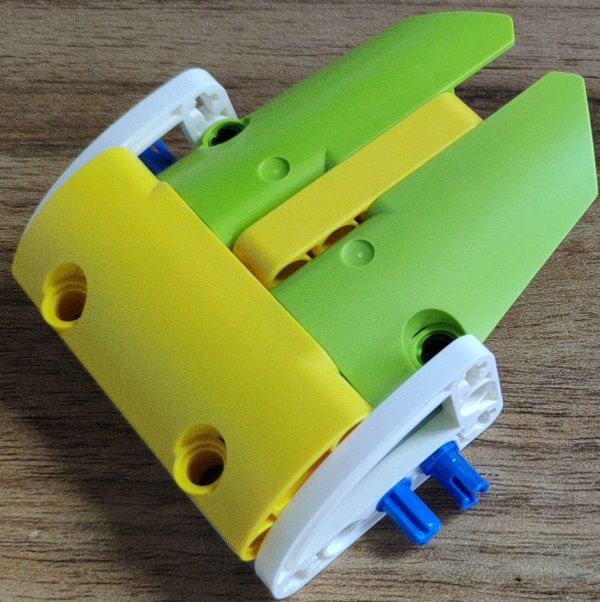
Build a device as the picture shows:

Software programming
Go to MakeCode page. (https://makecode.microbit.org/#editor) Add the package of Wukong, click the extension in the settings of the menu on the upper right side.
Search with“wukong”to download it .
Now let us go to the coding page: Drag show icon block, set the leds on wukong extension board, and initialize the RGB in on start block.
In forever block, set the servo connecting to S0 as 90 degrees and save a random value among 1~4 as i . Pause for 1000ms, set RGB in red and a smile face displaying on the micro:bit while i=1.
Program in the same way for i=2、i=3、i=4, lastly set the servo rotate 30 degrees and pause for 5000ms.
Link:https://makecode.microbit.org/_0RV6xR8eW21f
Result
An icon is displaying on the micro:bit while on start, the board is put down every 5 seconds and lifted after one second; the expression and colors change at random.
Stay up-to-date with our latest promotions,discounts,sales,and special offers.