Interesting Programming Guidance for Designer3–Get Your Picture Running(Part One)
January 7, 2019
Friday Product Post: Servo, Motor Drive Board and Joystick for Micro:bit
January 7, 2019Under the attractiveness of our first chapter Processing Initial Touch, I believe those who interest in processing can’t wait until the second chapter come out have already tried it by themselves. Here’s two warm tips for processing lovers:
- You can not learn programming well with reading teaching courses only. Do remember to practice with your hands!
- You can type the line one by one once you understand it. You can understand the operation mechanism through feedback.
Create Your First Processing Program
In this chapter, we are going to play processing proficiently. Most of typical entry courses of other programming languages start with “HelloWorld”. But, “HelloWorld” for designers should not be characters but patterns!
Sketch & Function
Before we start, let’s talk about canvas of Processing—Sketch. Sketch by name means scripture or drawing. Program designers name programming files too graceful. That is to tell us it is sketch for designers. 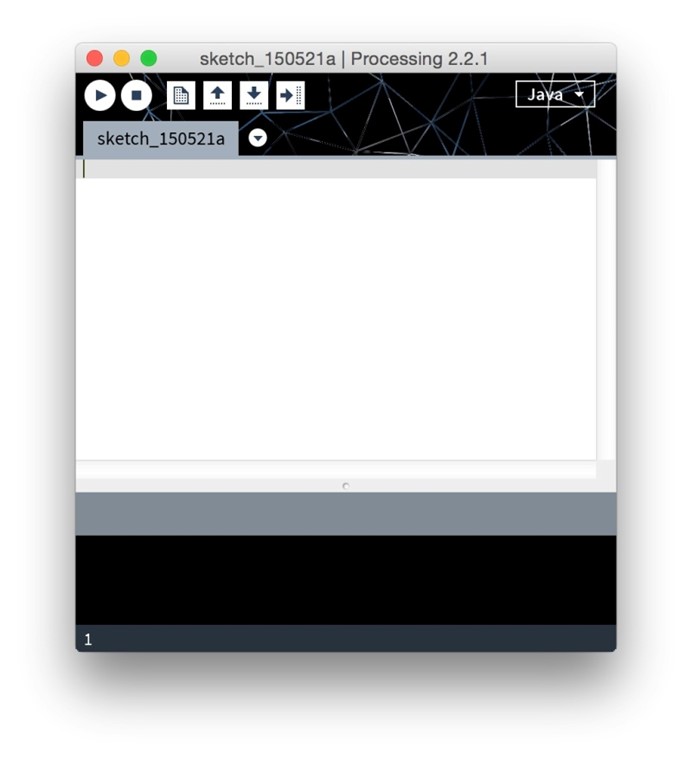
[cceN_cpp theme=”dawn”]size(500,500);[/cceN_cpp] 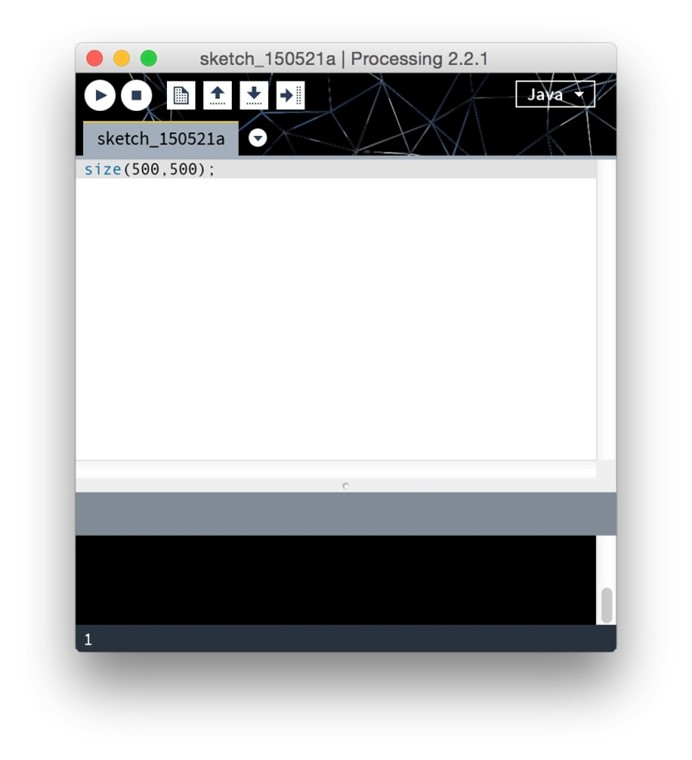
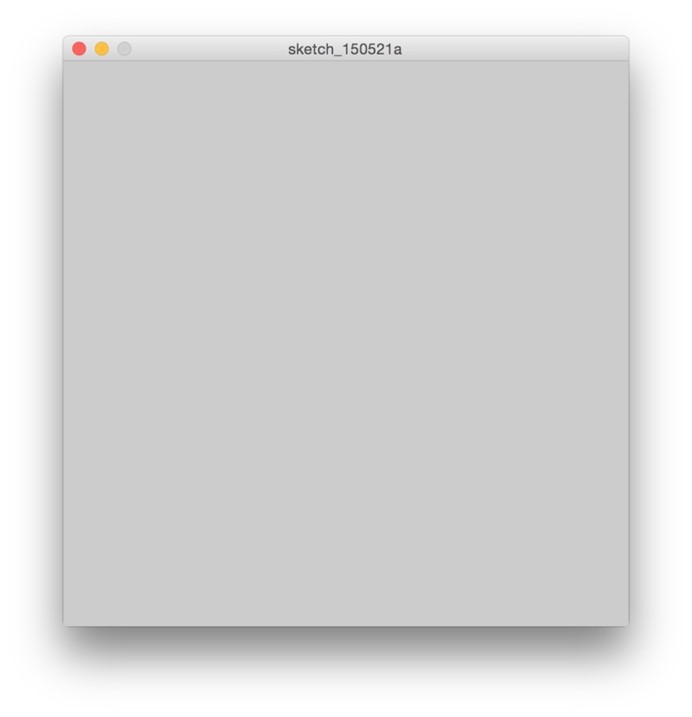
Coordinate System
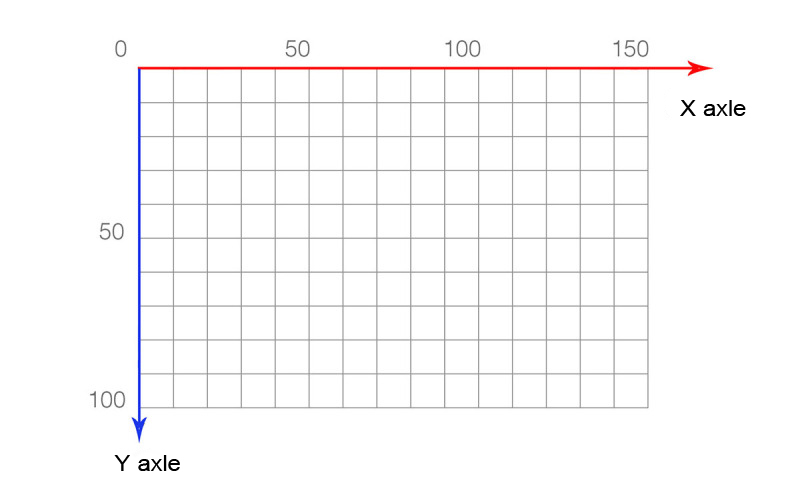
Before we start to use drawing function, we have to know coordinate system of Processing. This is quite different to cartesian coordinate system we learned during our middle school age. Its Y axle is opposite. Suppose if we define a 150X100 canvas, then the first pixel coordinate in the top left corner is (0,0) and the last pixel in the bottom right corner is (149, 99). If you think it is too difficult to remember, you can understand it in this way. Actually coordinate number represents offset. The serial number of initial coordinate point is 0. Thus, the serial number of the coordinate next to it, which has one unit distance to it, is 1. Compared with the first coordinate, the 150 coordinate distance offset 149 units. So its serial number is 149. But why we have to calculate from 0 to 149 instead of from 1 to 150? It seems troublesome. However, it is a convention defined within the program. Lots of definitions start counting with 0. I have tried to explain its advantages in another point of design. Suppose if we want to build a center point in our canvas.
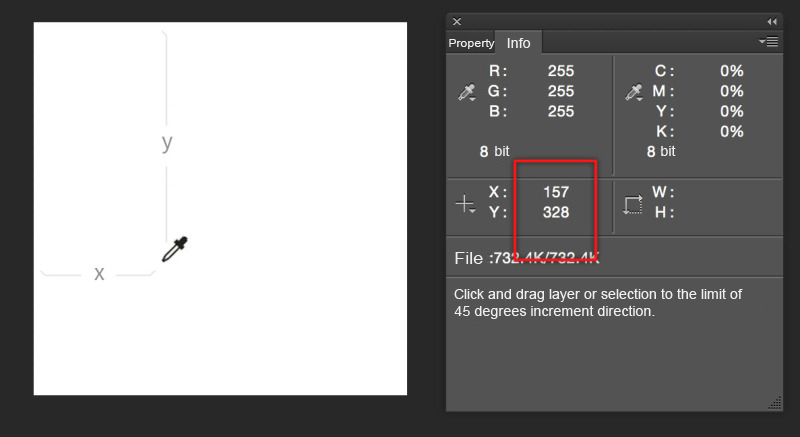
If it starts counting from 0, it will be much easier for us to find the center pixel.We only have to divide the width and height of the screen by 2 separately (except for condition like even number pixel has no absolute center.). However, if it counts from 1, after divided by 2, we have to add 1 to both the horizontal and vertical coordinate so that we can find the center position. (Two numbers divide in program will not be rounded but delete the number behind decimal point directly.) Now, I believe you must have a deeper impression towards to this counting method. Actually, if you are a PS (Photoshop) master, you will find this method has already adopted to mark the position of picture pixel point on PS information panel.
Change Coordinate System
This coordinate system is not monotonous . We can change it with a function called translate. Invoke Format: translate(x,y); It can move the whole coordinate system horizontally. X and Y can be positive or negative. The character of negative or positive can decide the direction of movement and the character of big or small can decide the moving distance. Take X as an example. If it is a positive number, then it will move X units in the positive direction of X horizontally. If it is negative, then it will move X units in the negative direction horizontally. For example: translate(50, 50); 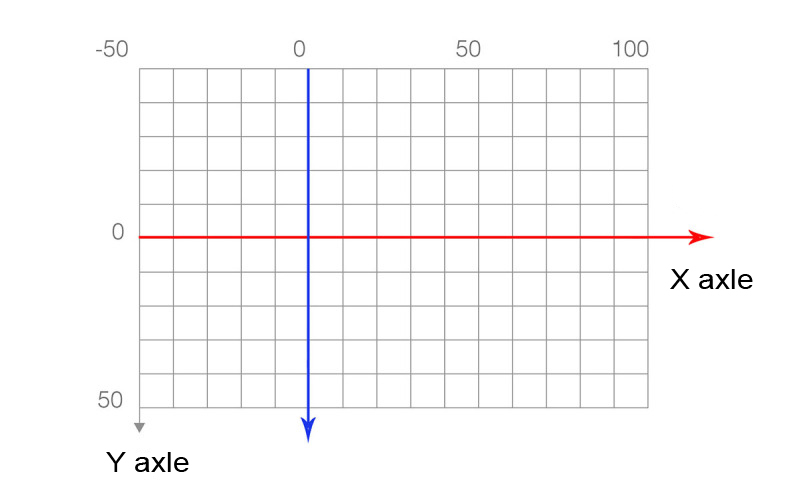
Coordinate system is just like a map. All picture drawings can get a ground from it. In the following, I will introduce some drawing functions to you.
Draw Point Write this section of code behind size.
[cceN_cpp theme=”dawn”]point(250, 250);[/cceN_cpp]
Click triangular symbol to run it. 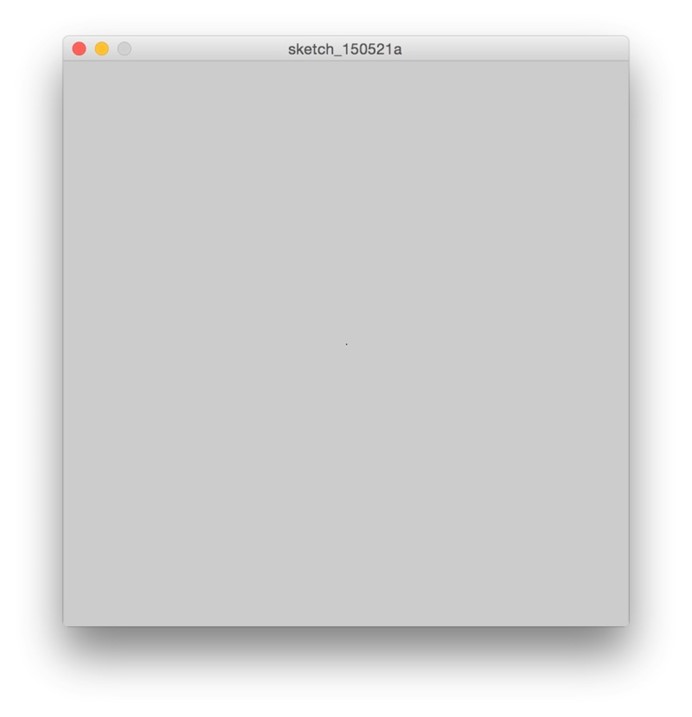
Draw Circle Next, let’s see a function for drawing circle, ellipse. Invoke format: ellipse(x, y, a, b) The previous two parameters in the bracket are similar to point function, while the latter two stands for the width and height of the circle. If width and height are different, we can get an oval. You can add it behind the source code and have a try. The whole code:
[cceN_cpp theme=”dawn”] size(500, 500); point(250, 250); ellipse(250, 250, 20, 20); [/cceN_cpp] 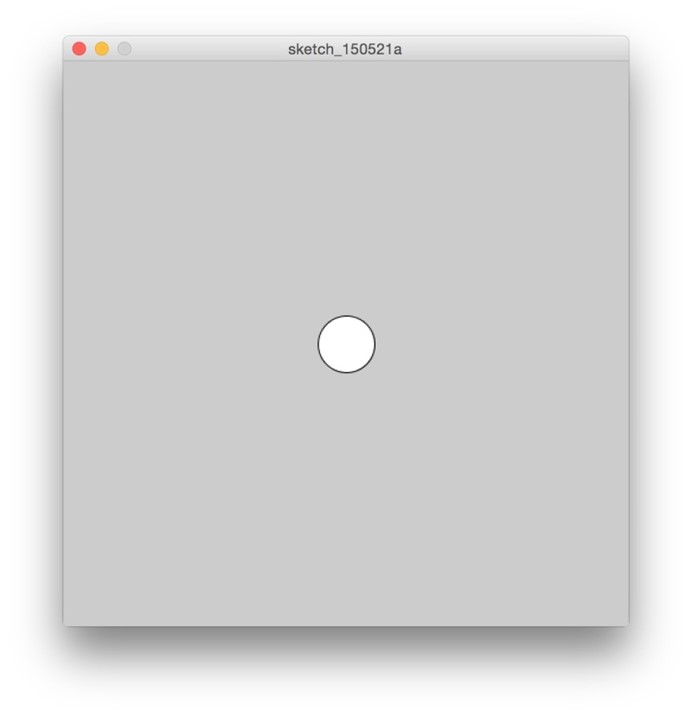
Draw line, triangle, square.
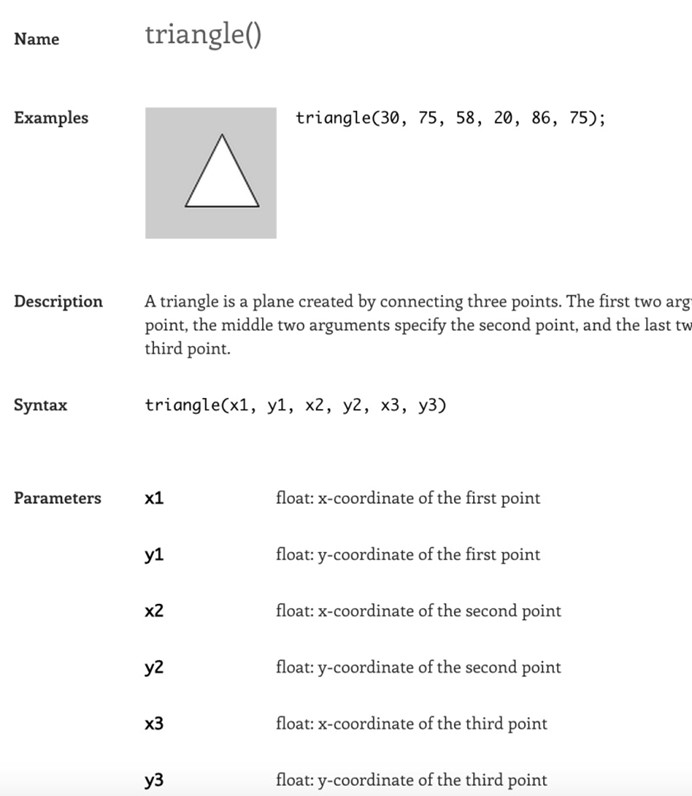
The usage of these functions are quite simple. Draw line: line(x1, y1, x2, y2???x1, y1stand for the terminal point coordinate; x2, y2 stand for the other one. The function will combine this two coordinate numbers together. Draw triangle: triangle(x1, y1, x2, y2, x3, y3???Here, we will use three couples of coordinate parameters to represent for 3 peak coordinates separately. Draw square: rect(x,y,a,b) The former two parameters stand for the left peak coordinate of the square; a, b for length and width of square. You can try these functions by yourselves and get familiar with their usages. Later, you can paste the following code:
[cceN_cpp theme=”dawn”] size(500, 500); ellipse(175, 220, 183, 183); ellipse(width-175, 220, 183, 183); rect(100, 100, 300, 300); line(150, 160, 220, 240); line(width-150, 160, width-220, 240); ellipse(175, 220, 60, 60); ellipse(width-175, 220, 60, 60); point(width/2, height/2); triangle(170, 300, width-170, 300, 250, 350); [/cceN_cpp] 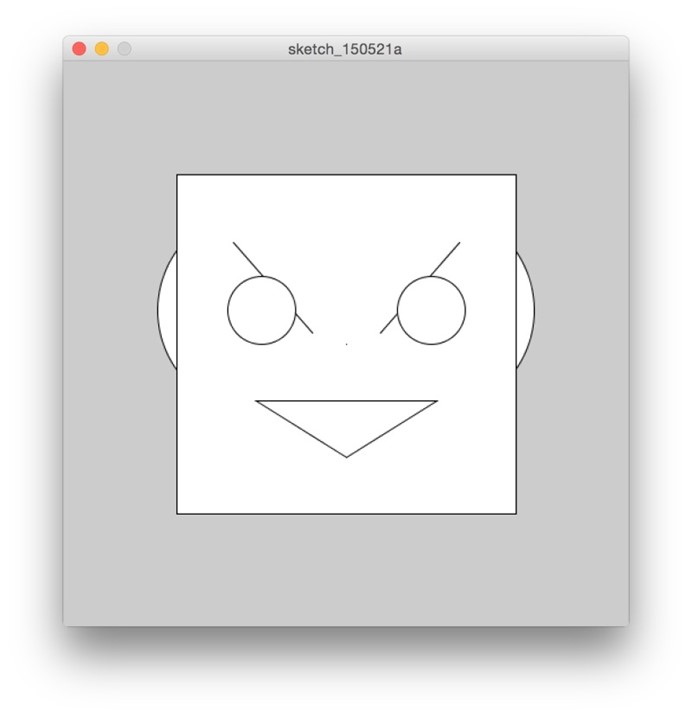
- What is the corresponding pattern part of each function?
- What is width-xstand for? What is the usage of it? And what is the advantage of this writing?
Color It might be quite boring with shapes only. We have to learn how to color it. Different to our expected color method, not all of each shape has a corresponding color property to let you define its color. Such as adding a parameter behind the bracket of ellipse (200, 200, 20, 20, ?). To color it, we have to use the function of fill. This is a universal color method and has to write before the drawing function. The input of fill is very special. It allows several input methods only. You can do like this: fill(x) X for gray value; the minimum is 0(for black), and maximum is 255(for white). And this: fill(x,a) X for gray value, a for transparent degree( min 0, max 255). Or fill(r,g,b) R for red(red), g for green(green), b for blue( blue). Since designers are so familiar with RGB, you must have know it is the three-primary color. Also you can do like this fill(r,g,b,a) Rgb is for three-primary color, a for alpha( transparent degree). Example :
[cceN_cpp theme=”dawn”] size(500, 500); fill(125); ellipse(100, 250, 100, 100); fill(125, 100); ellipse(200, 250, 100, 100); fill(255, 0, 0); ellipse(300, 250, 100, 100); fill(255, 0, 0, 50); ellipse(400, 250, 100, 100); [/cceN_cpp] 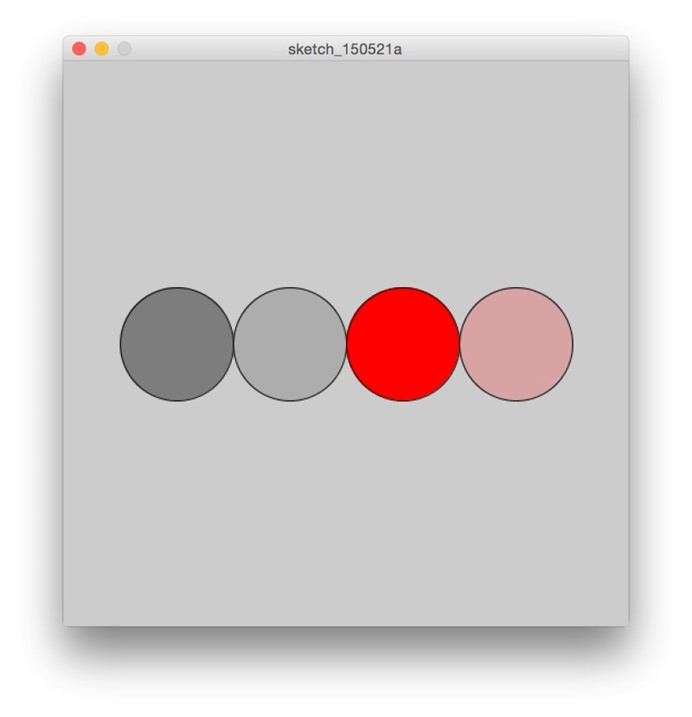
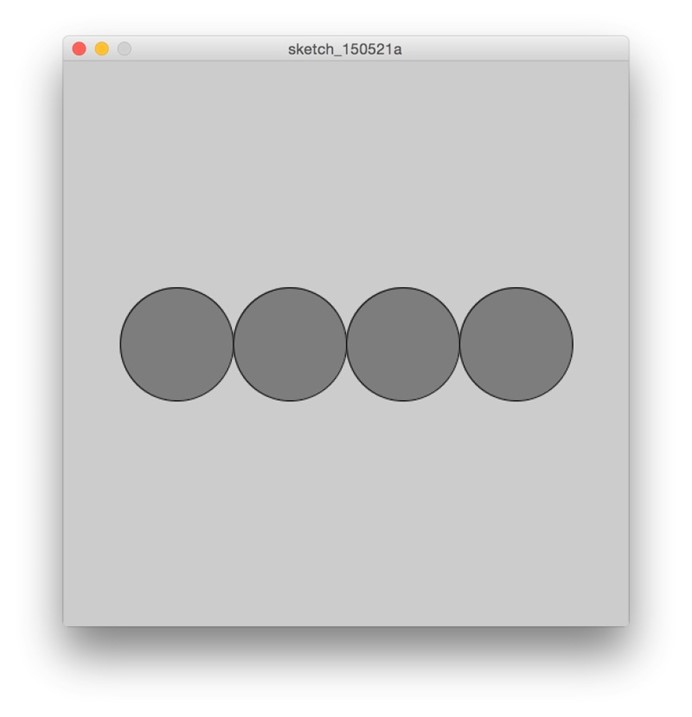
[cceN_cpp theme=”dawn”] size(500, 500); fill(125); ellipse(100, 250, 100, 100); ellipse(200, 250, 100, 100); ellipse(300, 250, 100, 100); ellipse(400, 250, 100, 100); [/cceN_cpp]
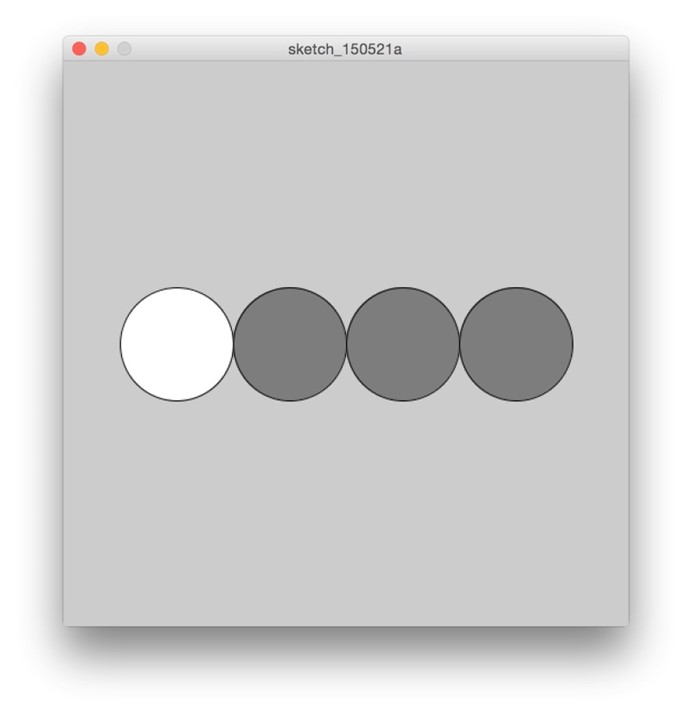
[cceN_cpp theme=”dawn”] size(500,500); ellipse(100, 250, 100, 100); fill(125); ellipse(200, 250, 100, 100); ellipse(300, 250, 100, 100); ellipse(400, 250, 100, 100); [/cceN_cpp]
[cceN_cpp theme=”dawn”] size(500,500); noFill(); ellipse(100,250,100,100); ellipse(200,250,100,100); ellipse(300,250,100,100); ellipse(400,250,100,100); [/cceN_cpp] 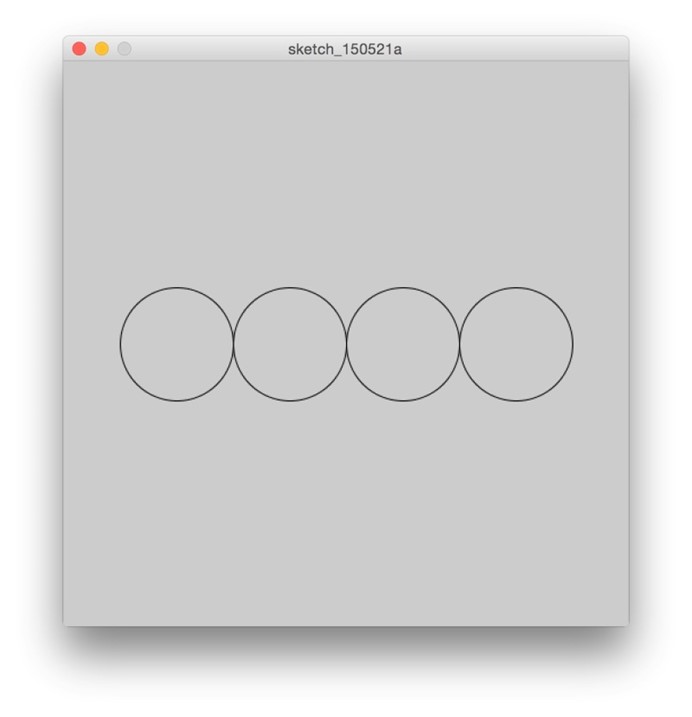
Stroke Except for processing fill color of the shape, it can adjust the color and width of stroke independently.
Stroke Color stroke(x) Stroke function can change stroke color. The usage of parameters within bracket is same with fill function. X stands for the color of stroke. You can choose 4 different parameter input methods. stroke(x) X is for grayscale, min 0 (black) and max 255(white). stroke(x,a) X is for grayscale, a is for transparent alpha. stroke(r,g,b) Rgb is for three-primary color, RGB. stroke(r,g,b,a) Represent three-primary color RGB, a is for transparent alpha.
Stroke Width strokeWeight(x) Control stroke width(Enable to control the size of point too). noStroke() No need to input parameters. It is for not displaying strokes. Except for the above listed usages, more stroke usages are waiting for you to explore. If you put the following code before the facial expression pattern we made previously, it will looks like the picture showed below. strokeWeight(8); 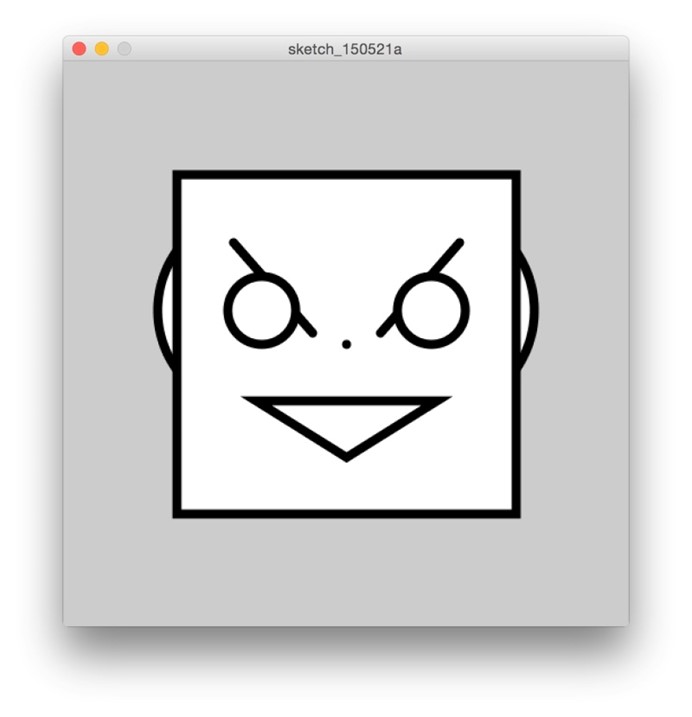
[cceN_cpp theme=”dawn”] size(500, 500); strokeWeight(8); background(200, 0, 0); ellipse(175, 220, 183, 183); ellipse(width-175, 220, 183, 183); rect(100, 100, 300, 300); line(150, 160, 220, 240); line(width-150, 160, width-220, 240); ellipse(175, 220, 60, 60); ellipse(width-175, 220, 60, 60); point(width/2, height/2); triangle(170, 300, width-170, 300, 250, 350); [/cceN_cpp] 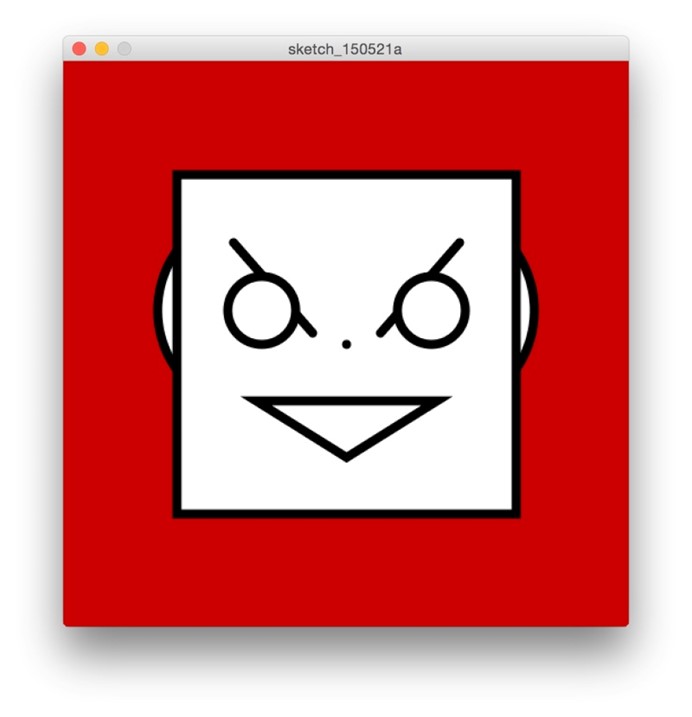
End Don’t just recite knowledge points during programming study but to use them flexibly in practice. Except for some frequently used functions we have to keep in mind, it is all right to check the rest functions once being used. On Processing website, we can check usages of all kinds of functions. (https://processing.org/reference/)
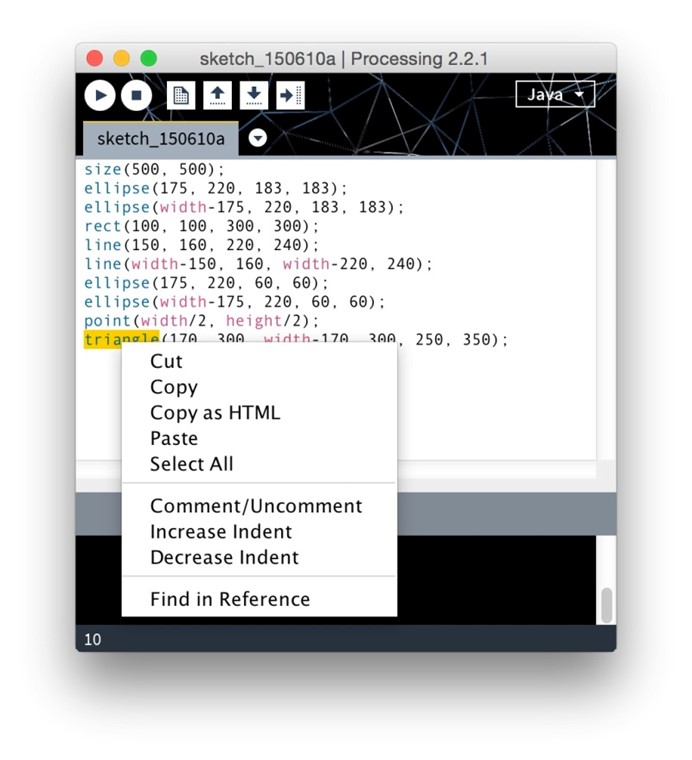
- A small tips for you : If you forget how to use a function during programming writing, only if the function name is right, you can check out the usage of the function in detail. Double click the function name, wait until it becomes yellow background, then click your right mouse key and choose “Find in Reference”.
Function Introduction:
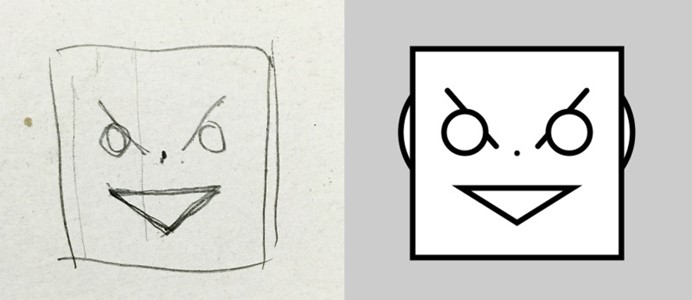
Don’t you think the code is no more mysterious as before through the introduction of this chapter? Drawing in a program is far less visualized and free than brushes or PS tools. Any pattern within a program has to use data to describe its position, size or angle. As for complex pattern, it is very difficult to rely on imagination only to write code directly. Usually, it draws a sketch beforehand, then use PS information panel to check coordinates of key points, and finally choose a suitable function to perform it.
- Just same to the above example
Seeing this, some designers with skeptical ideas might stand out and say “Why I must draw with program for patterns which can be created just by some pulls in PS? The process is too troublesome! What it the advantages of programming? I can not see any.” This is quite reasonable. Just keep this skeptical idea and wait for our answer exposed later. In the following chapter, we will talk about two “big head” functions: setup function and draw function. Only if we can use them flexibly, we can make the picture become animated. Besides, the knowledge we learned about mathematical functions in school begins to have place to practice. Those seemly tedious mathematical formulas will be our best tools for controlling patterns. This article comes from designer Wenzy.
Relative Readings:
Interesting Programming Guidance for Designer——Processing Initial Touch


