

In our last blog micro bit course Start Your Micro:bit Programming Trip we have talked about the basic operation method of Microsoft Makecode. In the following micro bit tutorial, we will teach you some fundamental functions of blocks one by one .
Our purpose:
To know basic usage of Makecode through studying buttons and blocks.
Materials we need:
Micro:bit×1
USB Cable×1
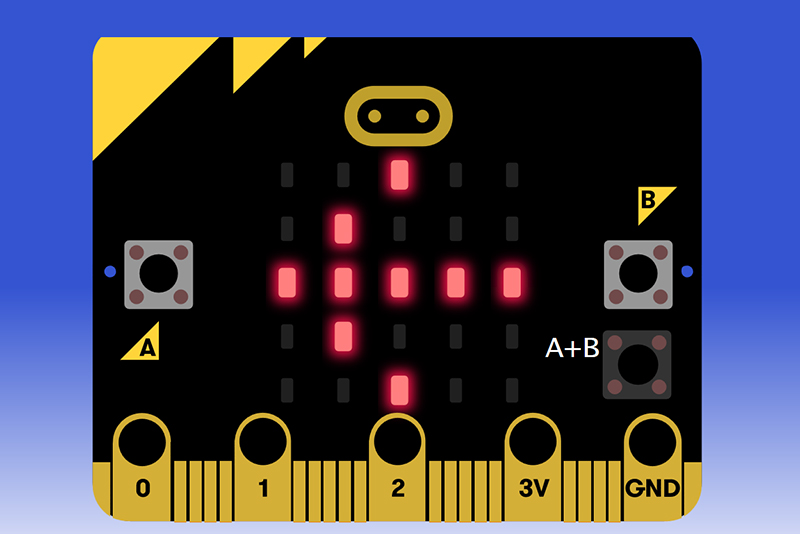
On Micro:bit, there are 5*5 LED metric dot display and 2 buttons. And today we are going to learn how to use button and LED display together.
Our requirement:
Press down a button to display its relative direction. Press 2 buttons together for clearing the display.
Procedure:
Micro bit curriculum step 1: Drag out block “on button pressed” from Input column and set the button to be “A”.
Under block “on button A pressed”, we insert block “show arrow”, which can make micro:bit to display directions with arrow. And here we set direction to be “west”.
Micro bit curriculum step 2: Choose block “on button pressed”, cope and paste it. Then set button to be “B” and direction to be “East”.
Micro bit curriculum step 3: Drag out block “on button pressed” from Input column again and set the button to be “A+B”.
Insert “clear screen” into this block.
Micro bit curriculum step 4: In the left analog window, we can check analog operation. Click Virtual button on Micro:bot to check our program.
Micro bit curriculum step 5: After confirmation, download program into Micro:bit.
Question: If we want to use character string to display “west” and “east”, then how to revise our program?
Micro bit course Micro:bit Basics for Teachers Part 1 – The Hardware
Micro bit course Micro:bit Basics for Teachers Part 2: Javascript Blocks
Micro bit course Micro:bit Basics for Teachers Part 3: MicroPython


