😊New Customer Discounts😊All Order Get 5% Off.
Menu


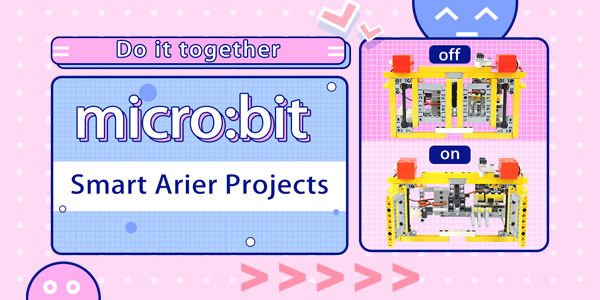
Hi, we’ve showed the assembly of the Smart Airier last week, now let’s begin with the program part to make it work!
Video of the project:https://youtu.be/bq2q_1O8dEA
Materials required:
…
Go to MakeCode editor:(https://makecode.microbit.org),click Advanced in the drawer to see more choices.
We need to add extensions for programming, click “Extensions” in the bottom of the drawer and search with “Wukong” and “IoT” latter to download them.
In the “on start” brick, set “rain” to “false”
While pressing button A, set to open the door and window, and the airier stretches out with the “rain” status in “false”.
While pressing button B, set to close the door and window, and the airier retracts with the “rain” status in “true”.
In forever brick, detecting if the value is over 10 from the water level sensor, and judge if the “rain” status is “false”, if yes, set to close the window and door and the airer retracts, then set the rain status in “true”
Program: https://makecode.microbit.org/_8C5cxMYcJLAa
Screenshots of the code:
Download the program to your micro:bit to finish your project!
If you have any ideas or opinions, please feel free to contact us via [email protected].
Stay up-to-date with our latest promotions,discounts,sales,and special offers.