

How to make an Auto-Omni vehicle
January 10, 2019Arduino Uno vs BeagleBone vs Raspberry Pi
January 10, 2019FreaksCar project:

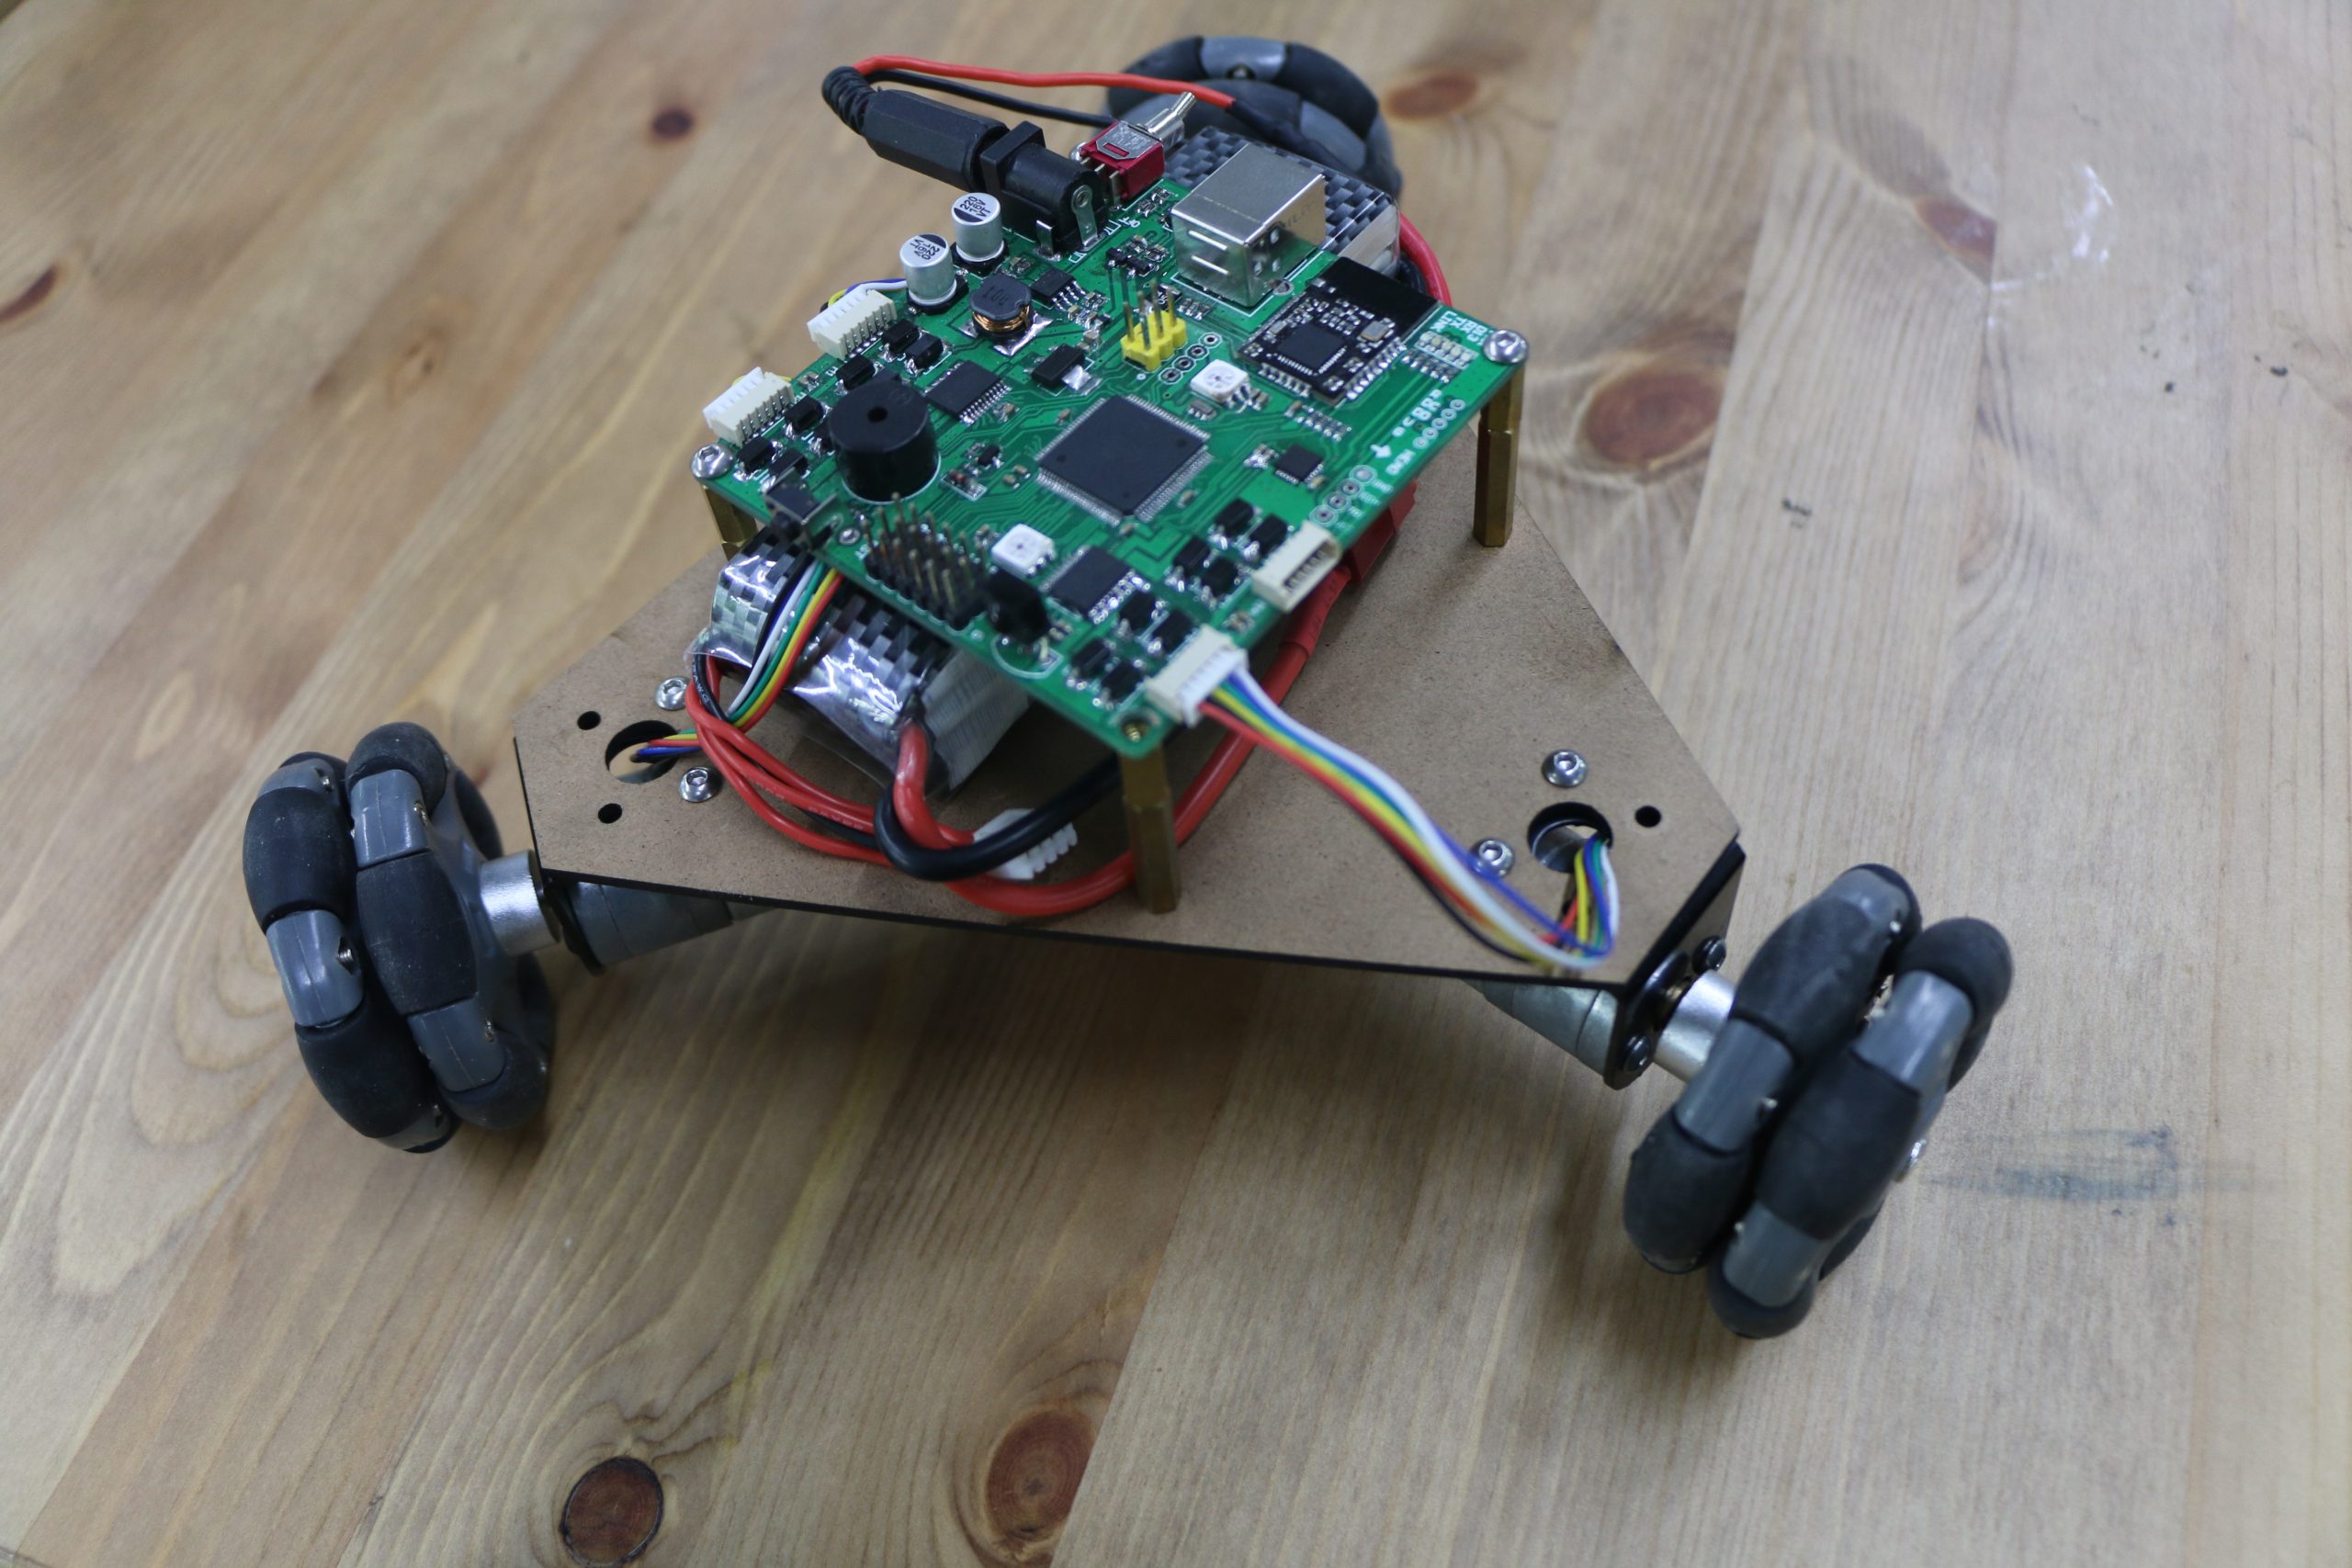
FreaksCar is a robotic development platform, completely open source, new affordable, easy to use, and fun entry to programming, electronics, and robotics. It is geared towards kids of elementary-age and above, educators looking for an easy intro to robotics, parents eager to find something affordable but educational and fun, DIY enthusiasts, and more. You can follow the FreaksCar with Education for Arduino lessons such as: Learning to program your robotics with Arduino
- Calibrating the robot’s continuous rotation stepper motors
- Using phototransistors to navigate by light
- Using non-contact infrared sensors to control
- Using app controlled FreaksCar via Bluetooth 4.0
- Using ultrasonic sensor to avoid objects
- Using buzzer on FreaksCar to sing a song
- Using encoder to control the speed
- Using FreaksCar as development platform for more application scenarios based on its wood construction
This Article will show you how to assemble a rc car using laser-cut wood, boards, sensors, wheels, screws etc.. Check out the video FreaksCar. Main features???/p>
- Obstacle avoidance
- IR remote control
- Light tracking
- Line following
- Buzzer singing
- Speed measuring
- App control
First, you might want to download the latest Arduino IDE from the official Arduino website. FreaksCar Dimensions:
Pin information:
Step 1: Wheel, Universal Wheel and Ultrasonic Module
Mount two universal wheels on the PCB; fix the wheels through the motor shaft; plug in the ultrasonic module as shown.
Step 2: Board A mounting
Mount the wood chip board A onto the PCB by using the screws and nuts.
Step 3: Battery Case mounting
Mount the battery box on the PCB by using the screws and nuts.
Step 4: Board B mounting
Mount the wood chip board B to the construction from the board A slot; then put in the m3 nuts in board B; fasten them.
Step 5: Board C mounting
Mount the wood chip board C onto board A likewise; and fasten with the screws and nuts.
Step 6: Board D mounting
Mount the wood chip board D as shown and fasten with screws and nuts. Note that the square hole on the board D should be closer to the board C.
Step 7: Board E mounting
Install the wood chip board E as shown and fasten with screws and nuts.
Step 8: Mission completed
Fold the board E to make it completely fit the jagged edges with the board B and C till it is installed successfully. For more information and inquiries, please visit FreaksCar Wiki source code.