

A Review WR Bridge By Portuguese
January 11, 2019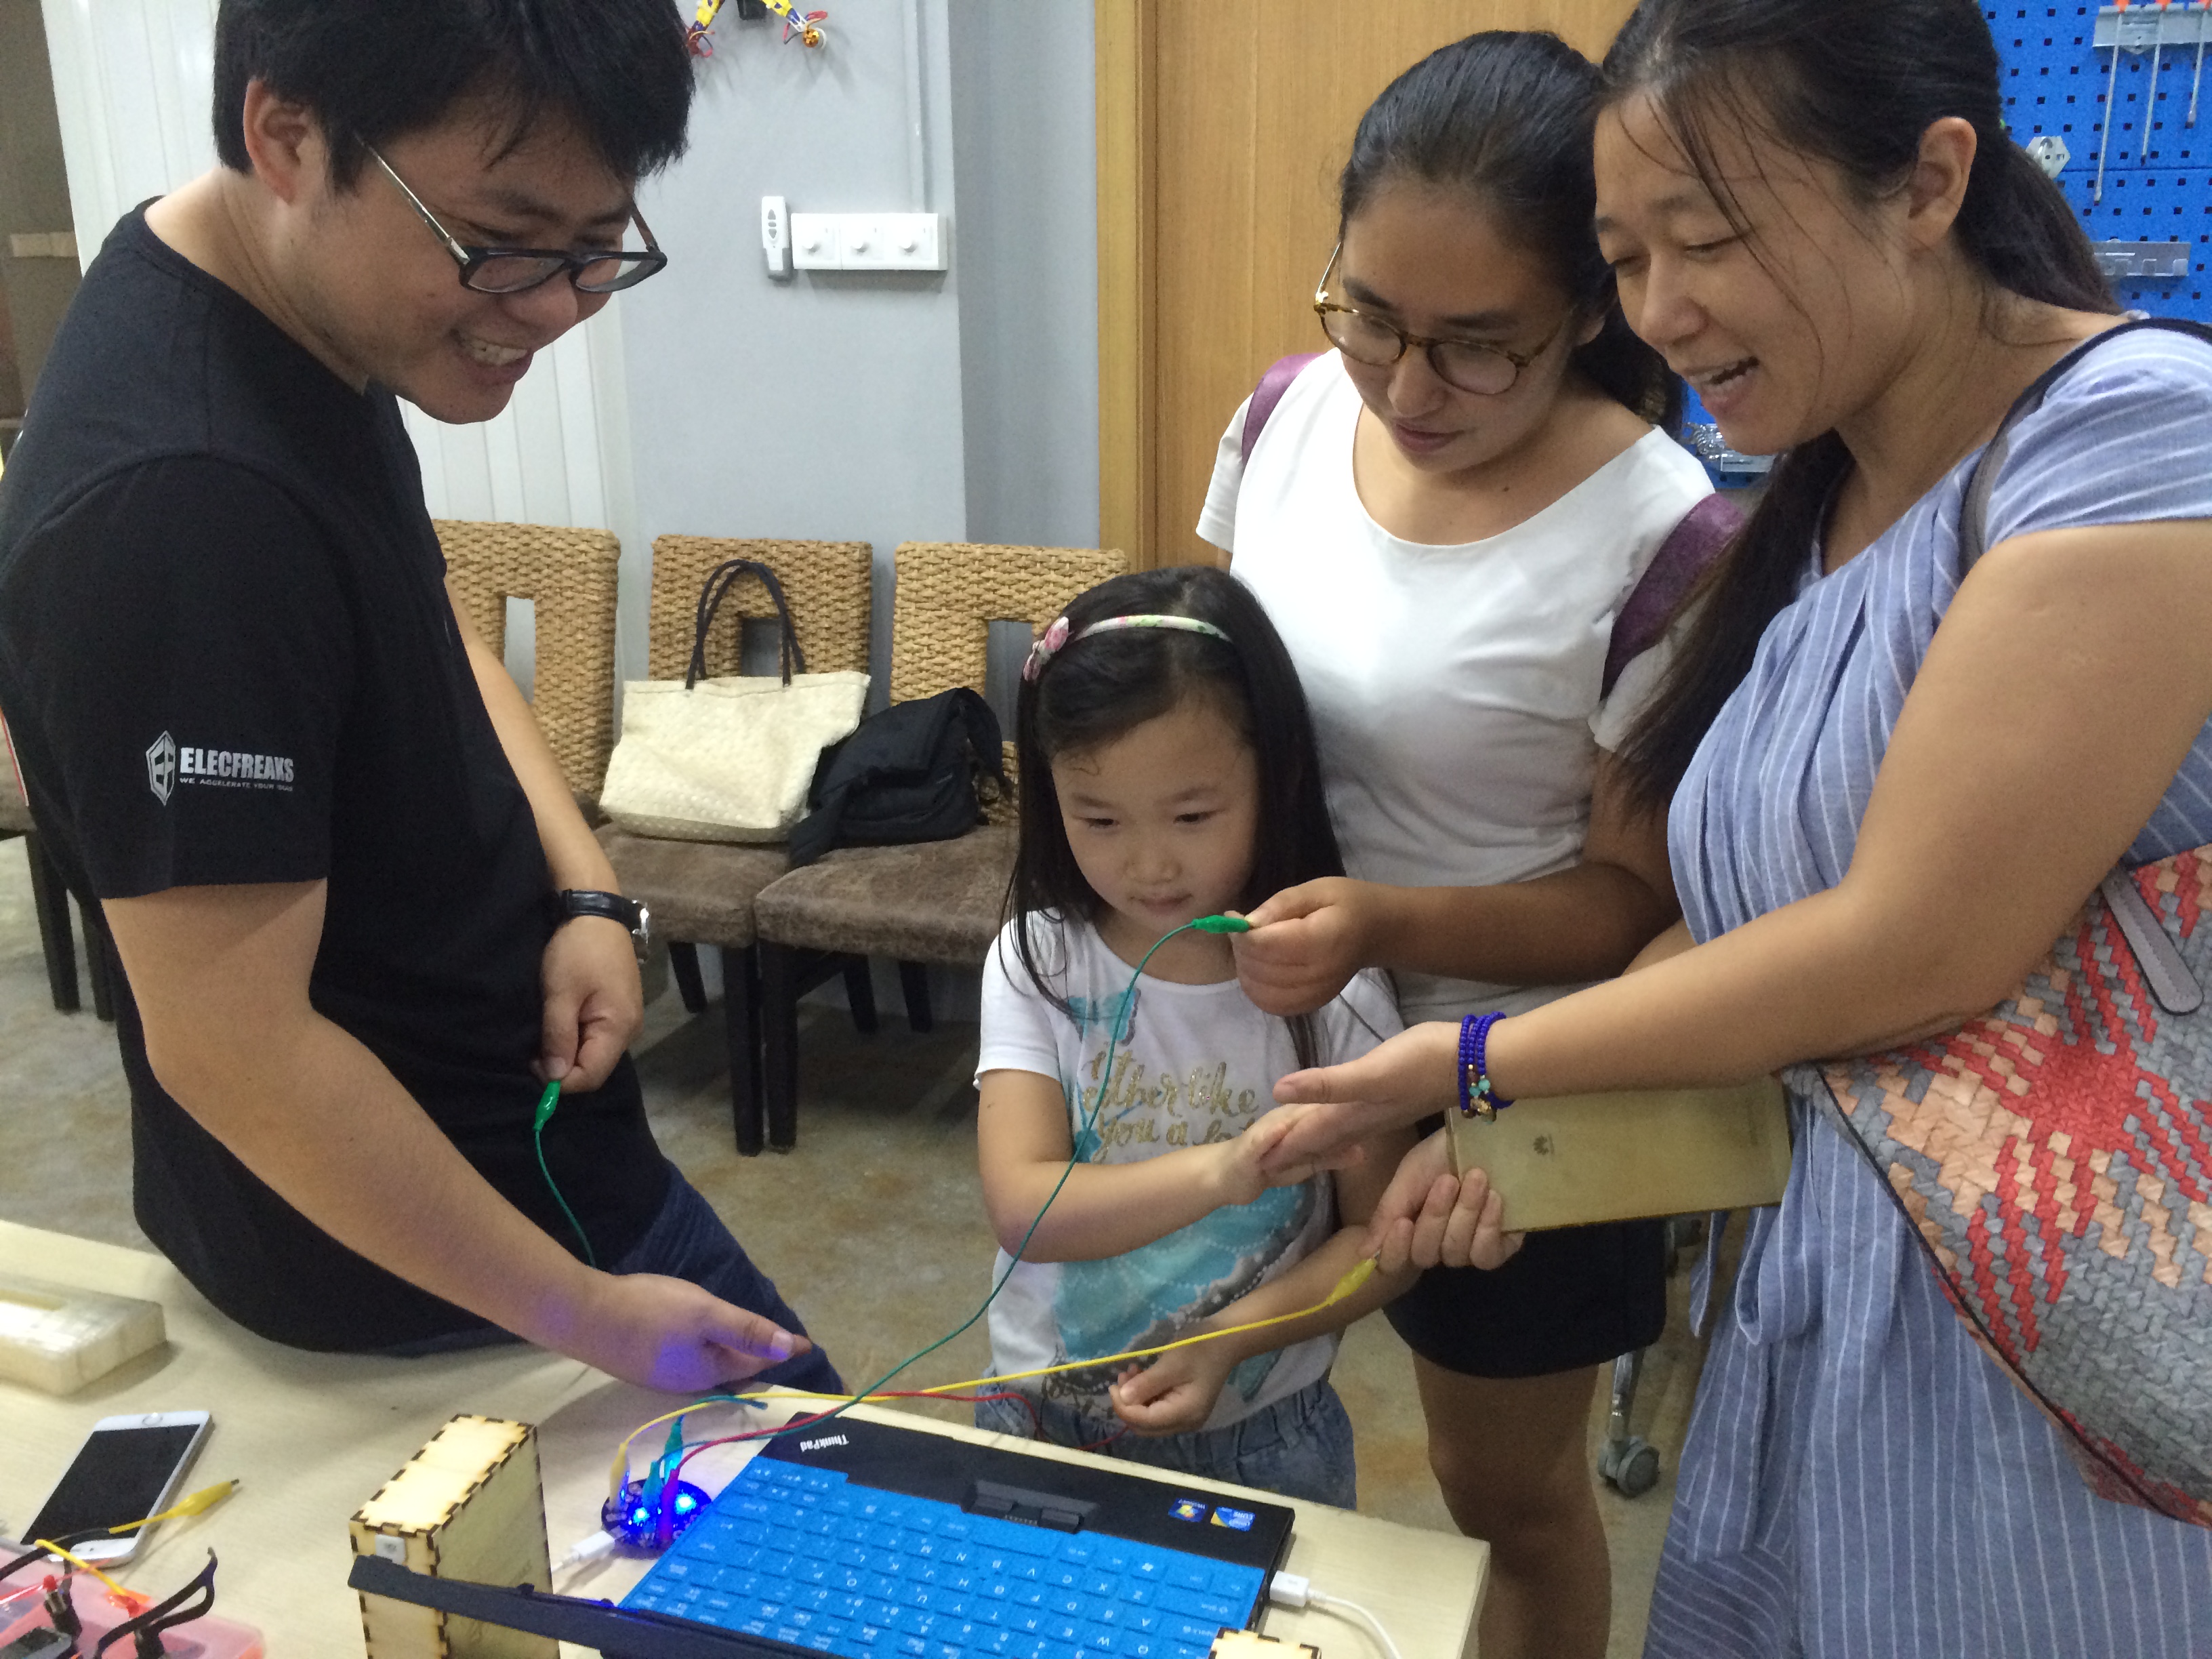
Open day at Maker Bar, Shenzhen
January 11, 2019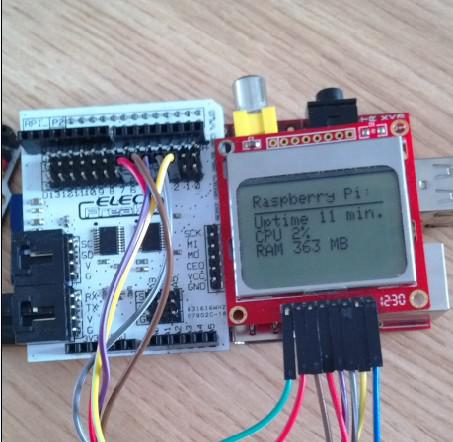
For Raspberry Pi, recently we release a series of products concerning about it, what’s more, we made and posted some user guides to enrich materials, including Wireless USB Adapter Configuration , Raspberry Pi 2 System Installation And Start , Raspberry Pi USB Webcam , aiming to provide more technical support to our customers, and today we will release the last one, Raspberry pi IO Expansion Board User Guide. Now let’s take a squint of it.
Part 1 Preparation
Hardware Preparation
1. Raspberry pi Mainboard
2. 5110 LCD
3. Wireless USB adapter
4. SD card
5. Bee Adapter
6. GPIO module 7. LED board

Software Preparation
- wiringPi library
- 5110 LCd driver
- FTP software
Part 2 Software Installation
2.1 wiringPi library installation
(1) Install git-core Type apt-get install git-core in the Terminal to install git-core

(2) Download wiringPi library In the Terminal, type git clone git://git.drogon.net/wiringPi to download wiringPi

(3) Compiling and installing wiringPi library Enter wiringPi directory to carry out./build command

2.2 5110 LCD Driver Preparation
(1) From https://github.com/binerry/RaspberryPi , download one master package.
(2) Unzip the above package,and open the file of RaspberryPi-master.Copy PCD8544.c and PCD8544.h into the samples directory.
(3) Transmit the file of samples to the system of Raspberry pi via FileZilla.

Demonstration:the Host refers to the Raspberry pi IP address, and the User Name refers to the Raspberry pi root account,and the Password refers to raspberry pi root account password, and the default port is 22. From the above screenshot, we can also see that the samples file do not transmit from the windows system to the directory of Raspberry pi system.

Part3 Experimental Test
3.1 5110 LCD Display Test
(1) 5110 LCD

5110 LCD Pining Information???/p>

(2) 5110 LCD and GPIO module Connection 5110 and GPIO connection chart


(3) 5110 Examples Demonstration Enter the Raspberry pi System samples directory,and through touch Makefile command to set up the file of Makefile

Open Makefile through vim, and write the following content into the file. the content written into the Makefile

Save makefile and type make command in the Terminal, then the test executable file would generated. In the Terminal the execution of ./test can run this file.

Users can modify pcd8544_XXXX.c of Makefile, and the replacement of other .c file can use other two samples. 